Measurement
How much carpet do you need for a stair runner?
The quantity question is really two questions: how much your staircase consumes, and how much you must add on top so the job can actually be completed.
Written by the StairRunner.co editorial team · Updated 4 September 2026
The basic calculation
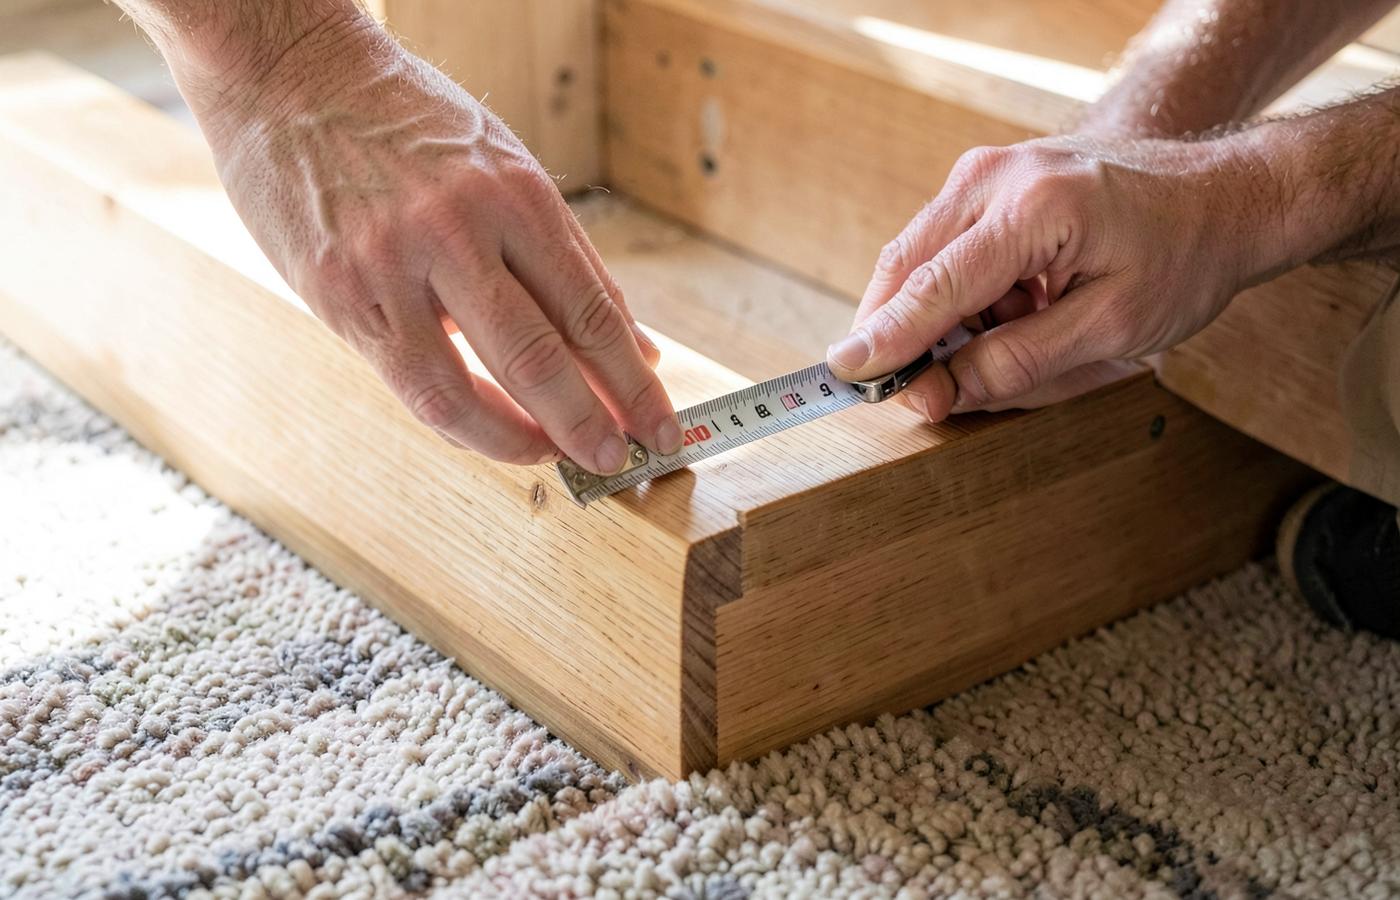
A runner follows the surface of the staircase, so the length it consumes is the length of that surface. On each step it travels across the tread and down the riser. Add those two dimensions for every step and you have the core figure.
Two refinements matter. First, the runner curves over the nosing rather than turning a sharp right angle, and that curve consumes a small amount of extra material on every single step — negligible once, significant across a whole flight. Second, the pad beneath the runner lifts it slightly off the timber, which lengthens the path it takes. Neither is large, but both are real, and both are why a length calculated from bare geometry alone tends to come up short.
Our stair runner calculator works this through with the arithmetic visible, so you can see which part of the total comes from where rather than trusting a single number.
Measure every step
The single most common error is measuring one step and multiplying. Staircases — especially older ones — are rarely uniform. Bottom steps are frequently deeper. Top steps are often shallower where they meet a landing. Winders are a different shape entirely. A difference of a few millimetres per step is invisible individually and adds up to a real shortfall across sixteen of them.
Record each step separately on paper. It takes ten minutes and it converts a guess into a figure. The measuring guide covers exactly where to place the tape and the mistakes that produce false readings.
What has to be added on top
The step total is the starting point, not the order quantity. Everything below adds to it.
| Allowance | Why it is needed |
|---|---|
| Top finish | The runner has to terminate somewhere at the head of the flight — wrapped under a nosing, run onto a landing, or finished against a threshold. Each consumes material. |
| Bottom finish | A bullnose or curtail step takes noticeably more than a plain one, because the runner wraps a curve. |
| Winders and pie steps | Measured at their widest point and treated as full steps, plus offcut waste from shaping. |
| Landings crossed | The full run of the landing if the runner continues across it, rather than stopping. |
| Pattern repeat | Where a design must align across steps or seams, cuts are forced to particular points and the material between them is waste. |
| Error margin | Measurements go wrong, cuts go wrong, and a staircase reveals something unexpected halfway up. This allowance is not optional. |
A generous order is inconvenient. A short order stops the job, and re-ordering risks a different dye lot that will never match the material already fitted.
Dye lots: the reason short orders hurt
Textiles are produced in batches, and batches differ subtly in colour even when the specification is identical. Two lengths of the same product ordered weeks apart can look fine in the shop and obviously different on a staircase, where the light rakes across the surface and reveals everything.
Order the whole quantity, including allowances, in one go from one batch. If you must re-order, ask explicitly whether the new material is from the same lot, and place any mismatched section where it will be least visible — the top of a flight rather than the bottom, in most houses.
Width is a separate calculation
Length determines how much you buy; width determines what you buy. Runners are supplied in set widths, and the margin of exposed tread either side of the runner is a design decision that also affects safety and appearance. It does not affect the length figure but it does affect which product is available to you.
Settle the width first, since it narrows the field of products, then calculate the length for whichever you choose. Our width guide covers how margins are chosen and what happens when a runner is too narrow for the staircase.
The geometry of winders and pie steps
Winders are the most complex part of any measurement schedule. Because these steps are triangular or trapezoidal, the path the runner takes across them is longer than on a straight step. You must measure from the crease at the back of the tread to the crease at the front, following the line where the runner will actually sit.
When calculating quantity for winders, always use the measurement at the widest point of the runner's path. Furthermore, the angle of the turn often means the runner must be cut and seamed to ensure the pattern or grain follows the direction of travel. This "template cutting" generates waste that must be accounted for. For a 90-degree turn consisting of three winders, add at least 0.5m to your total length just for the shaping and seaming.
Landings and transitions
If your staircase has a half-landing, you have a choice: stop the runner and start a new piece, or continue across it. A continuous runner across a landing is a premium look but requires more material. Measure the landing's depth (the direction of travel) and add it to your total.
Transition points — where the runner meets the hallway floor or the landing carpet — also consume material. A "birds-beak" finish at the top nosing or a wrap-around at a bottom bullnose step can easily use 10-15cm of runner each. These small additions are where many estimates fall short.
Underlay and fixings: the hidden volume
While this guide focuses on the runner length, don't forget the underlay. Underlay is typically cut into individual pieces for each step, and because it sits slightly back from the nosing and the edges, you need less total length of underlay than runner. However, the waste factor is similar because you are cutting multiple small rectangles from a larger roll.
Gripper strips and staples don't add to the length requirement, but their presence can affect how the runner sits. A thicker underlay or a more aggressive gripper will lift the runner slightly, increasing the path length over every nosing. This is why we recommend a general 5% "settlement" allowance on top of your geometric measurements.
Common measurement traps to avoid
- Ignoring the riser height: It's easy to focus on the treads, but every riser adds 15-20cm to the total.
- Measuring the wall stringer: The wall-side of a staircase is often a different length than the open-side. Measure where the runner will actually lie.
- Forgetting the bullnose: A curved bottom step can have a perimeter twice the width of the runner.
- Trusting the building plans: Stairs are built, not grown. Variations of even a few millimetres per step are common and cumulative.
Decision Table: How much extra to order
| Staircase Type | Recommended Waste Allowance | Key Reason |
|---|---|---|
| Straight flight, plain material | 10% | General trimming and error margin |
| Straight flight, large pattern repeat | 15-20% | Aligning the pattern vertically on each step |
| Flight with one 90-degree turn (winders) | 20% | Shaping waste and seaming requirements |
| Complex staircase (multiple turns/landings) | 25% | Unpredictable geometric adjustments |
Maintenance and repair allowance
One final consideration: "The Attic Piece." It is highly recommended to order an additional 1-2 metres of runner to be kept in storage. Stair runners are subject to intense, concentrated wear. If a single step is damaged by a spill, a pet, or a heavy impact, having a matching piece from the original dye lot allows for an invisible repair. Without it, you may be forced to replace the entire flight because a new batch of material doesn't match the aged runner.
The Mathematics of Pattern Matching: Vertical Repeats
When you choose a runner with a vertical pattern repeat—such as a large diamond or a repeating floral motif—the calculation of "how much" becomes a geometric puzzle. Unlike a plain runner, where you can cut anywhere, a patterned runner must be cut at specific points to ensure the design sits in the same position on every step. This is known as "centering the pattern." If your step height (tread plus riser) is 45cm and your pattern repeat is 60cm, you will have 15cm of waste for every single step just to keep the pattern consistent. Over a 15-step flight, this adds over two metres to your total order.
Failure to account for the pattern repeat is one of the most common reasons DIYers run out of material. Professional fitters will calculate the "pattern-adjusted length" by dividing the total measured length by the repeat size and rounding up to the next full repeat. This ensures that you have enough material to start the pattern at the same point at the bottom of the flight as you did at the top, creating that satisfying, uniform look that defines a high-end installation.
Allowing for Compression and Pad Displacement
A factor often overlooked by non-professionals is "material take-up." When a runner is pulled tight over the underlay and the nosing, the material actually compresses and stretches. Furthermore, the underlay itself takes up volume within the "crease" of the step. If you measure with a flexible tape measure pressed tight against the bare wood, your measurement will be slightly shorter than the path the carpet actually takes once the underlay is in place. We recommend adding a "take-up allowance" of roughly 5mm per step to account for this displacement.
This take-up is even more pronounced with thick, plush carpets or heavy rubber underlays. While 5mm sounds insignificant, on a standard UK flight of 13 to 15 steps, this accounts for nearly 10cm of "missing" carpet. When combined with the wrap at the top and bottom, these small oversights are what lead to the stressful situation of having only a few centimetres of carpet left for the final step. Always round your per-step measurements up to the nearest centimetre to build in a natural safety margin.
Strategic Seaming: Where to Hide the Joins
If you are forced to join two pieces of runner—perhaps because the roll was not long enough or you are working around a complex half-landing—where you make that join is critical for both aesthetics and durability. A join should never, ever be placed on a tread where it will be subjected to the full weight of foot traffic. This will eventually cause the seam to open or the edges to fray. The only acceptable place for a join is in the "crotch" of the step—the internal angle where the tread meets the riser.
When calculating your quantity, you must allow for an overlap of at least 5-10cm at every intended join point. This allows the fitter to "double-cut" the seam for a perfect fit and provides enough material to secure both ends to the gripper or subfloor. If you are planning a join on a landing, the seam should be placed at the very back of the landing, away from the main path of travel. Adding these "seaming allowances" to your total length ensures that you have the flexibility to place joins strategically rather than being forced to put them in high-wear areas due to a lack of material.
The Professional Order Sheet: A Step-by-Step Template
To avoid confusion when ordering, we recommend creating a formal "Measurement Schedule." This is a simple table where you list every step (Step 1, Step 2, etc.), the tread depth, the riser height, and any notes about winders or odd shapes. At the bottom, you sum these figures and then add your calculated allowances for the top wrap, bottom wrap, pattern repeat, and general waste. Having this documented makes it much easier to communicate with suppliers and fitters, and it provides a clear paper trail if you need to double-check your figures later.
Don't forget to include the width on this sheet. While width doesn't change the linear length, it determines which products you can even consider. Most runners come in standard widths like 60cm, 66cm, or 70cm. If your measurement schedule shows that you need a 68cm runner to achieve your desired margin, you will either need to choose a 66cm runner and accept a slightly larger margin or look for a bespoke supplier. Having all your data in one place—length, width, and allowances—is the most effective way to ensure a smooth, error-free purchase.
Frequently asked questions
- What if my stairs have different riser heights?
- If the variations are minor (a few millimetres), you can usually average them out, but if there are significant differences, you must measure every single riser. A staircase with irregular heights is a common feature in period homes, and failing to account for them will lead to a runner that is either too short or has awkward slack sections.
- Do I need to measure the width for length calculation?
- Strictly speaking, width doesn't change the linear length requirement, but it does affect how much total carpet area you buy if you are cutting from broadloom. For winders, the width of the runner determines the path it takes, so you must know the width to measure the correct turning radius and subsequent length.
- How much carpet do I need for a stair runner?
- Add the tread depth and riser height of every step together, add the run of any landing the runner crosses, then add an allowance for the wrap at the top and bottom, for winders, for pattern matching and for a general margin of error. The result is the length of runner to order. Never order the raw step total on its own.
- How long is a typical stair runner?
- There is no typical length, because it depends entirely on the number of steps and their dimensions. A short flight in a modern house and a tall Victorian staircase with a half landing can differ by several times. Measure your own staircase rather than working from an average.
- How many feet of runner do I need per step?
- One step consumes the depth of the tread plus the height of the riser, plus a little for the curve over the nosing. Multiply the per-step figure by your step count, then add allowances. The per-step figure is the number to measure carefully, because any error in it is multiplied by every step.
- How much extra should I order?
- Enough to cover the top and bottom finishes, the shaped pieces on any winders, pattern repeat matching if the design demands it, and simple human error. A tight order that leaves no margin is the most common reason a project stalls halfway up the flight.
- Does the pattern change how much I need?
- Yes, sometimes considerably. A pattern with a large repeat that must line up across steps or seams forces you to cut at particular points, and the material between those points becomes waste. Plain and small-scale textures need the least extra.
- What about winders?
- Winders are triangular steps and must be measured at their widest point. Because they involve shaping, the waste percentage for these steps is higher than for straight treads. Budget at least 15-20% extra length for winders specifically.
- Should I include the landing in the runner length?
- If you want the runner to continue across the landing, yes. Measure the full length of the landing you intend to cover. If you are stopping the runner at the top of the flight, you only need enough to wrap the final nosing.
Related guides
- MeasurementHow to Measure for a Stair RunnerThe tread-plus-riser formula, waste allowance, winders and landings, plus a calculator that shows its working.
 CostWhat Affects Stair Runner CostThe material, labour and complexity variables behind a runner quote, and how to compare estimates fairly.
- MeasurementWhat Width Should a Stair Runner Be?How to set runner width and side margins from your stair width, stringers, balusters and pattern.
- ToolsStair Runner Length CalculatorWork out runner length from your step count, tread, riser and nosing, with the formula shown in full.