Installation
How to install a stair runner
The two fitting styles, the three fixing systems, the sequence a fitter works in, and the checks that separate a runner that lasts from one that creeps.
Written by the StairRunner.co editorial team · Updated 4 September 2026
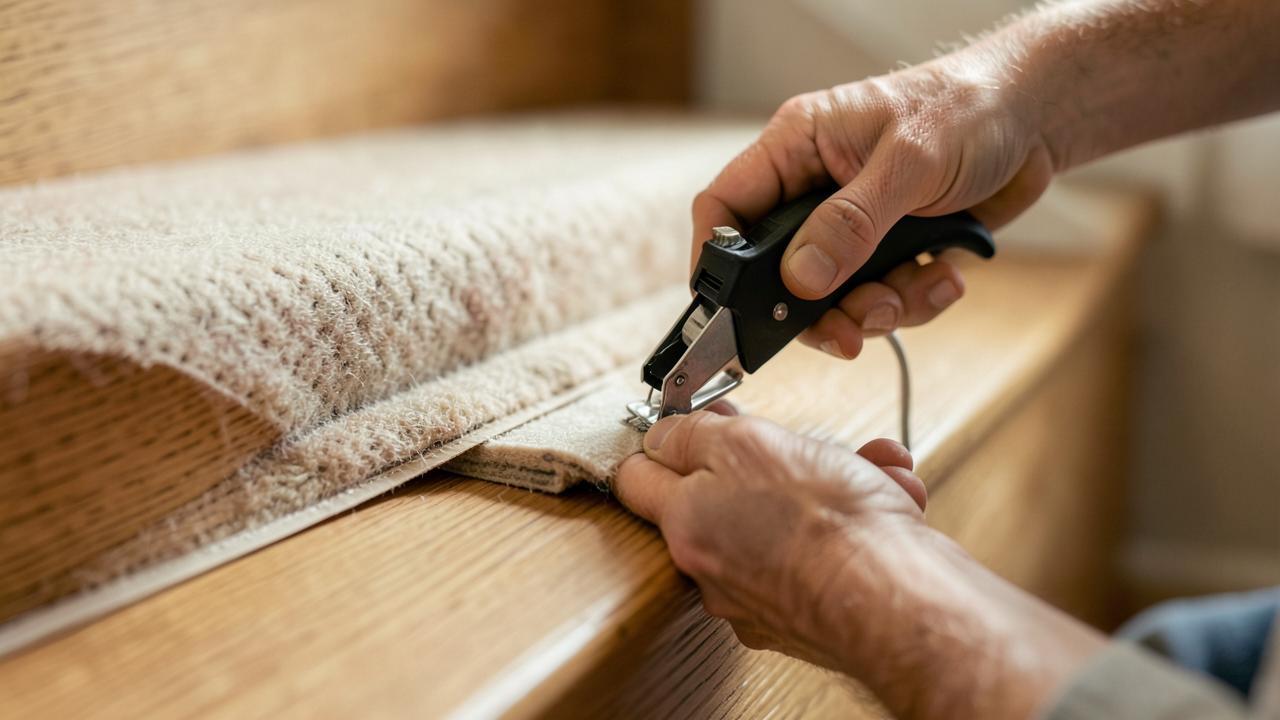
What "installation" actually has to achieve
A stair runner installation has three jobs to do at once, and most fitting problems trace back to one of them being neglected in favour of the others. First, it has to hold the runner completely still under repeated footfall and the shear forces created by a foot landing and pushing off a nosing. Second, it has to keep the runner centred and the margins even, which depends on accurate reference lines rather than fitting by eye. Third, it has to protect the pile at the point of greatest wear — the nosing — with adequate underlay and, ideally, a construction that closes tightly around that edge rather than sitting loosely over it. A fitter who gets the fixing right but skips the centre line produces a runner that is secure but visibly crooked. One who nails the alignment but skimps on underlay produces a runner that looks perfect on day one and shows a bald line at every nosing within a couple of years.
Choose the style: waterfall or Hollywood
| Waterfall | Hollywood (cap and band) | |
|---|---|---|
| Profile | Drapes off the nosing in a soft curve | Follows the stair shape into each angle |
| Labour | Faster | Slower, more fixing points |
| Best suited to | Thicker piles, casual and traditional looks | Flatweaves, patterns, tailored contemporary looks |
| Wear behaviour | Gap under the nosing can flatten over time | Closer contact, generally holds shape longer |
| Stair rods | Works well, rod sits in the angle | Works well, rod reinforces the tucked line |
The full visual and structural comparison, including photographs of each style on the same staircase, is in the waterfall versus Hollywood guide. If you are undecided, ask your fitter which style they fit most often — most develop a strong preference based on which they can execute most consistently.
Choose the fixing system
- Tack strips (gripper) in the angle. Two strips per step, pins angled toward each other, with the runner stretched into the gap between. The standard professional method and the most secure.
- Staples. Fast and effective, usually into the crease and along the sides where the fixing is hidden in the pile. Common on DIY jobs and in combination with gripper.
- Stair rods. Decorative bars held by side brackets. On modern installations rods are usually ornamental over a properly fixed runner rather than the sole fixing. Historic-style installations where the runner is genuinely held by rods allow the runner to be shifted periodically to even out wear. See the stair rods guide for the range of styles and fixing methods available.
- Clips and hardware. Runner clips and holders exist for light-duty or rental situations. Treat them as temporary; stair traffic is demanding.
Tools and materials
- Tape measure, chalk line or laser, straight edge, pencil
- Carpet knife with fresh blades, knee kicker or mini stretcher, stair tool, bolster
- Staple gun (electric or pneumatic) with appropriate staples, or hammer and tacks
- Tack strips cut to width, underlay, and adhesive or fixings suited to your treads
- Dust mask, knee pads, eye protection, and a reliable work light
Preparation
- Remove any existing carpet, pad, staples and tack strips completely.
- Repair squeaks and loose treads now. A runner makes access harder and traps the noise underneath.
- Clean and, if you are refinishing the visible margins, complete that work and allow full cure time before fitting.
- Mark a centre line on every tread and riser. This is the reference the whole installation follows, and it is what keeps the side margins even.
- Confirm your length and width measurements against the delivered material before cutting.
The fitting sequence
- Fix the tack strips. One on the tread and one on the riser at each angle, leaving a gap roughly the thickness of the runner between them, pins facing into the gap.
- Fit the pad. Cut a piece for each tread, wrapping over the nosing for Hollywood or stopping just behind it for waterfall, and secure it clear of the gripper pins.
- Start at the top. Align the runner to the centre line and secure the top edge where the finish will be concealed — under the landing nosing or into the top riser.
- Work down one step at a time. Stretch the runner over the nosing, press it into the angle with the stair tool, check the centre line, then fix.
- Keep tension consistent. Uneven stretch is what causes wrinkles two months later, and it cannot be corrected by pulling harder at the bottom.
- Finish the bottom. Wrap under the bottom riser, or stop cleanly on the last tread with a bound edge. Both are legitimate; decide before you cut.
- Fit rods last if you are using them, working to a consistent height above each tread.
Fitting winders, curves and open sides
Winders need the runner cut and turned so the pile direction stays consistent around the corner, usually with a seam hidden in the deepest part of the angle rather than across the visible walking line. This is genuinely specialist work: an inexperienced attempt commonly leaves a visible pucker on the inside of the turn where excess material has nowhere to go. Curved or open-sided staircases raise the stakes further, since a fixing that fails on the open side has no wall to limit how far the runner can move. If your staircase includes any of these features, treat the DIY-versus-professional decision below as largely settled in favour of a professional fitter.
Quality checks before you call it finished
- Side margins measure the same on every step, top to bottom.
- No movement when you push the runner sideways at mid-flight.
- No visible gap or slack under any nosing.
- Pattern lands in the same position on each tread.
- No staple heads proud of the pile, and no exposed gripper pins at the edges.
- Edges are bound or serged with no fraying yarn.
- The runner does not lift or bounce when you walk down the flight at a normal pace, tested more than once.
Common mistakes
- Working bottom to top, which pushes accumulated slack toward the landing.
- Skipping the centre line and eyeballing alignment.
- Under-stretching, the single biggest cause of a runner that ripples within a year.
- Using a pad as wide as the runner, so the edges sit proud and catch.
- Fitting over existing carpet — there is nothing solid for the fixings to hold.
- Rushing the last two or three steps at the bottom once fatigue sets in, which is where DIY installations most often lose their earlier precision.
Living with a newly fitted runner
A freshly fitted runner sheds a small amount of loose fibre in the first few weeks, particularly with cut-pile constructions — this is normal manufacturing fluff working loose, not a fault. Vacuum gently rather than aggressively during this period. It is also worth checking the fixings again after the first month, once the material has settled under normal traffic; a fitter will usually welcome a quick follow-up look if anything feels different underfoot. Ongoing care is covered in the stair runner cleaning guide.
DIY or professional?
A straight flight, plain material and a patient weekend is a realistic DIY project. Winders, curved or open-sided stairs, patterned material that must be matched, and expensive wool are all reasons to hire a fitter. Most installers also carry insurance for damage to the staircase, which matters on original timber. Cost differences are set out in the stair runner cost guide and the installation cost breakdown.
Whichever route you take, do not compromise on the fixings. A stair runner is a walking surface on the most hazardous part of the house, and a loose runner is a genuine trip risk.
Frequently asked questions
- Should a stair runner be installed waterfall or Hollywood?
- Waterfall drapes the runner straight off the nosing and suits thick or patterned material and casual interiors. Hollywood (cap-and-band) is pushed into each tread-riser angle for a tailored line and closer contact with the stair, which usually wears better.
- Can you install a stair runner without nails or staples?
- Yes, using stair rods with brackets, or double-sided carpet tape combined with a gripper system. Rods are the durable no-staple option; tape alone tends to fail under stair traffic and is not a substitute for mechanical fixing.
- How long does installing a stair runner take?
- A straight flight of 13 to 16 steps typically takes a professional fitter a few hours. A first-time DIY installation on the same flight commonly runs to a full day, and winders add substantially more.
- What size staples are used for a stair runner?
- Fitters generally use narrow-crown staples long enough to hold the runner and pad without penetrating the far face of the tread. Match the length to your material thickness and test on an offcut and a hidden area first.
- Can a stair runner be installed over an existing stair carpet?
- No. The old carpet has to come out first, along with its pad, staples and tack strips. Fixing a new runner into an old pile means the fixings have nothing solid to bite into and the fit will fail early.
- Does a stair runner need to be re-stretched over time?
- A well-fitted runner should not need re-stretching, but if it develops a wrinkle or slack area, a fitter can usually lift, re-stretch and re-fix that section without replacing the whole runner, provided the material has not worn or shrunk unevenly.
- What is a 'knee kicker' and do I need one?
- A knee kicker is a tool used to provide short-distance stretch to the carpet so it bites onto the gripper pins. It is essential for a tight, professional-looking fit that won't ripple.
- How many staples should be used per step?
- There is no fixed number, but a typical Hollywood fit uses staples every 5-10cm along the crease and around the nosing. The goal is complete immobility, not a specific count.
Sources and further reading
- Carpet and Rug Institute — installation standards (CRI 105 series)
- U.S. Consumer Product Safety Commission — stairway fall hazards
Where guidance differs between manufacturers, trade bodies or local building regulations, we say so rather than presenting one position as universal.
Related guides
 MeasurementHow to Measure for a Stair RunnerThe tread-plus-riser formula, waste allowance, winders and landings, plus a calculator that shows its working.
 MaterialsStair Runner Materials ComparedWool, nylon, polypropylene, sisal and jute judged on stair-specific wear, comfort, cleaning and safety.
 CostWhat Affects Stair Runner CostThe material, labour and complexity variables behind a runner quote, and how to compare estimates fairly.
 CareCleaning and Caring for a Stair RunnerRoutine vacuuming, spill response by fibre type, slipping and fraying, and when to call a professional.
Substrate preparation: the invisible foundation
The longevity of your installation depends on what lies beneath the carpet. Before a single staple is driven, the timber treads must be sound. If a tread has a "bow" or a "dip" from a century of wear, the runner will never sit perfectly flat, creating a hollow sound and accelerating wear at the high points. Professional fitters will often use a "feathering" compound or thin plywood to level out badly worn steps. Additionally, if the stairs have been previously painted or varnished, ensure the finish is not "flaking" — a loose substrate means the adhesive or tack strips will eventually peel away, taking the runner with them. See preparing stairs for details.
Fixing into non-timber stairs: stone, concrete and steel
While most UK domestic stairs are timber, many Victorian conversions and modern homes use stone, concrete, or even steel. Installing a runner on these requires a different set of skills. You cannot use standard staples; instead, the fitter must drill and plug the staircase to accept screws for the tack strips orrods. For concrete, a high-strength contact adhesive is often used. If you have non-timber stairs, ensure your fitter has experience with masonry work, as an incorrectly drilled hole can crack a stone tread.
Transitions and finishing at the floor
The bottom step is where the installation is most visible. You can finish the runner with a "turn-under" on the final riser, or extend it out onto the floor as a small mat. If the runner meets a hard floor, a matching metal or woodthreshold bar is required. ForDIY enthusiasts, this is often the hardest part to get right. If you are fitting without nails, ensure the adhesive used at the transitions is rated for high-traffic zones.