Installation
How to fit a stair runner without nails, staples or holes
There are several ways to hold a runner without puncturing the visible timber. They differ enormously in how well they actually restrain the covering, which is the only thing that matters on a staircase.
Written by the StairRunner.co editorial team · Updated 4 September 2026
Why people want to avoid nails
Three reasons come up again and again. The staircase is hardwood and the treads are the feature, so holes in the finish are unacceptable. The property is rented and nothing permanent is allowed. Or the runner is expected to change — a pattern the household is not yet sure about, or a covering intended to be lifted seasonally.
Method one: stair rods that actually clamp
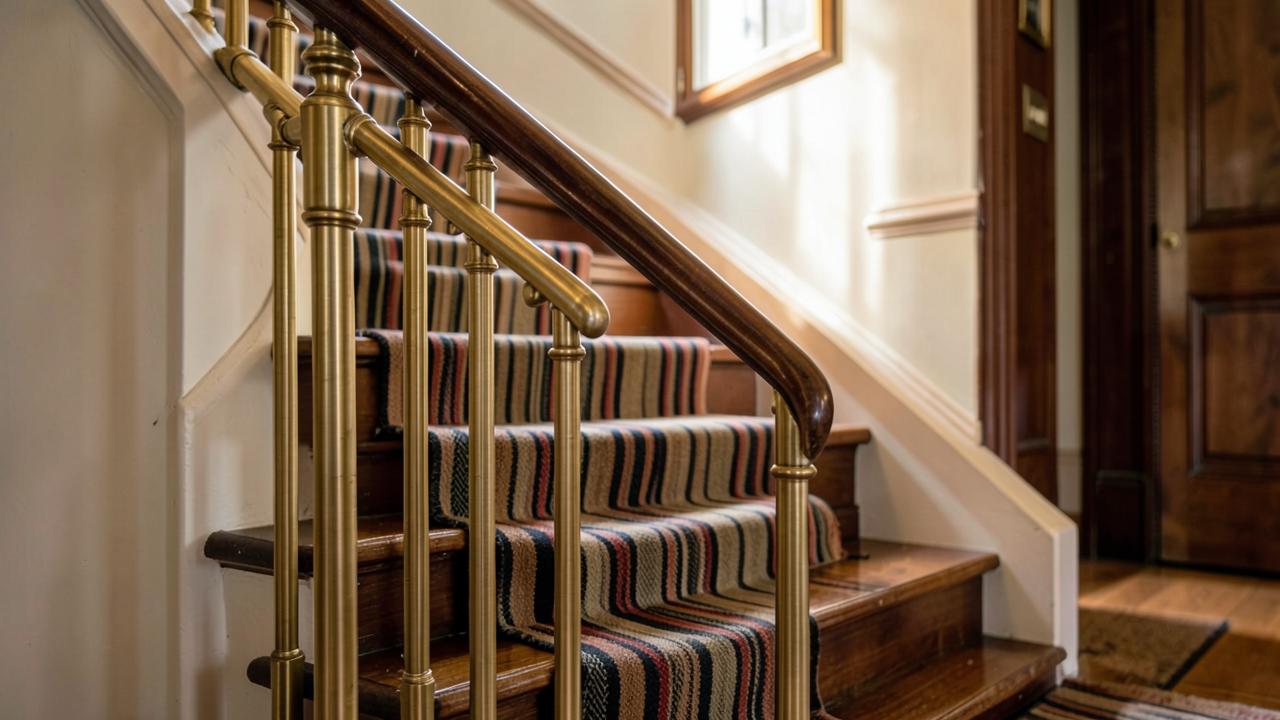
A stair rod runs across the runner in the crease of each step, held at both ends by brackets fixed at the sides. Where the brackets sit under the runner's outer edge or just outside it, the visible tread face stays untouched.
The critical distinction is between rods that clamp and rods that decorate. A clamping system pins the covering into the internal angle and stops it lifting; a decorative rod simply lies across a runner that is held by something else.
Method two: tackless strip inside the runner line
Tackless strip — a thin batten with angled pins — is the standard way fitted carpet is held without visible fasteners. On a staircase, strips are set into the crease of each step so the pins grip the back of the runner when it is stretched over them. The fixings that hold the strip itself sit under the runner, hidden for the life of the installation.
This is not strictly a hole-free method: the strip has to be attached to the staircase. But the holes are in the crease, permanently covered, and never on the visible face of a tread.
Method three: adhesive and bonding systems
Purpose-made carpet adhesives and double-sided bonding tapes hold a runner by sticking it to the pad, or the pad to the stair. They carry two cautions worth stating plainly: finish compatibility and surface preparation.
Failure Modes: How No-Nail Installations Go Wrong
The most common failure in a no-nail installation is "nosing creep." Over time, the mechanical pressure of feet walking down the stairs pushes the runner forward. Without the bite of a staple or nail, the material can slowly slide over the front edge, creating a bubble at the riser. This is not just unsightly; it's a trip hazard.
Another failure point is the "puckering" of the edges. If you are relying on adhesive, the edges are the first to lift as the glue dries out or as the carpet fibres expand and contract with humidity. If you are using rods, the tension can sometimes be uneven across the width of the runner, leading to diagonal wrinkles.
Finally, there is the risk of "telegraphing." This is where the outline of the tackless strip or the rod brackets shows through the face of the carpet. This happens if the material is too thin or the padding is insufficient. Always match the thickness of your runner to the scale of the fixing hardware.
Maintenance for No-Nail Runners
A no-nail runner requires more frequent inspections than a traditionally fitted one. Every month, perform the "shuffle test": stand on a tread and try to slide your foot forward with force. The runner should not move. If it does, your fixings need adjustment.
If you are using stair rods, check the bracket screws. The vibration of a household using the stairs can slowly back the screws out of the wood. Tighten them by hand – using a power drill can easily strip the holes in hardwood.
For adhesive-based systems, be wary of wet cleaning. Getting the backing of the carpet too wet can emulsify the adhesive, causing it to lose its grip. Use dry-powder cleaning methods where possible, or very low-moisture professional extraction.
Rental Strategies: Maximizing Removability
If you are in a rental and need a runner for safety or noise, consider "friction-based" treads as an alternative. These are individual pieces for each step that use a high-grip silicone backing. While not as elegant as a continuous runner, they are 100% removable and leave absolutely no trace.
If you must have a runner, look for "interlocking" rod systems that can be clamped to the newel posts rather than screwed into the treads. These are rare and expensive, but for a valuable period staircase in a rented home, they are the gold standard of non-destructive fitting.
Decision Table: Choosing your No-Nail Method
| Method | Best For | Main Drawback |
|---|---|---|
| Clamping Stair Rods | Traditional/Period Homes | Highest cost for quality hardware |
| Concealed Tackless Strip | Permanent fit on hardwood | Still requires small holes in the crease |
| Bonding Tape/Adhesive | Low-profile/Modern look | Potential for finish damage upon removal |
| Individual Treads | Rentals/Maximum Removability | Least "integrated" appearance |
The Physics of Friction: Why Runners Move
To install a runner without nails, one must understand the forces at play. Every time a person walks down a staircase, they exert a forward and downward force on the carpet. This is known as "nosing thrust." On a traditionally fitted runner, staples and grippers resist this force. In a no-nail installation, you are relying entirely on friction and tension. Friction is a product of the coefficient between the carpet backing and the stair surface (or underlay), multiplied by the downward pressure. This is why "non-slip" pads are so critical; they increase that coefficient of friction, ensuring that the lateral force of a footfall doesn't translate into horizontal movement of the fabric.
Tension, on the other hand, is provided by how tightly the runner is pulled between fixings. If you are using stair rods, the rod must act as a clamp, pinning the runner into the crease. If the rod is merely decorative and sits loosely in its brackets, the runner will eventually "creep" down the flight. This movement is often slow—measured in millimetres per month—but it eventually leads to dangerous bunching at the base of each riser.
Chemical Compatibility: Protecting your Hardwood Finish
One of the primary reasons for choosing a no-nail method is to preserve the finish of expensive hardwood stairs, such as oak, walnut, or mahogany. However, many homeowners overlook the chemical risk posed by adhesives. Standard double-sided "carpet tape" often contains solvents that can soften or discolour polyurethane, lacquer, or wax finishes over time. When the tape is eventually removed, it may peel away the top layer of the timber's finish or leave a permanent "shadow" in the wood grain.
Before applying any adhesive, you must identify your stair finish. For oiled or waxed stairs, almost no adhesive will bond correctly, and you should stick to mechanical methods like rods. For lacquered or varnished stairs, use only "low-tack" or "clean-removal" bonding systems specifically rated for finished timber. Always test a small piece of the adhesive on an inconspicuous area—such as the very back of a bottom tread—and leave it for at least 48 hours before checking for any reaction.
The Professional’s Secret: Tension without Teeth
Expert fitters who specialize in non-destructive installations often use a technique involving "compression fitting." This involves cutting the underlay slightly thicker than usual and ensuring the runner is stretched to its absolute limit before being secured by the rods or concealed strips. The goal is to create a state where the runner is physically unable to move because every millimetre of slack has been removed. This requires a "carpet bolster" or a "tucker"—a blunt, wide-bladed tool used to drive the carpet deep into the crease.
When working without staples, the "crooked" nature of many older staircases becomes a significant challenge. You cannot simply staple out a slight deviation in the carpet's path. You must ensure that the runner is perfectly square at the start of the flight. If the first step is even one degree off-parallel, the error will manifest as a large diagonal wrinkle three or four steps up. Taking the time to use a laser level or a large carpenter's square for the initial placement is the difference between a professional-looking job and a DIY failure.
Handling Transitions at the Landing
The most difficult part of a no-nail installation is often the top and bottom of the flight. At the top landing, the runner must transition from a vertical riser to a horizontal floor. Without staples to hold the edge, the runner can easily trip someone up. The solution is often a "threshold bar" or "z-bar" that matches the stair rods. This bar is fixed to the floor (often into the subfloor rather than the decorative stair timber) and clamps the end of the runner flat. This provides a clean, safe finish that mirrors the rod aesthetic throughout the flight.
At the bottom of the stairs, the runner usually terminates at the floor level. If you have a bullnose step—a step that curves around the side—a no-nail installation is significantly more complex. You may need to use specialized "flexible" tackless strips that can follow the curve, hidden entirely under the wrap of the carpet. Alternatively, a "weighted" finish, where the end of the carpet is heavily bound and tucked under itself, can provide enough stability for low-traffic households.
Seasonal Changes and Material Expansion
Natural fibres like wool, sisal, and jute are hygroscopic, meaning they absorb and release moisture from the air. In a humid summer, these fibres can expand, and in a dry winter, they can contract. On a traditionally stapled runner, this movement is constrained. On a no-nail runner, especially one held by rods, this can lead to the runner becoming slightly slack or overly tight as the seasons change. Experts recommend performing a "tension check" twice a year. If the runner feels loose during a humid spell, you may need to adjust the rods or re-seat the concealed strips to maintain safety.
Synthetic materials like polypropylene or nylon are much more dimensionally stable and are often a better choice for no-nail installations in environments with high temperature or humidity fluctuations, such as conservatories or old houses with poor insulation. They don't "breathe" like natural fibres, which means the tension you set on the day of installation is likely to remain consistent year-round.
Visual Cues for Loosening
A well-installed no-nail runner should not require constant attention, but you should know what to look for. The first sign of trouble is usually "scalloping" at the edges—where the side of the runner starts to pull inward toward the centre of the step. This indicates that the tension is uneven. Another sign is "shining" on the nosing—a patch of the carpet that looks worn or flattened, often caused by the carpet sliding back and forth against the wood every time it is stepped on. If you see these signs, the installation needs to be tightened immediately to prevent damage to either the runner or the staircase.
Common Misconceptions about Non-Destructive Fixing
A frequent myth is that "heavier is better." People often assume that a heavy, thick carpet will stay in place by its own weight. In reality, the opposite is often true. A heavy carpet has more inertia and, once it starts to move, it is harder to stop. Furthermore, the thickness of a heavy carpet makes it harder to clamp tightly into the crease with a stair rod. A medium-weight, dense flatweave is often the ideal candidate for a no-nail installation because it is flexible enough to be pulled tight but has enough structural integrity to hold that tension.
Another misconception is that "any rod will do." As mentioned earlier, decorative rods with flimsy hollow tubes and weak brackets are purely aesthetic. If you are relying on rods for safety, you must invest in solid brass or steel rods with heavy-duty, screw-down brackets. The cost difference is significant, but it is the difference between a functional fixing and a dangerous ornament.
Frequently asked questions
- Can I use double-sided carpet tape on waxed stairs?
- It is generally not recommended. Waxed or heavily oiled finishes prevent the adhesive from forming a proper bond, and the tape can actually react with the wax to create a messy residue that is difficult to remove. For waxed stairs, mechanical fixings like stair rods or concealed tackless strips are far more reliable.
- Do I need underlay for a no-nail installation?
- Yes, in most cases. Underlay provides the necessary grip and cushioning that prevents the runner from sliding. In a no-nail setup, the underlay is often the primary source of friction. However, you must choose a low-profile, high-density underlay that doesn't add too much bulk, which could make the no-nail fixings less effective.
- Can you install a stair runner without nails or staples?
- Yes, but only some methods are genuinely safe. Stair rods with proper brackets, tackless strip placed inside the runner line, and purpose-made carpet adhesive systems all hold a runner without visible fixings. What does not work is relying on friction, weight or a decorative rod alone.
- How do you install a stair runner without damaging hardwood?
- Keep every fixing off the visible faces of the treads and risers. Rod brackets sit at the sides where the runner covers them; tackless strip sits in the crease under the runner; adhesive systems bond to the runner and pad rather than the timber.
- Do stair rods on their own hold a runner in place?
- Many decorative rods are ornament rather than fixing. Some rod systems clamp the runner properly into the crease and do hold it. Read the product's own description carefully: if it does not claim to secure the covering, assume it does not.
- Is a no-nail runner as safe as a stapled one?
- It can be, if the runner genuinely cannot lift, slide or bridge. Safety comes from restraint, not from the type of fastener. The failure mode to avoid is a runner that looks fitted but can be pulled away from the crease by hand.
- What about a rental staircase?
- This is the strongest case for a removable method. Rods with surface-mounted brackets, or a fully removable tread-based approach, add grip and appearance without permanent holes. Confirm with the landlord first.
Related guides
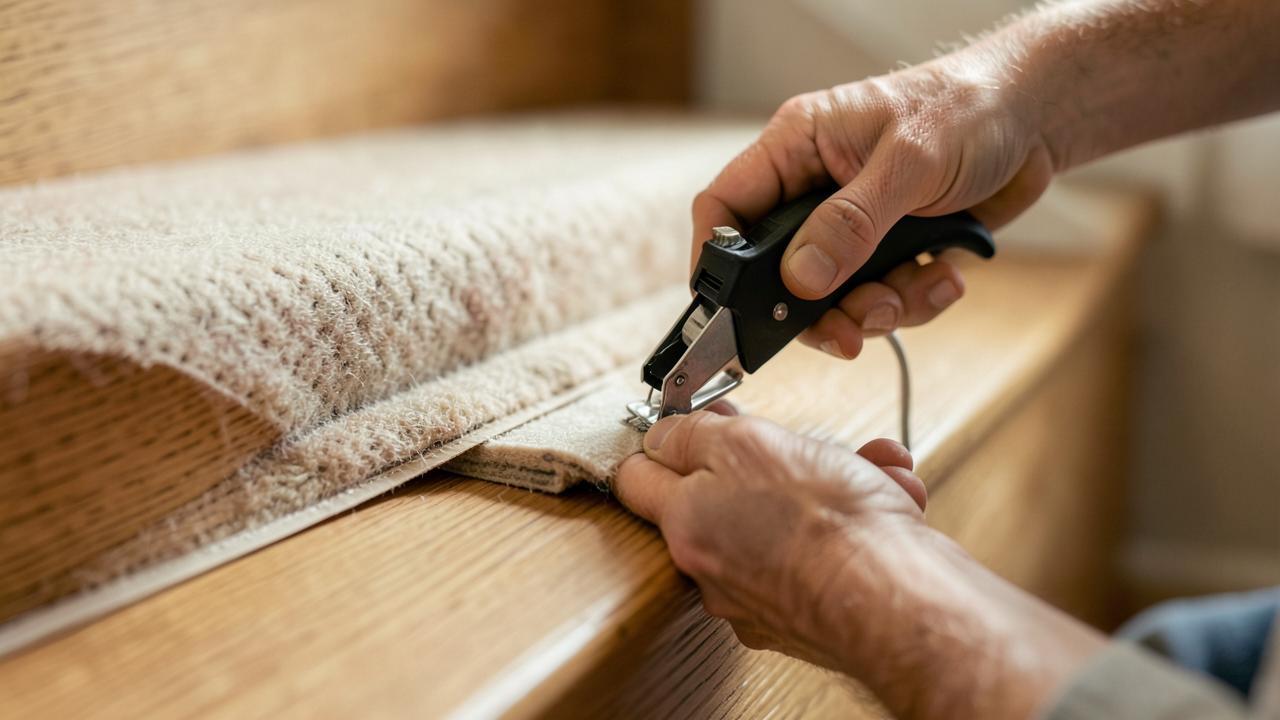 InstallationHow to Install a Stair RunnerWaterfall and Hollywood methods, staples versus rods, tools, sequence and quality checks.
- InstallationStair Rods, Clips and Runner HardwareHow stair rods, clips, brackets and bars actually work, when they hold a runner and when they are decorative.
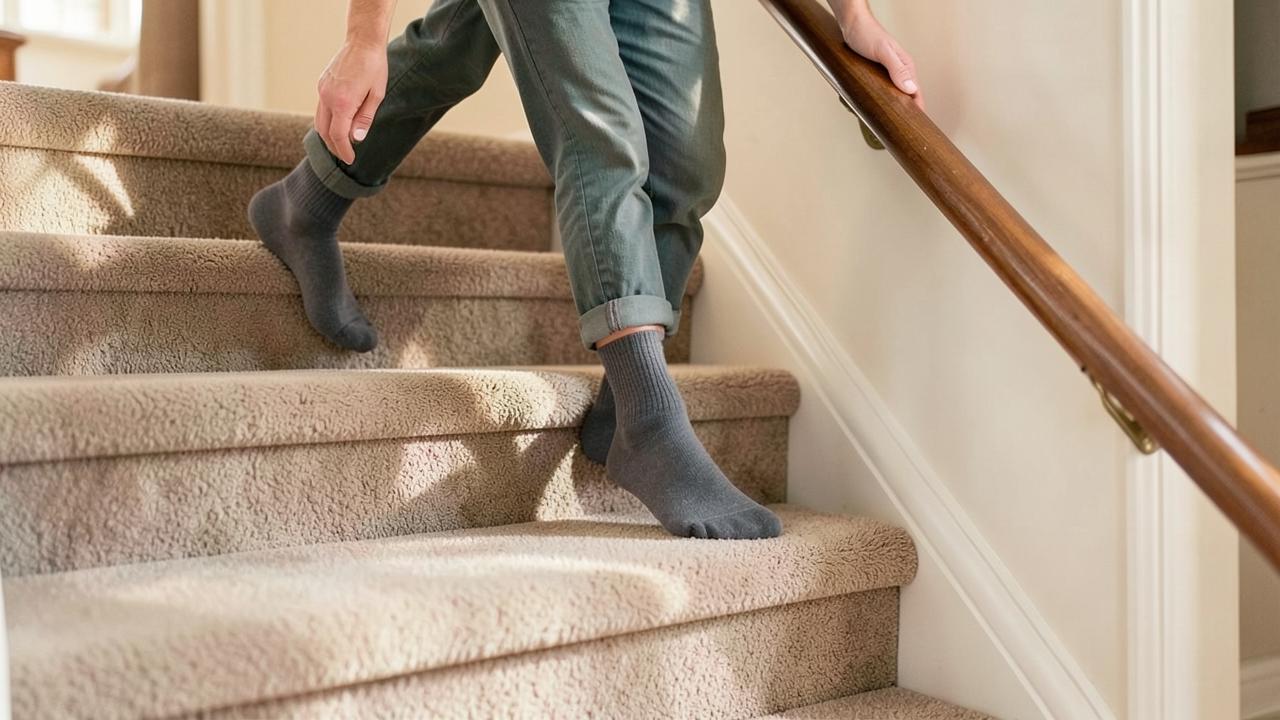 ComparisonsStair Treads vs a Continuous RunnerIndividual carpet treads compared with a single fitted runner on safety, looks, cost and removability.
- InstallationStaples for a Stair RunnerStaple size, crown width, placement and how to make the fixings disappear into the pile.