DIY
How to make your own stair runner from carpet
A runner is a strip of carpet with two finished edges. Making one yourself is entirely possible — the difficulty is not the cutting, it is the finishing.
Written by the StairRunner.co editorial team · Updated 4 September 2026
When making your own is worth it
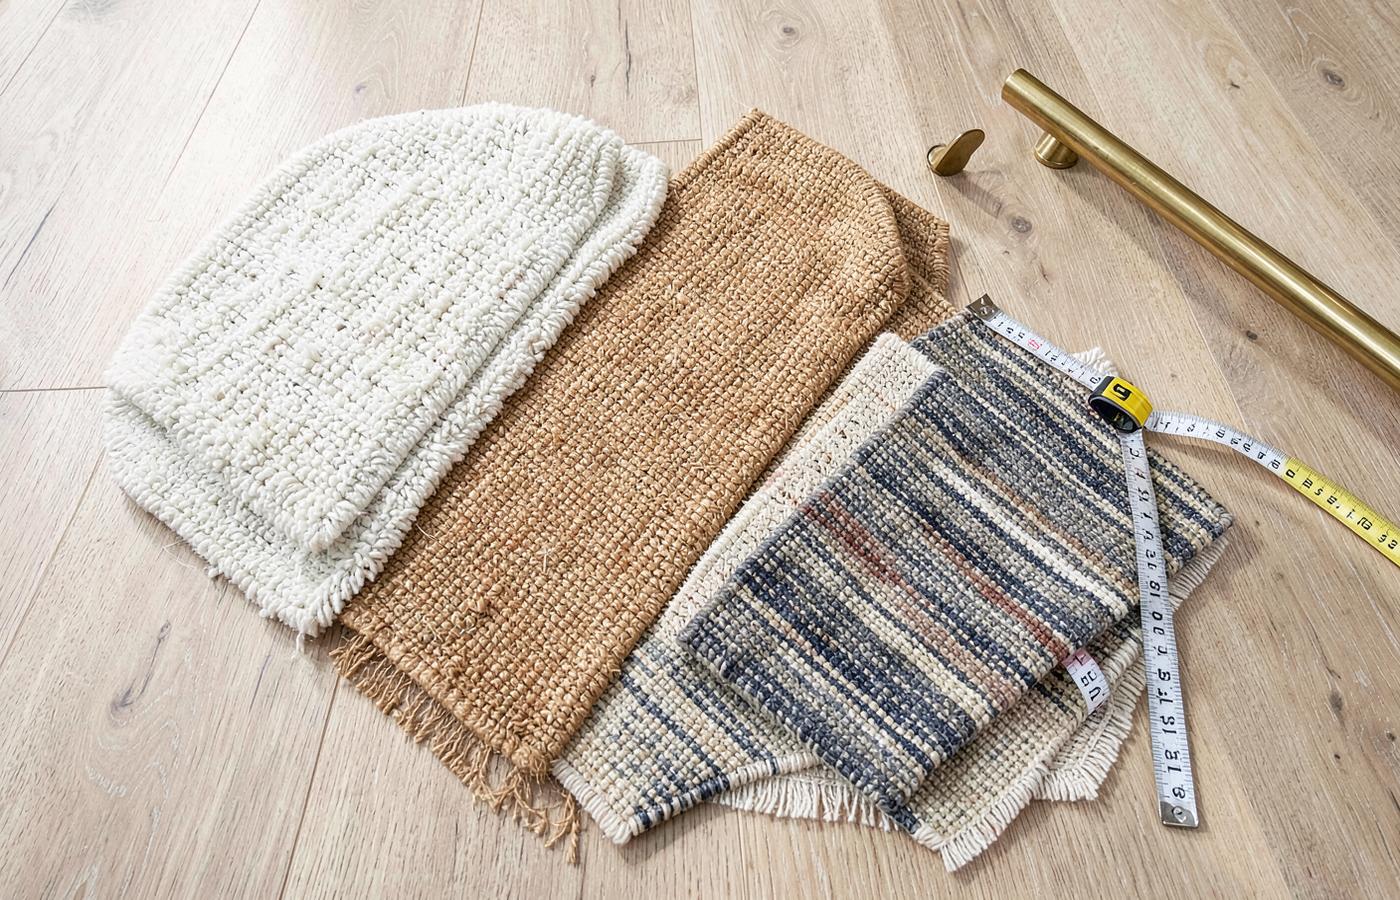
There are three good reasons and one bad one: you already have the material, you need a width nobody sells, or you want a specific carpet not sold as a runner. The bad reason is pure cost saving.
Choosing the carpet
Not every carpet is suitable to become a runner. Stairs concentrate wear on the nosing of every step and force the covering around a tight radius, which punishes some constructions badly. Look for a dense, low, tightly constructed pile.
Planning the cut
Work the numbers before touching the material. You need the total length including allowances and the finished width, and you need to know where the pile direction lies. Mark the direction with chalk arrows on the back before you cut anything.
Advanced Cutting Techniques
Beyond the basic straight cut, you must consider the "squaring" of the material. Broadloom carpet is rarely perfectly square from the factory. Before you cut your runner strip, use a large carpenter's square to ensure your starting line is at exactly 90 degrees to the factory edge. If your initial cut is even slightly off, the error will magnify over a five-metre run, resulting in a runner that "snakes" up the stairs.
For patterned carpet, the challenge is even greater. You must cut in relation to the pattern, not just the edge of the carpet. This often means you will have more waste, as you may need to sacrifice a few centimetres of width to ensure the pattern is perfectly centered on your runner strip.
The Art of Edge Finishing
The edge is what makes it a runner. If you choose the DIY iron-on route, the secret to success is heat management. Using a standard household iron, you must apply enough heat to melt the adhesive into the carpet backing without scorching the fibres. Use a pressing cloth and work in small, 30cm sections. Allow each section to cool completely under a heavy weight (like a stack of books) before moving on. This "sets" the bond.
However, for any staircase with significant traffic, we strongly recommend professional whipping or binding. A professional whipping machine uses a heavy-duty yarn that is literally sewn through the carpet edge. This is orders of magnitude stronger than any adhesive tape and provides the classic "bound" look that defines a high-end runner.
Joining Homemade Sections
If you are making a runner from remnants, you will likely need to join pieces. The best join is a "butt seam" made with heat-bond tape. On the back of the carpet, align the two factory-cut ends (never join two hand-cut ends if you can help it) and apply the tape according to the manufacturer's instructions.
The most important rule for joining: never place a join on a nosing or in the middle of a tread. The join must always sit in the crease where the tread meets the riser. This protects the seam from the mechanical stress of footfalls and makes it almost invisible.
Tool Checklist for Making Your Own
| Tool | Purpose | Pro Tip |
|---|---|---|
| Heavy-duty Utility Knife | Cutting the backing | Change the blade every 2 metres |
| 2-Metre Steel Straight Edge | Guiding the cut | Clamp it down; do not trust your hand pressure |
| Carpenter's Square | Squaring the ends | Check for square at both ends of the roll |
| Chalk Line or Silver Marker | Marking the backing | Silver markers are easier to see on dark backings |
| Binding Tape (if DIYing) | Finishing the edges | Buy 10% more than you think you need |
When to Abandon the DIY Route
Know your limits. If your carpet choice is a very stiff, high-weight wool axminster, it may be too difficult to cut accurately with a hand knife. Similarly, if your staircase has a complex series of winders, a homemade runner is very difficult to fit without it looking amateur. A professional runner is often woven to a specific width, meaning the edges are integrated into the structure of the carpet. A homemade runner is always a compromise by comparison.
Post-Make Inspection
Once you have cut and bound your runner, lay it out flat on a hard floor for 24 hours. This allows the material to relax after being rolled. Inspect the entire length for any missed spots in the binding or any slight deviations in the cut. It is much easier to fix a binding issue on the floor than it is once the runner is stapled to your stairs.
Understanding Carpet Backing and Structural Integrity
When you cut into a piece of broadloom carpet to make a runner, you are compromising its structural integrity. Carpet is engineered to be stable at the factory-finished width. The backing—whether it is a stiff "action back" (a secondary jute or synthetic mesh) or a softer felt—is what holds the tufts in place. When you make a longitudinal cut, you expose the "warp and weft" of this backing. If the backing is brittle, it can start to crumble at the edges, leading to tuft loss and a ragged appearance even before you've finished the installation.
For DIY projects, a felt-backed carpet is often easier to handle because it is less likely to fray aggressively than an action-backed one. However, action-backed carpets are generally more durable on stairs. If you choose the latter, you must be prepared to seal the cut edges immediately. A thin bead of specialized carpet edge sealer or even a high-quality PVA glue can "lock" the fibres into the backing, providing a stable foundation for whatever binding method you choose later.
The Geometry of the Cut: Squaring and Trueing
A common mistake in DIY runner creation is assuming that the factory edge of the carpet is perfectly straight. Over a four or five-metre roll, a factory edge can bow or snake by several centimetres. If you measure your runner width from a bowed edge, your runner will never sit straight on the stairs. The first step of any professional-grade DIY project is to "true" your starting edge. This involves snapping a long chalk line across the entire length of the carpet and making a fresh, straight cut to act as your reference point.
Squaring the ends is equally critical. Use a large framing square to ensure the top and bottom of your runner are at exactly 90 degrees to your side edges. If the ends are off-square, the runner will appear to "kick" to one side when it transitions onto a landing or meeting a floor. This is particularly noticeable with striped or geometric patterns, where a non-square cut will make the pattern look like it is running off the edge of the stairs. Take the time to measure three times and cut once; on a five-metre run, there is no room for cumulative error.
Advanced Binding: Using Webbing and Fringing
While iron-on binding tape is the most common DIY solution, more advanced makers may consider "webbing." This involves sewing or bonding a wide, heavy-duty fabric tape over the edge. Webbing provides a more architectural look and offers superior protection against the mechanical wear of foot traffic. It also allows for more creative control, as you can choose a contrasting colour or a specific material like herringbone cotton or leather-effect vinyl. The challenge is ensuring the webbing is applied with consistent tension; if it is too loose, it will pucker, and if it is too tight, it will cause the carpet edge to curl.
Fringing is another option, though more traditional and less common on modern runners. A fringed end at the bottom of the flight can add a sense of luxury, but it requires careful maintenance to keep the threads from tangling or being caught by a vacuum cleaner. If you choose to add a fringe, it should be sewn onto the bound end of the runner rather than being a continuation of the carpet fibres themselves. This ensures that the fringe can be replaced if it becomes worn without having to replace the entire runner.
Managing Pattern Alignment on DIY Joins
If your DIY runner requires multiple sections—perhaps because you are using offcuts or have a very long flight—joining them is the ultimate test of your skill. With a plain carpet, a butt-join in the crease of a step is relatively straightforward. With a patterned carpet, you must ensure that the design continues seamlessly across the join. This often means sacrificing a significant amount of material (the "pattern repeat") to ensure the two pieces match perfectly.
When joining patterned sections, use a "double-cut" method. Overlap the two pieces by several centimetres, ensuring the pattern is perfectly aligned. Then, using a fresh blade and a steel straight edge, cut through both layers of carpet at once. This ensures that the two edges match each other perfectly, regardless of any slight deviations in your hand. Use a high-quality heat-bond tape and a specialized carpet iron (or a carefully managed household iron with a pressing cloth) to fuse the two pieces together from the back. The resulting seam should be invisible from the front and strong enough to withstand years of use.
The Importance of Acclimatisation
Carpet is a flexible material that is sensitive to its environment. Before you start cutting and binding your runner, the carpet roll should be brought into the house and allowed to "acclimatise" for at least 24 to 48 hours. This allows the fibres to adjust to the temperature and humidity of the home. A carpet cut in a cold garage and then moved into a warm hallway may expand or contract, potentially ruining the precision of your measurements.
Lay the carpet out flat during this period if possible. If it remains rolled up, the inner layers will not acclimatise at the same rate as the outer layers. Furthermore, allowing the carpet to relax helps to remove the "curl" that naturally occurs at the end of a roll. A flat, relaxed carpet is significantly easier to cut accurately and will lie much better on the stairs during the final installation phase.
Waste Management: Using Offcuts for Treads
One of the benefits of making your own runner is that you will inevitably have long, narrow offcuts from the sides of the broadloom. Don't discard these. They can be used to create matching "tread pads" for other areas of the house, or even small rugs for the top and bottom of the stairs. If you have enough material, you can also create "protective strips" for high-wear areas of the runner itself, though this is rarely necessary if you have chosen a high-quality material.
For homes with pets, keeping a few large offcuts is a wise move. If a section of the runner is irreparably damaged—for example, by a cat using it as a scratching post—you can use your offcuts to perform a "patch repair." Since the offcut comes from the same dye lot and has been kept in the same environment, the repair will be far less noticeable than if you had to buy new material years later. Simply store the offcuts in a dry, dark place (like an attic or under a bed) to prevent fading or moth damage.
Common Myths in DIY Runner Making
A recurring myth is that "carpet glue is all you need for edges." While liquid latex or glue can help prevent fraying, it is not a substitute for binding. Glue alone will eventually crack and peel under the constant flexing of a staircase. Binding—whether tape, whipping, or webbing—is a mechanical reinforcement that glue cannot replicate. Another myth is that "you can use a jigsaw to cut carpet." Never do this. The high-speed reciprocating blade will melt synthetic fibres and tear natural ones, leaving a jagged, unusable edge. Stick to sharp, manual blades for every cut.
Frequently asked questions
- What is the best tool for cutting heavy carpet?
- A heavy-duty utility knife with a retractable blade is standard, but for thick wool or action-backed carpets, a specialized carpet wall trimmer or a dedicated carpet knife with a double-sided blade provides more control and a cleaner cut. The key is changing the blade frequently—often every few metres—to maintain a sharp edge.
- Can I use a regular sewing machine to bind carpet?
- No. Standard domestic sewing machines are not designed to pierce through carpet backing and multiple layers of pile. You will likely break the needle or damage the motor. For DIY binding, use iron-on tape or specialized hand-stitching techniques; for a professional finish, a heavy-duty industrial whipping machine is required.
- Can you make a stair runner out of carpet?
- Yes. A runner is a strip of carpet with finished long edges, so a suitable broadloom or remnant can be cut down and bound. The two things that decide whether it looks homemade are the straightness of the cut and the quality of the edge finish.
- How do you finish the edges of a homemade runner?
- Professional binding or serging is the reliable answer, and many carpet shops will bind a customer's cut length for a modest charge. Iron-on binding tape is the DIY alternative and is far less durable on a staircase.
- Can you cut a stair runner from a rug?
- Sometimes, but be careful. Cutting a rug destroys its own edge finishing and exposes a backing that may not be stable. Check how the rug is constructed before cutting.
- How do you cut carpet in a straight line?
- Mark a line on the back rather than judging it from the pile, use a long straight edge clamped in place, and cut in several progressively deeper passes rather than one heavy stroke. Change blades often.
- Is a homemade runner a false economy?
- It can be. Once binding, adhesive, blades and your time are counted, the saving over a ready-made runner is often smaller than expected.
Related guides
 InstallationHow to Install a Stair RunnerWaterfall and Hollywood methods, staples versus rods, tools, sequence and quality checks.
 BuyingCustom Stair Runners and Carpet by the FootBroadloom cut to length, edge binding options, made-to-measure runners and what customisation really costs you.
- InstallationDIY Stair Runner InstallationAn honest assessment of doing it yourself: skills, tools, time, safety and the jobs worth handing over.
- BuyingBest Carpet for a Stair RunnerThe specification checklist — fibre, pile, density, backing, width and pattern repeat — for stair-worthy carpet.