Installation
DIY stair runner installation
Fitting your own runner is realistic on a simple flight and a poor idea on a complicated one. The dividing line is more about your staircase than your skill.
Written by the StairRunner.co editorial team · Updated 4 September 2026
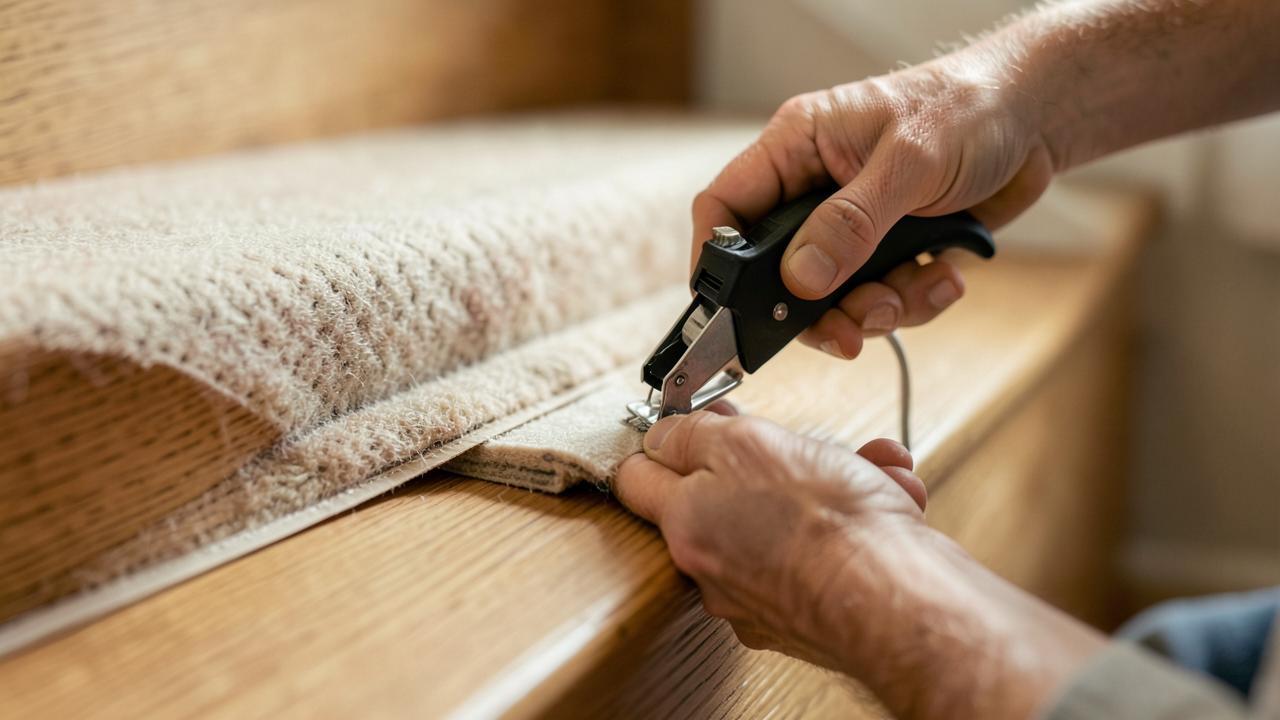
Is your staircase a DIY candidate?
| Feature | DIY-friendly | Hire a fitter |
|---|---|---|
| Flight shape | Straight, boxed both sides | Winders, curves, open sides |
| Tread consistency | Depths within a few millimetres | Visibly varying depths or out-of-square treads |
| Carpet | Plain, flexible, modest weight | Large repeats, stiff latex backing, heavy wool |
| Tread condition | Sound, dry, screwed down, no squeaks | Loose, split or previously damaged treads |
Tools you genuinely need
- Tape measure, long straightedge, chalk line and a carpet awl for marking
- Sharp carpet knife with plenty of spare blades — a dull blade tears the backing
- Heavy-duty staple gun (electric or pneumatic saves your hand) or a hammer and tacks
- Knee kicker or a stair tool for tensioning into the crease
- Tack strip cutter or a fine saw, plus a nail set
- Kneepads, eye protection and gloves — carpet backing and tack strip both bite
The realistic sequence
- Mark a centre line on every tread and riser and check it against the stringers.
- Cut and fix tack strips or plan your staple line, keeping clear of the walking zone.
- Cut and fix the pad, set back from the nosing per the maker's instruction.
- Start at the top or bottom according to your chosen method and work consistently.
- Tension into each crease before fixing, checking the centre line every few steps rather than at the end.
- Finish the top and bottom ends deliberately — see finishing at the top of the stairs.
The full method, including the difference between waterfall and Hollywood wraps, is in our installation guide.
Safety, honestly
A stair covering that shifts underfoot is a fall hazard, and stairs are among the most common places for injuries in the home. If at the end of the job the runner can be moved by hand, or if any edge lifts, do not leave it in service — refit it or get a professional in. Never work on a staircase that is the only route out of the house without keeping it usable and lit.
Where DIY saves money — and where it does not
You save the labour element, which is a meaningful share of a runner project. You do not save on material, and a mis-cut length of custom carpet is usually non-returnable, which can wipe out the saving in one moment. If your carpet is expensive or patterned, the economics of DIY get worse, not better. Compare against how fitters price the work.
What "installing a stair runner" actually involves
A stair runner installation is, at its core, a repeated small job done between ten and twenty times down a flight: cut a length of pad, cut a length of carpet, tension it into place, fix it securely, and move to the next step. None of those individual actions is difficult in isolation. What makes the job feel daunting is that each step has to be done consistently, because any drift in width, tension or alignment compounds visibly by the time you reach the bottom. Understanding this — that DIY installation is a discipline problem more than a skill problem — is the single most useful thing to know before you start.
Reading your own competence honestly
Before buying tools or carpet, spend ten minutes being honest about your own track record with careful, repetitive manual tasks. If you have hung wallpaper straight, laid tile in a consistent line, or built flat-pack furniture without gaps, you have the patience profile this job rewards. If previous DIY jobs in your house have ended in visible compromises you learned to live with, a stair runner is a poor place to test that further, because unlike a shelf or a coat of paint, a badly fitted runner is a safety item as well as a cosmetic one.
The full tool and material list
| Item | Purpose |
|---|---|
| Tape measure and long straightedge | Accurate tread and centre-line measurement |
| Chalk line or removable marking pencil | Marking the centre line down the whole flight |
| Carpet knife and spare blades | Clean, straight cuts through pile and backing |
| Staple gun or hammer and tacks | Fixing pad and carpet into the crease and along runs |
| Knee kicker or stair tool | Tensioning the carpet firmly into each crease before fixing |
| Tack strip and cutter | Providing a gripping edge where the pad does not do the job alone |
| Kneepads, gloves, eye protection | Comfort and protection from tack strip and staples |
Preparation is most of the job
More DIY stair runner projects fail at the preparation stage than at the fitting stage itself. Before any carpet is unrolled, every tread needs to be checked for movement, re-secured with screws where it flexes, and cleared of old carpet gripper, staples and adhesive residue from any previous covering. Sand down any high points, fill any gouges, and vacuum thoroughly — a single stray staple left under the pad will telegraph through as a lump that gets worse, not better, with time. If the staircase has just been painted or varnished, allow the finish to cure fully; fitting onto a surface that is still soft will leave permanent marks.
A realistic first-timer's timeline
Expect preparation — clearing the stairs, checking and fixing treads, cleaning up — to take a half day on its own for a typical domestic flight. Fitting the pad is comparatively quick. Fitting the runner itself is the slow part: budget roughly twenty to forty minutes per step for a first attempt once you include marking, cutting, tensioning and fixing, which on a twelve-step flight is a genuine full day's work. Do not try to compress this into an evening after work; rushed tensioning is the most common cause of a poor result.
Working top-down or bottom-up
Fitters vary in preference, but both directions work provided you are consistent. Starting at the top and working down lets you deal with the trickiest, most visible termination — see finishing at the top of the stairs — while your measurements are freshest, and gravity broadly helps you keep the runner straight as you progress. Starting at the bottom means the most-seen step is fitted last, once your technique has settled in, which some first-timers find gives a better final result at the point that matters most. Pick one and do not switch partway.
No-nail and low-damage options
If you are in a rental property, or simply want to avoid putting hundreds of staples into historic treads, there are alternatives worth researching: double-sided carpet tape systems designed for stairs, clamping rod systems that grip the runner mechanically rather than piercing it, and pre-bound runners held with concealed adhesive strips. Every one of these depends entirely on a clean, dry, structurally sound surface — they are not a shortcut around preparation, they simply change how the final fixing is achieved. Test adhesion on an inconspicuous area first, and never rely on any no-nail method if the result can still be lifted by hand once cured.
Diagnosing your own mistakes as you go
- Runner drifting off-centre: stop, unpick back to the last accurate step, and re-check against your marked centre line rather than pressing on and hoping it corrects itself.
- Rippling across the width: almost always insufficient side-to-side tension. Re-tension with the knee kicker angled slightly outward before fixing.
- Carpet not sitting into the crease fully: check the pad has not been cut too generously into the crease itself, which can prevent the carpet from following it.
- Visible fixings: stagger staples and keep them out of the direct walking line where possible; a neat, even spacing reads as intentional even when visible.
When to stop and call a professional mid-project
It is entirely reasonable to fit half a project yourself and bring in a professional to finish or correct it — most fitters would rather fix a partially completed job than watch a homeowner persist with a genuinely unsafe result. Signs it is time to stop include a runner that will not sit flat no matter how it is re-tensioned, treads that turn out to be irregular by more than a centimetre or two, or winders and curves you did not fully account for when you started. There is no shame in this; it is simply recognising where the job moved from repetitive to genuinely skilled.
Frequently asked questions
- Can a competent DIYer fit a stair runner?
- On a straight flight with even treads, yes — the work is repetitive rather than difficult, provided you can measure accurately, cut carpet straight and use a stapler or knee kicker with control. Winders, curves, open-sided stairs and pattern matching are where DIY attempts most often go wrong.
- How long does DIY installation take?
- Budget a full day for a typical straight flight if it is your first time, plus a separate session for preparation. Professionals are much faster because tensioning and cutting have become automatic for them, not because they use different steps.
- Can I install a runner without nails or staples?
- There are no-nail approaches — double-sided carpet tape systems, gripper pads and clamping rod systems. They are genuinely useful in rentals, but adhesion depends heavily on a clean, dry, sound surface, and none of them tolerate a poorly prepared tread. Any method that lets the runner move underfoot is unsafe.
- What is the most common DIY mistake?
- Insufficient tension. A runner that is not pulled firmly into each crease develops ripples, creeps down the flight and wears at the raised points. The second most common is drifting off the centre line, which becomes visible over five or six steps.
- What underlay or pad should a first-time DIYer use?
- A mid-density stair-specific pad is the most forgiving choice. Very thin pads make tensioning harder because there is nothing to bed the staple or gripper into, and very thick pads can make the pile sit proud of the nosing in a way that looks wrong and wears unevenly.
- How do I know if my treads are sound enough to fit onto?
- Walk each step slowly, listening and feeling for movement or a hollow sound. Press on the nosing with your hand. Any looseness, splitting, or squeak should be fixed with screws and, if needed, timber filler before you go anywhere near the carpet.
- Is it worth renting tools rather than buying them?
- For a one-off project, renting a knee kicker and a pneumatic or electric stapler is usually cheaper than buying, and it gets you equipment that performs more predictably than a basic hand tacker. Buy the knife, straightedge and measuring tools outright, since you will need them again for other jobs.
Sources and further reading
- U.S. Consumer Product Safety Commission — home stair safety information
- Carpet and Rug Institute — installation standards overview
Where guidance differs between manufacturers, trade bodies or local building regulations, we say so rather than presenting one position as universal.
Related guides
- InstallationHow to Install a Stair RunnerWaterfall and Hollywood methods, staples versus rods, tools, sequence and quality checks.
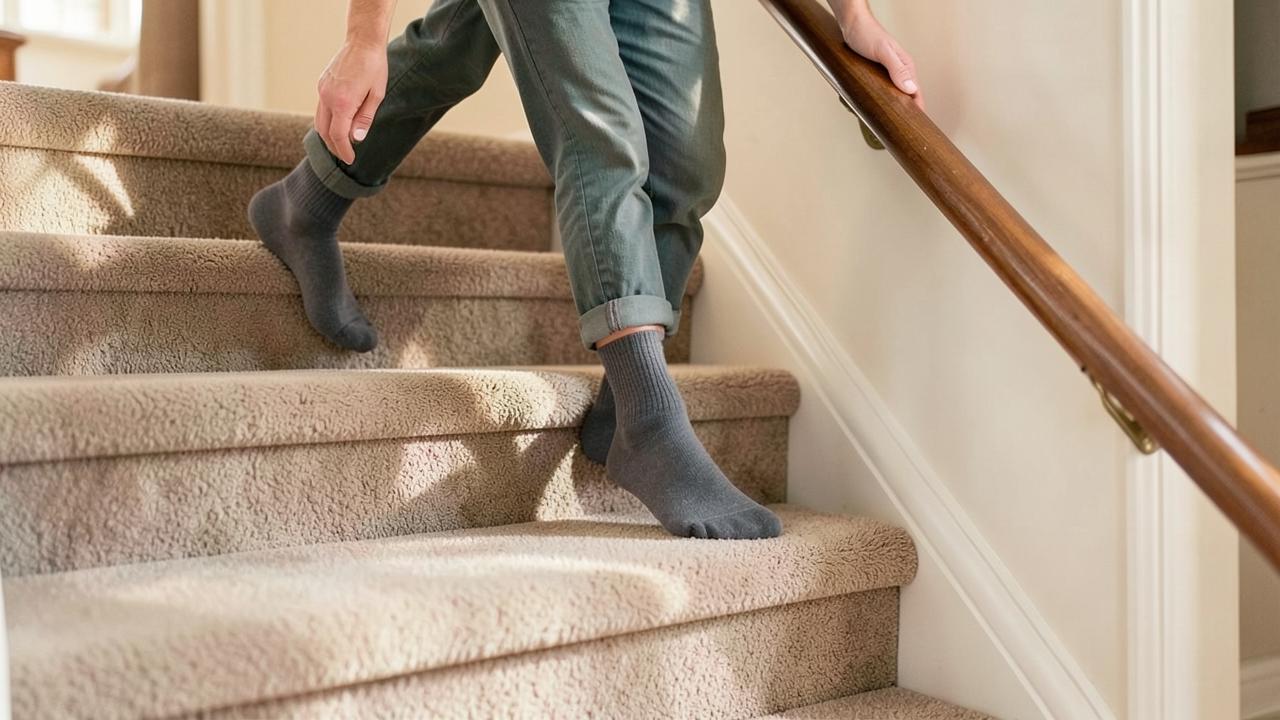 SafetyNon-Slip Stair Runners and Stair SafetyWhat actually makes a stair covering grippy: fitting tension, pile, pad and nosing coverage.
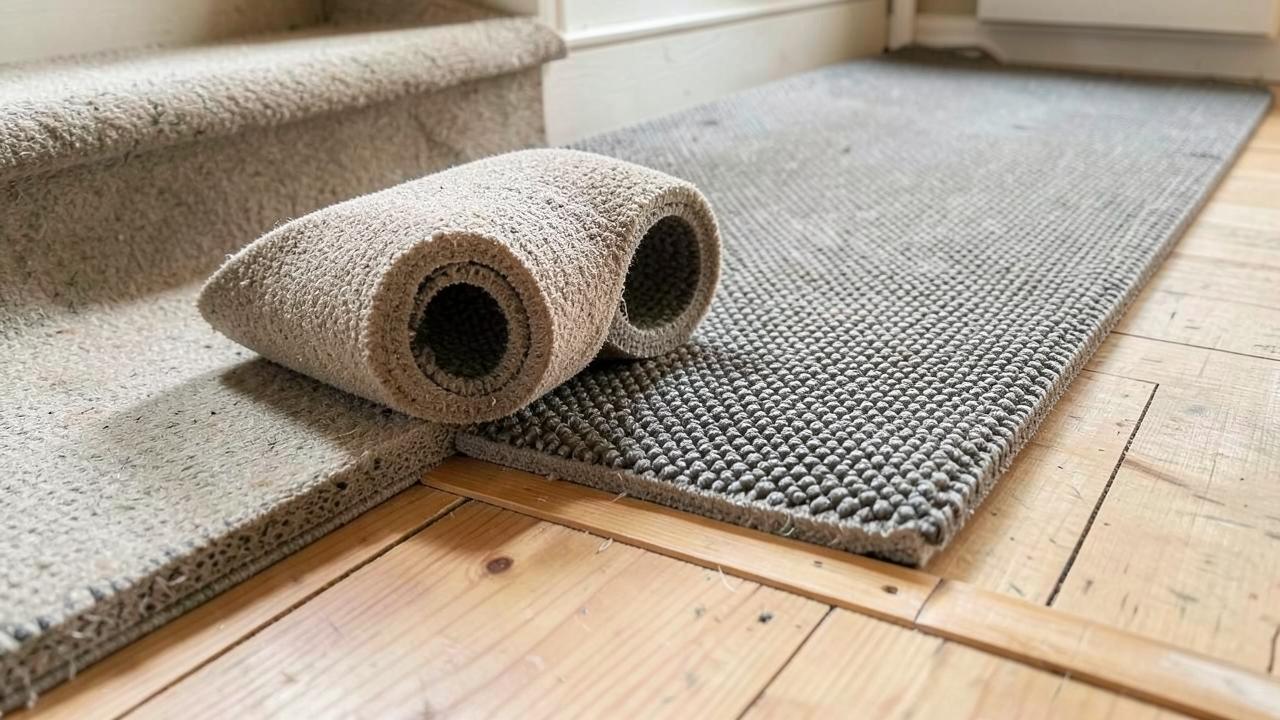 MaterialsStair Runner Underlay and PaddingWhy pad choice matters more on stairs than anywhere else, and how to specify density, thickness and cut.
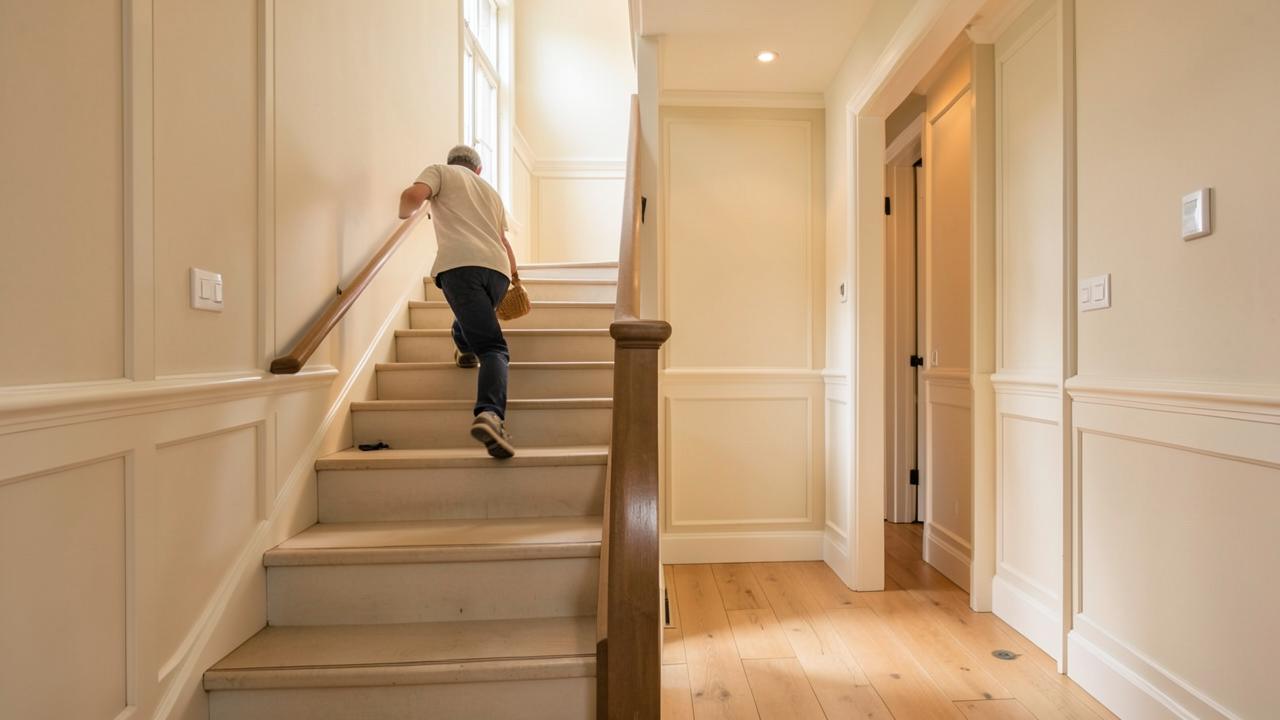 InstallationFinishing a Stair Runner at the TopThe four ways to end a runner at the top step, and how to pick the one your staircase allows.