Installation Prep
Painting stairs for a fitted runner
The exposed painted border is a classic look, but it demands more of your staircase than a fully carpeted flight. Here is how to prepare, paint, and finish your stairs to ensure the finish lasts.
Written by the StairRunner.co editorial team · Updated 4 September 2026
The importance of the order of operations
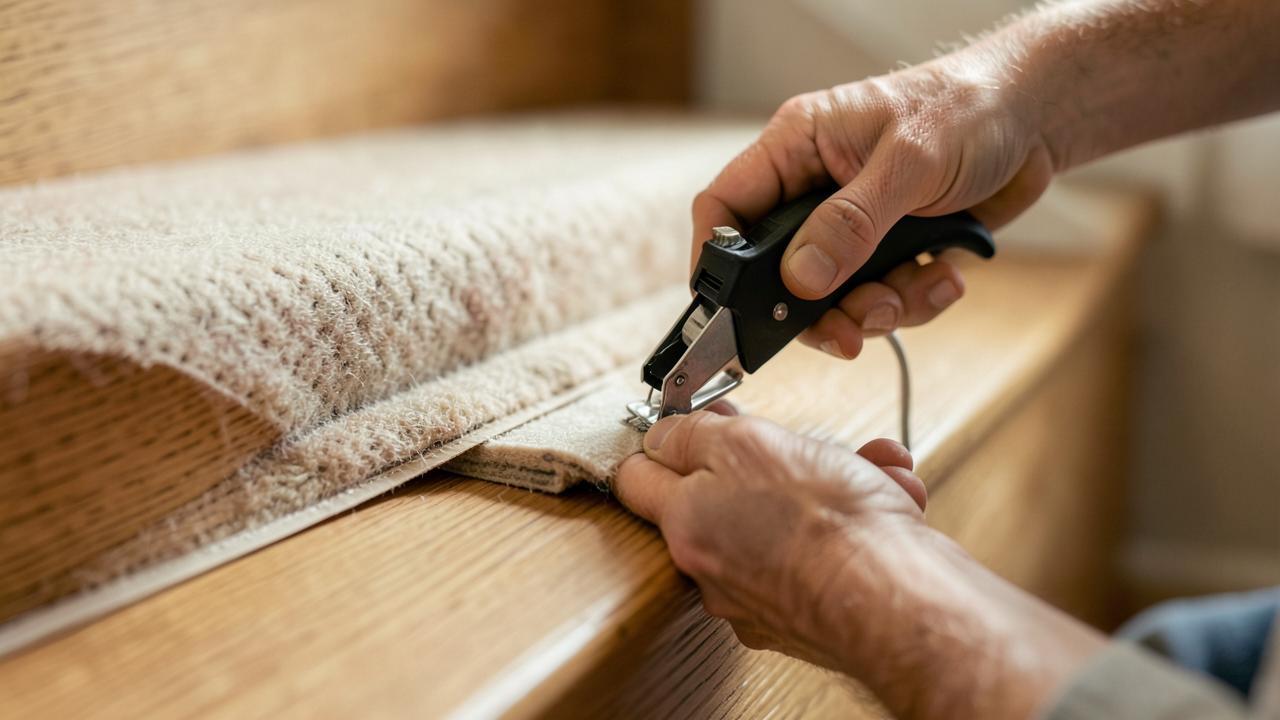
The temptation to paint after the runner is fitted—to "touch up" the edges—is a common trap. It is almost impossible to get a crisp, straight line against a fibrous carpet edge without getting paint on the runner. Conversely, fitting a runner on fresh paint is a recipe for failure. The gripper and staples, combined with the pressure of stretching the carpet, will act like an abrasive on the tender paint film. By painting first, you allow the finish to reach maximum hardness before the installation, ensuring that the only thing touching the runner is the timber it sits upon.
Surface preparation: The Foundation of Durability
The durability of your stair paint is 80% preparation and 20% the quality of the paint itself. Stairs undergo more stress than any other horizontal surface in the home: constant footfall, twisting, and abrasion. If your preparation is lacking, even the most expensive floor paint will flake away.
- Degreasing: Use a high-quality sugar soap to remove all traces of wax, polish, or previous grime. Years of furniture polish or floor wax will prevent new paint from bonding.
- Sanding: This is non-negotiable. Use 120-grit paper to create a mechanical key. If the existing finish is glossy, you must dull it completely. For bare wood, sand up to 180-grit for a smooth finish.
- Filling: Use a high-performance wood filler for any gouges, cracks, or old staple holes. Modern two-part fillers are best as they don't shrink and can be sanded in 30 minutes.
- Priming: Do not skip the primer, especially if moving from a dark to a light colour or working on bare timber. An oil-based or high-adhesion water-based primer acts as the foundation for your finish coats.
Paint Chemistry: Choosing the Right Finish
Not all paints are created equal. When painting stairs, you are looking for a product with high 'scrubbability' and impact resistance. Standard interior emulsions or even some 'durable' wall paints are simply not designed for the vertical and horizontal stresses of a staircase.
| Paint Type | Pros | Cons |
|---|---|---|
| Polyurethane Alkyd | Extremely tough, easy to clean, excellent flow. | Longer dry times, high VOCs, can yellow over time. |
| Water-Based Floor Paint | Low odour, fast drying, non-yellowing. | Requires more coats, slightly less impact resistance than oil. |
| Epoxy (2-Part) | Industrial strength, virtually indestructible. | Difficult to apply, very expensive, overkill for most homes. |
Precision Masking: The Secret to Straight Lines
The beauty of a stair runner lies in the contrast between the carpet and the painted border. If the line where the two meet is wobbly, the entire effect is ruined. While you will be painting the whole stair (or at least the edges), you need to be very precise about where the runner will sit.
We recommend using a 'low tack' professional masking tape (often blue or purple). Measure from the stringer (the side of the stair) to the edge of where your runner will be. Mark this point on every tread and riser. Connect these marks with a long straight edge or a chalk line before applying your tape. Press the edges of the tape down firmly with a credit card or a specialized tool to prevent 'bleed'—where paint seeps under the tape.
Application Techniques for a Professional Finish
Apply thin, even coats. Multiple thin coats are vastly more durable than one thick, gloopy layer, which will remain soft and prone to peeling. Ensure you are using a paint specifically rated for floors—this usually means a higher resin content that resists the 'rubbing' action of shoes and the friction of the runner's underside.
Start at the top of the stairs and work your way down. This prevents you from leaning over wet paint. Use a 'laying off' technique with your brush—after applying the paint, run the brush lightly over the surface in one long, continuous stroke to remove any bubbles and ensure a uniform texture.
Colour Theory: Framing your runner
Choosing the right colour for your borders can change the entire feel of your hallway. A classic white border (like 'All White' or 'Strong White') provides a crisp, traditional look that makes the runner pop. However, darker borders—charcoal, navy, or even black—can create a very sophisticated, contemporary feel, especially when paired with a neutral sisal or a bold geometric pattern.
Consider the lighting in your hallway. Stairs are often in the darkest part of the house. A high-gloss or satin finish will reflect more light, helping to brighten the space. A matt finish looks more modern but can be harder to keep clean, as it shows scuff marks from shoes more readily.
The Transition Zone: Top and Bottom
Where the stairs meet the landing and the hallway floor requires special attention. You want the painted border to continue seamlessly onto the landing for a few inches before it meets the landing carpet or the next room's flooring. This creates a 'frame' that feels intentional and architectural.
If you are painting the landing floor as well, ensure you use the same batch of paint to avoid subtle colour shifts. The junction between the riser and the floor is a high-wear area, so consider adding an extra coat of clear floor varnish over the paint in this specific spot for added protection.
Dealing with Problem Stairs: Edge Cases
If your stairs are made of concrete or stone rather than timber, the painting process changes. You will need a specific masonry or concrete floor paint. These are formulated to bond with porous surfaces and resist the alkaline nature of concrete. The preparation remains the same—cleaning and sanding (or etching) is vital.
For very old, uneven stairs, a high-gloss finish will highlight every lump and bump. In these cases, a 'mid-sheen' satin finish is much more forgiving. The subtle sheen still reflects light but doesn't have the 'mirror' effect that draws the eye to imperfections.
Step-by-Step: The Ultimate Painting Sequence
- Deep Clean: Scrape off any old glue or carpet remnants. Use a heavy-duty degreaser.
- Structural Check: Secure any loose treads with wood screws (countersunk and filled). A creaky stair will eventually crack the paint.
- First Sand: 80-120 grit to remove the old finish.
- Vacuum and Tack-Rag: Remove every speck of dust. If you paint over dust, it will feel like sandpaper.
- Prime: Apply one coat of high-adhesion primer. Let dry for 24 hours.
- Second Sand: Very light sand with 240 grit to smooth out the grain that 'raised' during priming.
- First Topcoat: Apply thinly. Lay off with a brush for a smooth finish.
- Second Topcoat: After 24 hours, apply the final coat.
- The 'No-Walk' Period: Keep everyone off the stairs for at least 24 hours. Socks only for the first 72 hours.
Safety First: Anti-Slip Considerations
Painted wood can be incredibly slippery, especially in socks. While the runner will cover the main walking path, the painted borders can still be a hazard. Consider adding a 'micro-bead' anti-slip additive to your final coat of paint. These are clear granules that provide grip without significantly changing the look of the finish. It is a small step that can prevent a serious fall.
Long-term Maintenance: Keeping the Look
Once your runner is fitted, the painted borders will still require care. Avoid using wet mops, as water can seep under the edge of the runner and cause the timber to swell or the carpet to mildew. A damp cloth with a mild detergent is all that is needed. For scuff marks, a 'magic eraser' sponge is often effective, but test it on an inconspicuous area first to ensure it doesn't dull the paint's sheen.
If you ever need to repaint, you will have to be extremely careful. Most professionals recommend removing the runner entirely to repaint, as 'cutting in' against the carpet is rarely successful and often results in a messy finish that ruins the carpet. This is why investing in the highest quality paint initially is so important—you want that finish to last for a decade, not a season.
Related guides
- InstallationDIY Stair Runner InstallationAn honest assessment of doing it yourself: skills, tools, time, safety and the jobs worth handing over.
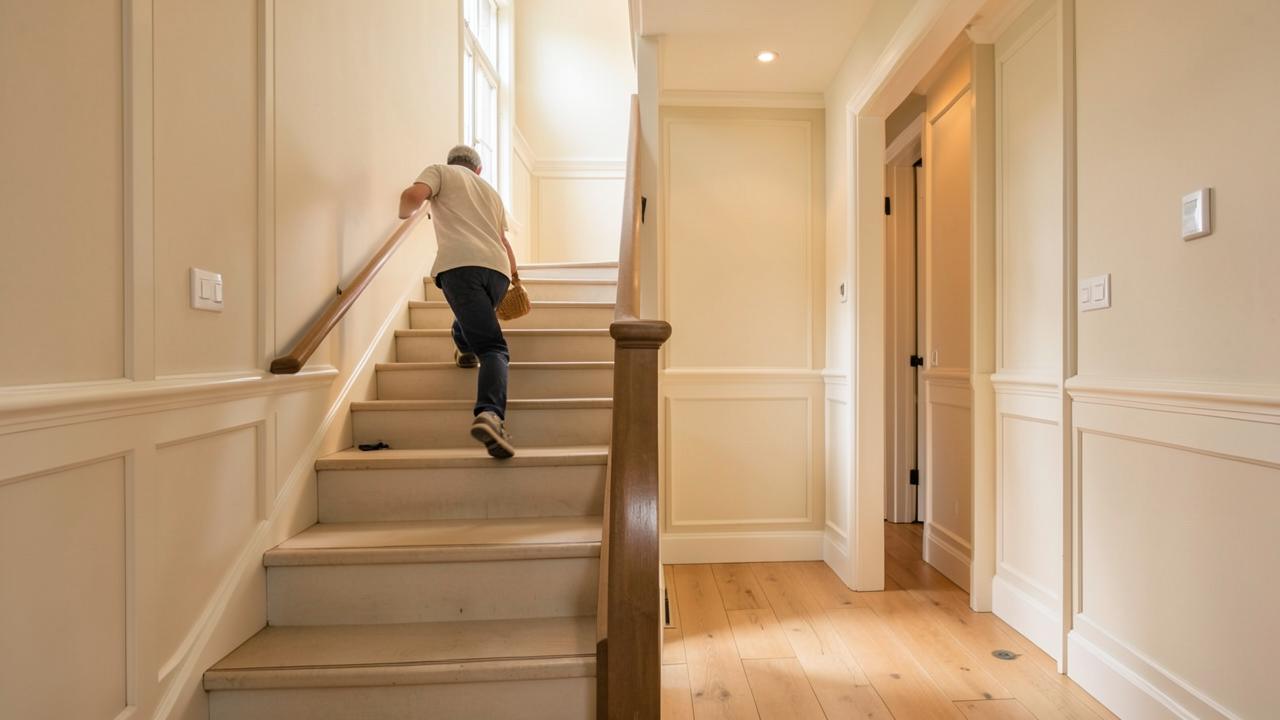 InstallationFinishing a Stair Runner at the TopThe four ways to end a runner at the top step, and how to pick the one your staircase allows.
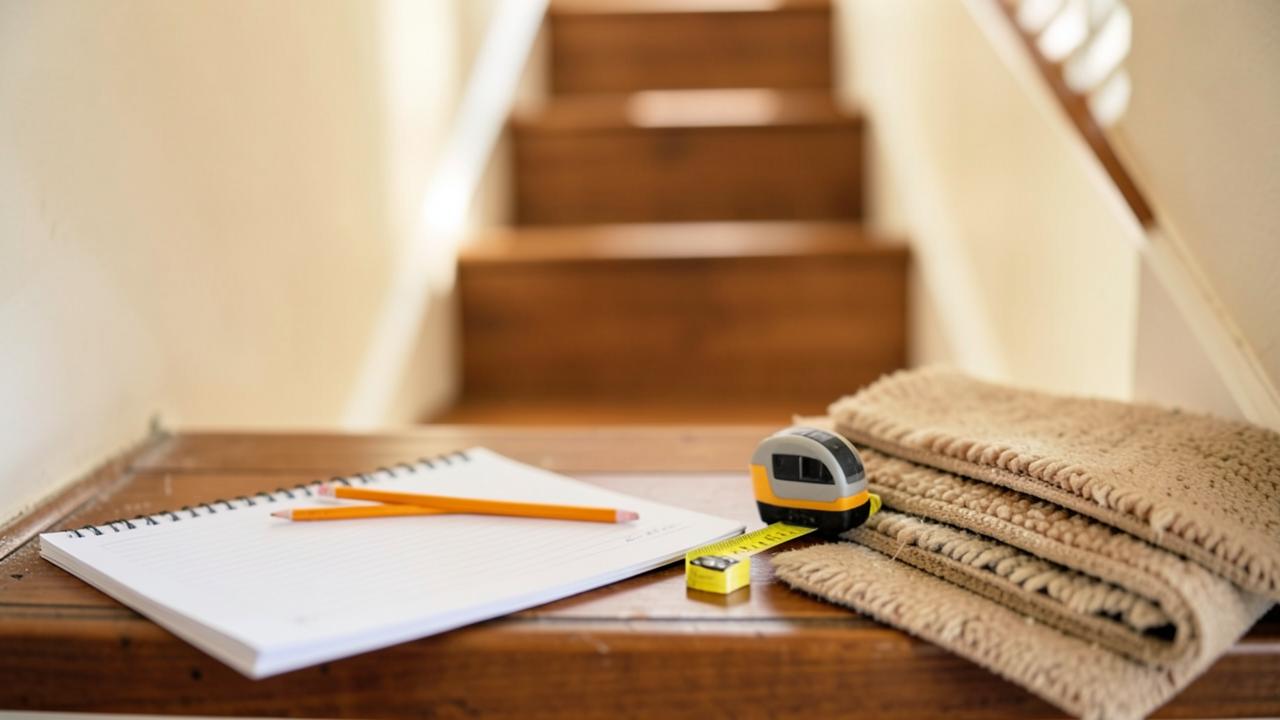 InstallationPreparing Stairs for a RunnerRepairs, old fixings, decorating and curing times before anything is fitted.
Methodology and Professional Standards
In the world of high-end interior design, the 'painted margin' is considered the hallmark of a well-considered home. It bridges the gap between the soft comfort of textiles and the hard permanence of architecture. Our methodology focuses on the intersection of these two elements. We believe that a staircase should be treated as a piece of furniture, not just a utility.
This guide was developed by looking at the common points of failure in domestic renovations. We found that 90% of 'bad' stair paint jobs were caused by rushing the cure time. By advocating for a strict 14-day window, we ensure that our readers achieve a finish that doesn't just look good in a photo, but stands up to the reality of family life.
We also emphasize the importance of material compatibility. Using an oil-based primer with a water-based topcoat (or vice-versa) can lead to delamination if not handled correctly. Our advice is always to stay within a single 'system' from one manufacturer to ensure the chemical bonds between layers are as strong as possible.
In summary, painting your stairs for a runner is a project that rewards the patient. It is one of the most cost-effective ways to transform a hallway, but it demands a level of discipline in the preparation and curing phases that many other DIY projects do not. Follow these steps, respect the drying times, and you will be rewarded with a stunning, durable entrance to your home.
Frequently asked questions
- Should I paint the stairs before or after fitting the runner?
- Always paint before fitting. Fitting involves staples, potentially nails, and significant tension. You want the paint fully cured and protected by the runner, not risking damage during the installation process.
- How long should paint cure on stairs before fitting a runner?
- Ideally, allow 7–14 days. While paint may feel dry to the touch in hours, it takes much longer to achieve its full hardness. Fitting a runner too early on fresh paint can lead to the carpet backing bonding to or pulling at the soft paint surface.
- How wide should the painted border be?
- Standard practice is usually 100mm to 150mm on each side. This is wide enough to look intentional and provide a clean frame, without making the runner itself feel too narrow for the stair width.
- Do I need to sand the stairs if they are already painted?
- Yes. Every layer of paint needs a key for the next to adhere properly. Sanding removes the sheen, provides a surface profile for the new paint to bite into, and ensures the finish isn't brittle.
- What type of paint is best for stair treads?
- Use a dedicated floor paint or a high-durability eggshell or satin finish designed for high-traffic areas. Avoid standard interior wall emulsions; they will peel and scuff underfoot in days.
- Can I use a roller for the stairs, or is a brush better?
- A combination is best. Use a high-quality synthetic brush for the 'cutting in' around the edges and the corners where the tread meets the riser. A small, fine-nap 'mini' roller (4-inch) is excellent for the flat surfaces of the treads and risers to achieve a smooth, even finish without brush marks.
- Do I need to paint the area under the runner?
- Technically, no, but we recommend applying at least one coat of primer or a basic paint layer to seal the wood. This prevents moisture absorption and ensures the wood doesn't 'bleed' tannins into the carpet backing over time.