Installation
Finishing a runner at the top of the stairs
The two ends of a runner are where installations are judged. The top termination is a safety and durability decision first, and an appearance decision second.
Written by the StairRunner.co editorial team · Updated 4 September 2026
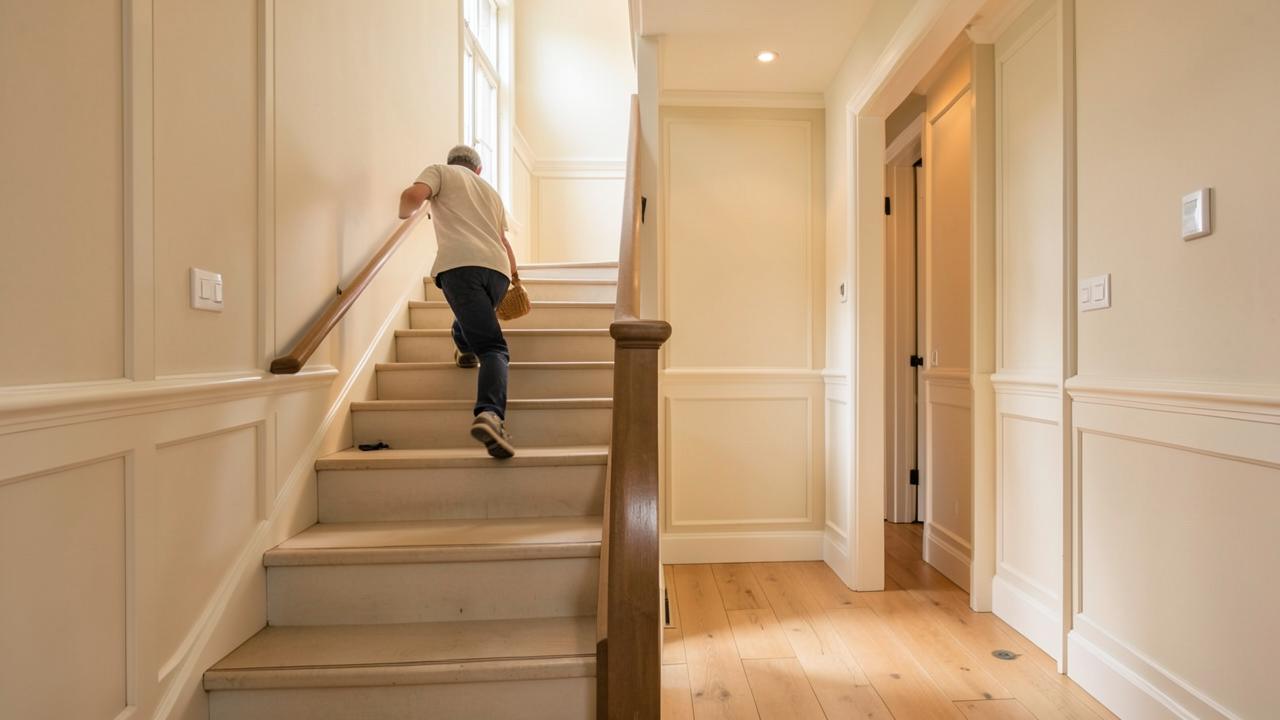
The four terminations
| Method | Where the edge sits | Best when |
|---|---|---|
| Under the landing nosing | Concealed beneath the projecting front edge | The landing has a nosing and is finished in another material |
| Wrapped over the top riser | Turned and secured at the back of the top tread | There is no nosing to tuck under |
| Carried onto the landing | No termination at the stairs at all | The runner continues as a hall or landing runner |
| Butted into landing carpet | A concealed join line, both edges secured | The landing is already carpeted |
Executing the tuck
- Trim to length with a small excess rather than exactly; you can remove more, never add.
- Tension the last full step properly before dealing with the end — a slack final step pulls the termination loose.
- Fold the raw edge under itself so no cut face is exposed, even where it will be hidden.
- Secure into the crease or beneath the nosing along the full width, not just at the corners.
- Run your hand across the finished edge; anything you can catch a fingernail on will eventually be caught by a foot.
And the bottom step
The bottom is the opposite problem: it is the most visible point of the whole installation and it usually cannot be hidden. The standard answer is to wrap the runner over the final nosing and down the last riser to the floor, securing at the base. On a bullnose or curtail step, the runner is typically cut as its own piece with a finished edge following the curve — closer to a custom fabrication than a fitting task.
Where this sits in the job
Terminations come last in the fitting sequence but first in planning. Read them alongside the full installation guide, the waterfall versus Hollywood decision, and runners on landings and turns if the flight does not simply end at a floor.
Why the top of the stairs is a different problem to the rest of the flight
Every tread down the main body of a flight is fixed the same way: pad, carpet, tension into the crease, repeat. The top step breaks that pattern because it is the point where the stair runner has to hand over to something else — a landing, a hallway, a different floor covering, or simply open floor. That handover point cannot rely on the crease-and-tension method the rest of the flight uses, because there is no next riser to pull against. Instead it needs a deliberate, self-contained finish that will not unravel once it is no longer backed up by the step below.
Assessing what your landing gives you to work with
Before choosing a termination, look closely at what is physically present at the top step. A landing with its own projecting nosing gives you a concealment option: the runner's cut edge can be tucked underneath it, out of sight and out of the direct wear line. A landing that is flush, with no nosing at all, removes that option and generally calls for wrapping the runner over the top riser instead. A landing that is already carpeted invites a butted join rather than either of those. Walk up to the top step and look specifically for a projecting edge before deciding anything else.
Step-by-step: the under-nosing tuck
- Fit and tension the top tread as normal, treating it like any other step in the sequence.
- Measure the distance from the crease of the top step to the underside of the landing nosing, and cut the runner with a small excess rather than to the exact figure.
- Fold the raw edge under itself once, so no cut backing is exposed even though it will sit in shadow.
- Tuck the folded edge fully under the projecting nosing and secure it along the entire width with tack strip, staples or adhesive as appropriate to the substrate.
- Press the landing covering or trim back down over the join if one is present, so the tuck is genuinely hidden rather than just angled out of the main sightline.
Step-by-step: wrapping the top riser
- Confirm there is a full riser face at the top of the flight to wrap onto — some landings have none, in which case this method is not available.
- Cut the runner with enough extra length to travel down the riser face and reach the base fixing line.
- Tension the last tread section first, then work the excess down the riser face, keeping it flat and free of ripples.
- Fix along the base of the riser exactly as you would on any full stepped tread.
- Trim the bottom edge flush and neat, since this edge sits at floor level where the landing meets it and is more visible than a tuck.
Termination and pattern alignment
If your runner carries a directional pattern, the top termination is where that pattern either finishes cleanly or looks abruptly cut off. Plan the cut point with the pattern repeat in mind rather than purely with the tread measurement, even if that means ordering a little more material to land the design correctly at the top. A pattern that stops mid-motif at the most visible transition point on the stair — where a landing floor typically catches the eye first — reads as a mistake even to people who could not say exactly why it looks wrong. See choosing and aligning a patterned runner for more on working repeats into a fixed flight length.
The bottom step in more depth
Because it sits at eye level for anyone approaching the stairs and receives the heaviest, least careful foot traffic in the house — people leaving in a hurry rarely place their feet precisely — the bottom termination deserves at least as much attention as the top. Wrapping fully over the final nosing and down the last riser to the floor is the standard approach on a simple rectangular final step, with the edge secured at the base either under a threshold strip or turned and tacked out of sight. Curtail or bullnose bottom steps, which curve outward at floor level, are a specialist cutting job in their own right: the runner has to be shaped to the curve rather than simply wrapped, and this is genuinely closer to bespoke custom fabrication than to standard fitting.
Checking your own work at both ends
- Run a flat hand across every termination edge — anything that catches a fingernail will eventually catch a foot.
- Press down firmly at the very corner of each termination, which is where fixings are most often skipped.
- Look at the termination from a normal standing position at the top and bottom of the stairs, not just close up, since that is the view it will actually be seen from every day.
- Revisit both ends after a few weeks of normal use; a termination that was tight on fitting day can loosen slightly as carpet and pad settle.
Termination and open or floating staircases
Open or floating staircases, where one or both sides have no wall to fix against, need extra care at the top termination because both long edges are exposed as well as the end itself. There is no wall junction to disguise a slightly untidy edge, so the fold and fixing along the exposed sides has to be as neat as the end termination itself. Where a runner meets an open landing edge or a glass balustrade rather than a solid nosing, ask a fitter specifically how they plan to finish the exposed corner, since it is one of the harder details on this type of staircase to get right first time.
When a top termination needs redoing
Signs that a top termination needs attention include a visible gap opening up between the runner and the landing nosing, fraying at the fold line, or a soft, spongy feel underfoot right at the top step that suggests the fixing has partly released. Because the top termination is a small, self-contained piece of work, it is usually realistic to have just that section re-secured without disturbing the rest of the flight, provided the runner material itself has not deteriorated.
Coordinating the top finish with flooring elsewhere
The top of the stairs is frequently also where a stair runner meets a different flooring type altogether — engineered timber, tile, or a hallway carpet in a different specification. Beyond the mechanical fixing, think about height matching: a runner and pad combination that sits noticeably proud of, or below, the adjoining floor creates both a visual step and a genuine trip point. A transition strip designed for the height difference is a cheap, often overlooked fix, and is worth asking about explicitly if the two floor coverings differ in thickness by more than a few millimetres.
Frequently asked questions
- Where should a stair runner end at the top?
- Most commonly it wraps the top riser and finishes just under the nosing of the landing, so no cut edge is visible from below. If the runner continues onto the landing, it instead runs on and is fixed at the landing perimeter.
- Should the runner end at the top or bottom step differently?
- Yes. The top termination is usually hidden because it sits out of the main sightline, while the bottom is the most-seen point on the whole staircase and is normally wrapped fully around the last riser, or given a finished edge on a bullnose step.
- Can the runner just stop on the last tread?
- It can, but a raw stopping point on a horizontal walking surface is the weakest of the options: it is walked directly onto, it collects the most wear, and any edge lift becomes a trip hazard. Terminate on a vertical face or under a nosing wherever the staircase allows.
- How do you join a runner to landing carpet?
- Either butt them at a hidden line under the nosing with both edges secured, or use a low-profile transition. What you should not do is leave two unsecured cut edges meeting at the top of a flight.
- What if there is no nosing at the top of my stairs to tuck under?
- Wrap the runner over the top riser instead and secure it at the back of the top tread. This is the standard alternative wherever the landing floor is flush with the top step rather than projecting over it.
- Should the top termination match the bottom termination?
- Not necessarily. The two ends of a flight face different practical problems — the top usually meets another floor surface, the bottom usually meets open floor space — so the best method for each is chosen on its own merits rather than for symmetry.
- Can a termination be redone later without refitting the whole runner?
- Often yes, if the rest of the runner is sound. The last step or two can usually be lifted, re-trimmed and re-secured on its own, which is a realistic small repair rather than a full reinstallation.
Related guides
 MeasurementHow to Measure for a Stair RunnerThe tread-plus-riser formula, waste allowance, winders and landings, plus a calculator that shows its working.
 InstallationHow to Install a Stair RunnerWaterfall and Hollywood methods, staples versus rods, tools, sequence and quality checks.
- InstallationStair Runners on Landings and TurnsCarrying a runner across a landing, around a turn and into a hallway without breaking the line.
- ComparisonsWaterfall vs Hollywood InstallationThe two ways a runner meets the tread nosing, and what each means for looks, wear and material use.