Installation
How to prepare a staircase before the runner goes down
Almost every runner that fails early fails because of something underneath it. Preparation is the cheapest part of the project and the part that decides how the finished job behaves.
Written by the StairRunner.co editorial team · Updated 4 September 2026
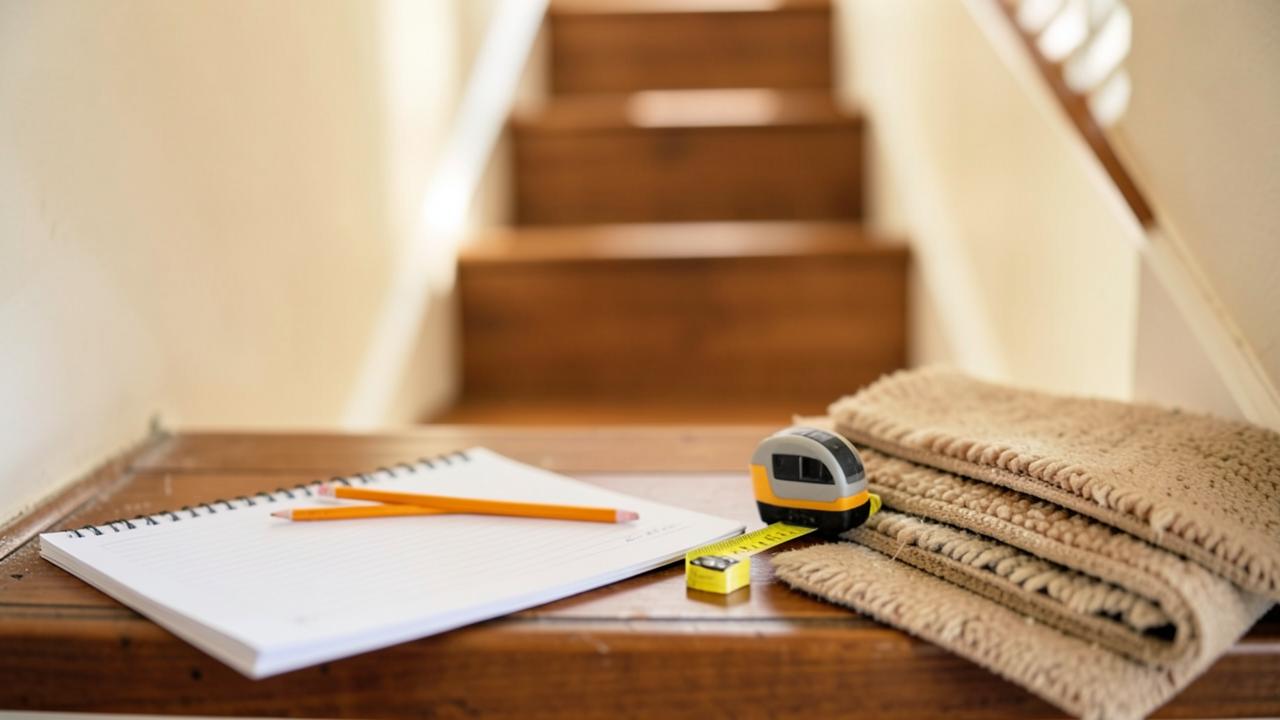
Why preparation decides the outcome
A stair runner is a thin, flexible covering held under tension against a rigid structure. It transfers every defect in that structure straight to the surface. A tread that flexes works the fixings loose. A proud staple telegraphs through the pile. A soft patch of uncured paint bonds to the pad. None of these are visible on the day of fitting and all of them are expensive to correct afterwards, because correcting them means lifting the runner you just paid for.
The preparation stage is also the last time you will see the staircase properly. Use it. Everything below is easier now than at any point in the next ten years.
Step one: strip everything off
Old carpet, old runner, gripper, underlay, tacks and every last staple. Leaving a previous gripper strip in place because "the new runner will cover it" is a common shortcut and a reliable source of ridges. Full method is in removing a stair runner, including how to get stubborn fixings out without bruising the timber.
Punch below the surface anything that snaps off flush. Run a gloved hand along every crease and every nosing afterwards — your hand will find a proud leg that your eye missed.
Step two: make the staircase solid
Walk the flight slowly, putting full weight on each tread near the middle, then near each end. You are listening and feeling for three things.
- Squeaks. Caused by movement between components. A runner hides the sound for a while and does nothing about the movement.
- Flex. A tread that deflects visibly under load will loosen fixings from beneath, no matter how well the covering was fitted.
- Rocking nosings. The front edge takes the most footfall and is where a runner wears first. A loose nosing shortens that life dramatically.
Where the underside of the staircase is accessible, that is the better side to work from, because repairs made from below leave the visible faces untouched. Where it is not, expect to fix from above and to fill afterwards.
Step three: repair the surfaces
Fill old fixing holes in the areas that will remain visible. Holes that will sit under the runner matter less cosmetically, but a very dense cluster in one crease can weaken the timber where the new fixings need to bite — offset the new line slightly rather than firing into a honeycomb.
Sand back any ridge, splinter or raised grain in the runner's path. The pad will not absorb it; it will translate it. Pay particular attention to the nosing, where the covering is stretched tightest and any irregularity shows most.
Step four: decorate before the runner, not after
If the exposed margins are being painted or stained, do it now. Cutting a clean line against a fitted runner is far harder than painting a bare step, and the result is rarely as sharp.
Paint the full width of the tread and riser rather than only the strip that will remain visible. It costs a little more and it means that if the runner is ever changed for a narrower one, or shifts slightly, there is no band of bare timber revealed. It also gives a consistent surface for a pad to sit on.
Colour choice interacts with the runner more than people expect — a dark runner against dark treads reads as one mass, a pale margin frames the runner and makes the staircase look wider. Our colour guide and width guide cover how the two decisions work together.
Step five: let finishes cure properly
This is the most commonly rushed step and one of the most damaging. Touch-dry is not cured. A finish that feels dry can still be soft below the surface for a considerable time, and a dense pad clamped onto it under tension will emboss it, bond to it, or lift it when the runner is next disturbed.
Follow the manufacturer's cure guidance rather than the drying time, keep the space ventilated, and remember that cold or humid conditions extend curing significantly. If the schedule is tight, this is the step to protect — every other stage of the job can be compressed more safely than this one.
Step six: clean, then measure
Vacuum the entire flight including every internal angle, then wipe down. Grit in the crease prevents a pad seating properly and gives a false reading when you push a tape into the angle.
Only now take the measurements. A bare, clean, repaired staircase gives numbers you can trust; a staircase with old gripper still on it does not. Record riser and tread depth for every step individually rather than assuming they match, note any winders or landings, and keep the figures written down rather than in your head. The measuring guide sets out the method and the calculator turns the figures into a length with its working shown.
Preparation checklist
| Check | Why it matters |
|---|---|
| All old fixings removed or punched | Proud fixings telegraph through pad and pile, and tear the backing. |
| No squeaks or flex | Movement below works new fixings loose from the day they go in. |
| Nosings sound | The nosing carries the most wear; a loose one shortens runner life. |
| Surfaces smooth in the runner's path | Any ridge shows through a tensioned covering. |
| Decoration complete and cured | Soft finishes bond to pads and mark permanently. |
| Flight vacuumed, creases clear | Grit prevents the pad seating and distorts measurements. |
| Every step measured individually | Uniformity is an assumption, not a fact, on most staircases. |
| Access and lighting arranged | Most removal damage happens because a fixing could not be seen. |
Special cases
Fitting over an existing carpet
If the carpet genuinely cannot be lifted, preparation shifts to assessing whether the arrangement is safe at all: how compressible the layer is, whether fixings can reach solid structure, and how often the result will need checking. See runners over carpet.
Winders and curved flights
Preparation on a turning staircase includes recording the geometry properly, because the inner and outer edges of a winder differ and the runner has to be planned around that before anything is ordered. Detail is in winder and curved staircases.
New or freshly built staircases
New timber moves as it acclimatises to the house. Where the schedule allows, letting a new staircase settle before covering it reduces the chance of squeaks appearing under a runner that was fitted perfectly.
What preparation buys you
Every hour here removes a problem you would otherwise meet later with a fitted runner in the way. A solid, clean, cured staircase takes fixings properly, holds tension, and lets the covering wear evenly. It also makes the fitting itself faster, which matters if a professional is charging for the time. Read how installation is priced to see how much preparation work affects a quote — and why fitters ask about it before pricing.
Frequently asked questions
- What if the stairs are made of MDF or plywood?
- Modern engineered timbers like MDF and plywood are consistent and take fixings well, but they produce a fine, pervasive dust when sanded. If you are preparing these for a runner, use a high-quality primer-sealer to ensure the paint or finish bonds properly to the edges, and be aware that staples fired into the end-grain of plywood can sometimes cause delamination if not placed carefully.
- Can I fit a runner to concrete stairs?
- Yes, but the preparation is different. You cannot staple into concrete, so you must either use adhesive for the pad and runner, or install timber 'gripper blocks' or tackless strips using masonry fixings or specialized adhesives. The concrete must be clean, dry, and level, as any lumps will be impossible to sand down easily compared to timber.
- How do you prepare stairs for a stair runner?
- Strip anything already on them, remove every old fixing, fix loose or squeaking treads, repair damaged nosings, clean the timber thoroughly, decorate the exposed margins, and let any paint or finish cure fully before the runner goes anywhere near it. Then measure the bare, clean staircase.
- Should you paint the stairs before fitting a runner?
- Yes. The exposed margins either side of a runner are far easier to paint with the staircase bare, and cutting in against a fitted runner never looks as clean. Paint the full tread and riser rather than just the visible strip, so a future change of runner width does not expose raw timber.
- How long should paint cure before a runner is fitted?
- Longer than it takes to feel dry. A paint or varnish that is touch-dry can still be soft underneath, and a pad pressed onto it will bond, mark or lift when disturbed. Follow the manufacturer's full cure guidance rather than the touch-dry time, and if in doubt give it longer.
- Do you need to fix squeaky stairs first?
- Always. A runner muffles a squeak without curing it, and the movement causing the noise will work fixings loose from below. It is also far easier to reach the joint while the staircase is bare.
- Does the staircase need to be perfectly level?
- No, and very few are. What matters is that each step is solid and that you know where the variations are, because uneven risers change the length calculation and can affect how a pattern lands.
The impact of timber species on preparation
The wood your staircase is built from dictates the tools and force required. Oak and other hardwoods are dense; they hold staples incredibly well but can be prone to splitting if you fire too close to the edge of a nosing without care. You may find that removing old fixings from oak requires more leverage, increasing the risk of bruising the timber if you don't use a protector.
Pine and other softwoods are the opposite. They are easy to work with but very easy to damage. A heavy-handed removal of old gripper will leave deep 'bruises' in the grain that filling can only partially hide. If you are painting pine margins, expect the grain to rise after the first coat; a light sand between coats is essential for a professional finish.
Engineered boards like MDF or plywood, common in newer builds, require a different approach. They are stable and rarely squeak, but their edges are porous. If you are painting the margins, the 'end grain' of the MDF will soak up paint faster than the face, requiring extra coats or a specific sealer to prevent a patchy appearance. Our materials guide discusses how different runners interact with these surfaces.
Restoring nosings and edges
The nosing is the most stressed part of the staircase. Before fitting, inspect every single one for rounded wear, splits, or old repair patches. If a nosing is severely rounded from decades of use, a modern runner fitted under tension will exaggerate that curve, sometimes making the step feel 'shallow' underfoot.
Small splits should be glued and clamped now. If a section of the nosing is missing, it must be rebuilt with a high-strength wood filler or a 'dutchman' repair (inlaying a new piece of timber). A runner is not a structural repair; it is a cosmetic covering. If the timber underneath is crumbling, the runner fixings will eventually pull out.
Environmental prep: temperature and humidity
Staircases are often located near front doors or in draughty hallways, making them susceptible to rapid temperature changes. If you have recently installed a new staircase or performed major timber repairs, allow the wood at least two weeks to acclimatise to the house's ambient humidity before fitting the runner.
Timber shrinks and expands. If you fit a runner to 'wet' timber that subsequently dries out and shrinks, the tension you carefully applied will slacken, leading to ripples. Conversely, fitting in a very dry environment followed by a humid winter can cause the timber to swell, potentially putting enough stress on the fixings to cause them to pop. Check our DIY guide for advice on timing your installation.
Preparing for hardware: rods and brackets
If you are using stair rods, the preparation includes marking out the bracket positions. Unlike staples, which are hidden, rod brackets are highly visible and must be perfectly aligned across the flight.
Check that the wood where the brackets will sit is sound. If you find old screw holes from a previous installation, don't just reuse them if they are loose. Drill them out, plug them with a glued dowel, and start fresh. A rod that rattles or a bracket that pulls away from the stringer is a constant annoyance that is easily avoided at this stage.
Ensure the 'crook' of the stairs—the internal angle—is clear of any old paint build-up. Rod brackets need to sit tight into that corner. If there is a thick, rounded bead of old gloss paint there, the bracket will 'rock' and never sit flat, which can lead to the rod itself sitting at an angle.
The 'Hidden' Checks: Lighting and Power
Before you declare the stairs ready, consider the environment. Fitting a runner requires precision, which requires good light. If your hallway is dim, arrange temporary work lights. Similarly, check that you have a power source nearby for a compressor or electric stapler. It sounds trivial, but running a hose or lead across a busy hallway while you are trying to maintain tension on a runner is a recipe for frustration.
Finally, warn the household. A staircase in 'prep mode'—with exposed tacks, wet paint, or loose boards—is a hazard. Clear the work area, remove any rugs from the top and bottom landings that could cause a slip, and ensure you have a clear path for the runner roll itself when it arrives. Consult our best carpet for stairs article to ensure your chosen material is suitable for the preparation you've completed.
Related guides
 MeasurementHow to Measure for a Stair RunnerThe tread-plus-riser formula, waste allowance, winders and landings, plus a calculator that shows its working.
 InstallationHow to Install a Stair RunnerWaterfall and Hollywood methods, staples versus rods, tools, sequence and quality checks.
 MaterialsStair Runner Underlay and PaddingWhy pad choice matters more on stairs than anywhere else, and how to specify density, thickness and cut.
- InstallationRemoving a Stair RunnerTaking up an old runner without wrecking the treads, including staples, gripper and adhesive.