Installation
Peel and stick stair runners: The honest guide to adhesive flooring
Self-adhesive stair coverings offer a tempting DIY shortcut, but the difference between a convenient upgrade and a safety risk lies in the quality of the bond and the limits of the material.
Written by the StairRunner.co editorial team · Updated 4 September 2026
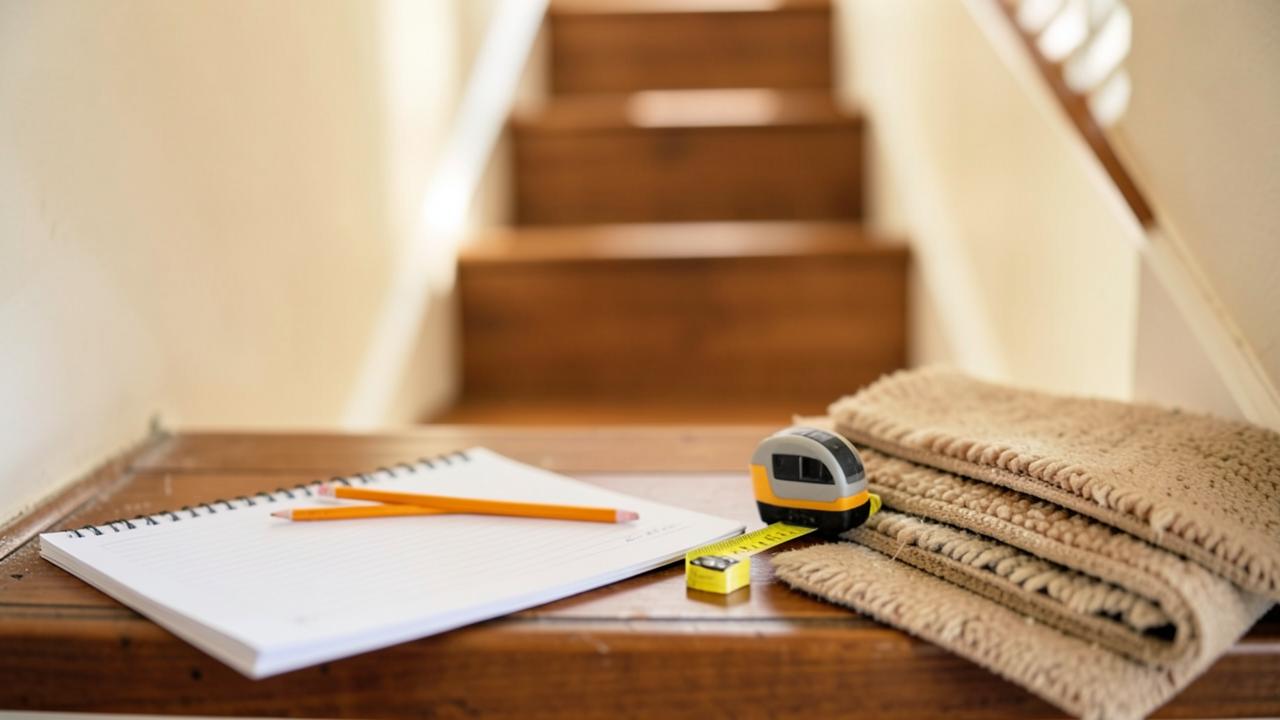
The fundamental difference between adhesive and mechanical fixing
In the world of stair runners, the method of attachment is the single most important factor for long-term safety. Traditional installations, as detailed in our guide to stair runner installation, rely on mechanical fixings—staples, nails, or gripper strips—that bite into the timber or the subfloor. These fixings do not care about temperature changes, humidity, or the microscopic dust that accumulates in a home.
Peel and stick products, by contrast, rely on a pressure-sensitive adhesive (PSA). This is essentially a high-performance tape pre-applied to the back of the carpet or vinyl. While modern adhesives are remarkably strong, they are chemical bonds rather than physical ones. This means they are subject to degradation over time. Factors such as the type of varnish on your stairs, the cleanliness of the wood during installation, and even the natural oils in the timber can all influence how well that bond holds. For anyone considering this route, it is vital to understand that you are trading the absolute security of a staple for the convenience of a sticker.
When to choose peel and stick (and when to avoid it)
| Scenario | Suitability | Reasoning |
|---|---|---|
| Low-traffic rental flats | High | Offers a reversible aesthetic change without permanent holes. |
| Hardwood stairs with pets | Moderate | Provides grip for paws, but claws may lift edges if not perfectly bonded. |
| Open-tread staircases | Low | Adhesive failure on an open tread presents a higher fall risk. |
| Main family staircase | Low | Constant heavy use will eventually cause the adhesive to 'creep' or slide. |
| Basement/Cellar stairs | Very Low | Dampness and humidity are the natural enemies of self-adhesive bonds. |
Safety first: The risk of 'creep' and edge lifting
The primary safety concern with any adhesive flooring on a staircase is a phenomenon known as 'creep'. This is the slow, microscopic movement of the material under the shear force of a human foot. When you walk down the stairs, your weight pushes the runner forward and down. Over hundreds of descents, a poorly bonded adhesive can allow the runner to migrate by millimeters. Eventually, this can result in a bulge at the nosing (the front edge of the step) or a gap at the riser.
Edge lifting is the second major concern. The edges of a runner are the most vulnerable points. If a vacuum cleaner catches a slightly loose corner, or if a shoe toe scuffs against the side, the edge can begin to curl. Once an edge starts to lift, dust and lint quickly coat the exposed adhesive, making it impossible to stick back down effectively. A lifting edge is a classic trip hazard, especially for those descending the stairs in low light or while carrying items. We discuss broader safety measures in our guide to non-slip stair runners.
Preparation: The secret to adhesive success
Most peel and stick failures are not caused by bad glue, but by bad preparation. Timber stairs are often coated in years of wax, polish, or cleaning chemicals that are designed to repel everything—including adhesive. To give your runner a fighting chance, the surface must be 'surgically' clean.
- Degrease: Use a dedicated sugar soap solution or a specialized floor degreaser to remove all traces of wax.
- Dry: Any moisture trapped under the runner will cause the adhesive to turn into a milky slurry that will never bond.
- Temperature: Never install peel-and-stick products on a freezing cold day. The adhesive needs a moderate room temperature (around 18-22°C) to 'wet out' and form a proper bond with the timber.
- Pressure: As the name 'pressure-sensitive adhesive' suggests, the bond is formed by force. Using a hand roller or even standing on every inch of the runner is essential to activate the glue.
Material choices for self-adhesive runners
Not all materials are suited for the peel-and-stick format. Because the material must be flexible enough to follow the curve of the nosing but rigid enough not to stretch and buckle, you will usually find three main types:
- Needlepunch Synthetic: These are very thin, felt-like materials. They bond exceptionally well because they are light, but they offer very little cushioning.
- Low-Pile Polypropylene: These look more like traditional carpet. They are durable and easy to clean (see polypropylene runners), but the thicker the material, the more stress it puts on the adhesive at the nosing curve.
- Vinyl/PVC: Often printed to look like wood or tile. These are excellent for water resistance but can be slippery when wet unless they have a high slip-resistance rating.
The 'Removable' Myth: Protecting your timber
Marketing often suggests that peel-and-stick runners can be whipped off whenever you tire of them, leaving the stairs in pristine condition. In reality, the removal process can be laborious. The longer an adhesive stays in place, the more it 'cures' or hardens. When you eventually pull it up, you may be left with a sticky lattice of residue that requires chemical solvents to remove.
Furthermore, if your stairs are made of soft wood like pine, or if the varnish is old and brittle, the adhesive may be stronger than the wood's surface. Removing the runner can actually 'delaminate' the timber, pulling up splinters or large flakes of finish. For a truly damage-free approach, you might consider the methods discussed in installing runners without nails, which often utilize different tension-based systems.
Design considerations for adhesive treads
Because of the safety risks associated with full-length adhesive runners, many designers prefer 'stair treads' or 'stair mats'. These are individual rectangular or bullnose-shaped pieces that cover only the horizontal part of the step.
Visually, treads can look very modern, especially on minimalist wooden flights. They allow the beauty of the timber to show through between the pieces. Practically, they are much safer than a full adhesive runner because there is no tension pulling the material between the steps. If one tread fails, you only need to replace that specific piece, rather than the entire flight. You can explore more aesthetic options in our modern stair runner ideas.
Peel and stick vs. Double-sided tape
Some homeowners attempt to turn a standard runner into a 'peel and stick' version using heavy-duty double-sided carpet tape. While this can work, it is often less effective than factory-applied adhesive. Factory-applied glue is usually spread across the entire surface area of the backing, whereas tape is only applied to the edges. This leaves the middle of the runner prone to bubbling and shifting. If you are going the DIY route, always look for products where the adhesive is pre-integrated into the backing for a more uniform bond.
Environmental factors and adhesive life
The environment of your hallway plays a massive role in how long your peel-and-stick solution will remain safe. In the UK, hallways are often the coldest part of the house in winter and can be subject to significant drafts.
- Humidity: High humidity (e.g., from a nearby bathroom) can soften some water-based adhesives.
- Underfloor Heating: If your stairs happen to have heating elements (rare, but possible), the constant warmth will cause most adhesives to fail or 'bleed' through the carpet.
- Direct Sunlight: UV rays coming through a window can degrade the chemical bonds in the glue, making the runner brittle and prone to detachment.
Cost vs. Value: The long-term view
Peel and stick is undoubtedly the cheapest way to cover a staircase. The materials are inexpensive, and there is no professional fitting fee. However, if the runner needs replacing every 18 months due to wear or adhesive failure, the cost-per-year can quickly exceed that of a high-quality wool stair runner installed professionally.
Consider peel-and-stick a 'transitional' product. It is excellent for making a house liveable while you save for a permanent solution, or for solving a temporary slip problem in a rental property. It is rarely a thirty-year flooring choice.
Technical Specification Table
| Feature | Acrylic PSA (Common) | Hot-Melt Adhesive | Butyl Tape (Industrial) |
|---|---|---|---|
| Initial Tack | High | Low (Needs heat/pressure) | Extreme |
| Removability | Good | Difficult | Permanent/Destructive |
| Heat Resistance | Moderate | Poor | Excellent |
| Common Use | DIY Treads | Backing lamination | Commercial/Outdoor |
Step-by-step: How to install for maximum safety
If you have decided that peel-and-stick is right for your home, follow these steps to ensure the best possible bond:
- Acclimatise: Leave the runner in the hallway for 48 hours before fitting so it reaches the same temperature and humidity as the stairs.
- Dry-fit first: Lay out all the pieces without removing the backing paper to ensure the alignment is perfect. Once that glue touches the wood, you often only get one chance to position it.
- Center-outwards: When sticking the material down, start from the center and push outwards to the edges. This prevents air bubbles from being trapped.
- Nosing focus: The nosing is where the most pressure is applied during use. Spend double the time rolling and pressing the material over this curve.
- Wait: Avoid walking on the new runner for at least 4-6 hours to allow the adhesive to fully bond with the timber.
Final thoughts on adhesive runners
Peel and stick stair runners represent a significant innovation in DIY home improvement, lowering the barrier to entry for beautiful, safer stairs. However, they come with a responsibility of vigilance. Unlike a traditional runner that is 'fit and forget', an adhesive runner is a living installation that requires regular checking. As long as you respect the limits of the glue and maintain a strict cleaning and inspection routine, they can be a brilliant, cost-effective addition to your home. For more permanent ideas, don't forget to check out our complete stair runner gallery.
Maintenance and cleaning of adhesive products
Cleaning a peel-and-stick runner requires a gentle touch. Aggressive steam cleaning is strictly forbidden; the heat and moisture will penetrate the pile and melt the adhesive underneath. Instead, use a vacuum with the beater bar turned off to avoid pulling at the edges. For spills, blot gently as described in our cleaning guide. If a spill is large enough to soak through the backing, you will almost certainly need to replace that section of the runner, as the liquid will have compromised the bond.
Frequently asked questions
- Are peel and stick stair runners safe?
- They are generally safe for light use if the adhesive is high-quality and the surface is prepared correctly. However, they lack the mechanical fixation of staples or rods, making them prone to movement over time, which can be a trip hazard. They are best suited for individual treads rather than full, continuous runners.
- Can you remove them without damaging the stairs?
- While marketed as removable, the reality depends on the timber finish. Heat from a hair dryer can help soften the bond, but some residue is likely. On very old or poorly sealed wood, the adhesive may pull the finish away upon removal.
- How long does the adhesive last?
- Domestic self-adhesive products typically last 1 to 3 years depending on traffic, humidity, and temperature fluctuations. In high-traffic homes or areas with high moisture, the bond may fail much sooner, necessitating replacement for safety.
- Do peel and stick runners work on painted stairs?
- Yes, but the paint must be fully cured (usually 3-4 weeks after painting) and free of dust. If the paint bond to the wood is weak, the runner will only be as secure as the paint itself; if the paint flakes, the runner will slip.
- Can I use them on outdoor stairs?
- Only if specified for exterior use. Standard interior peel-and-stick adhesives will fail rapidly when exposed to rain, frost, or direct UV light, creating a significant safety risk.
Related guides
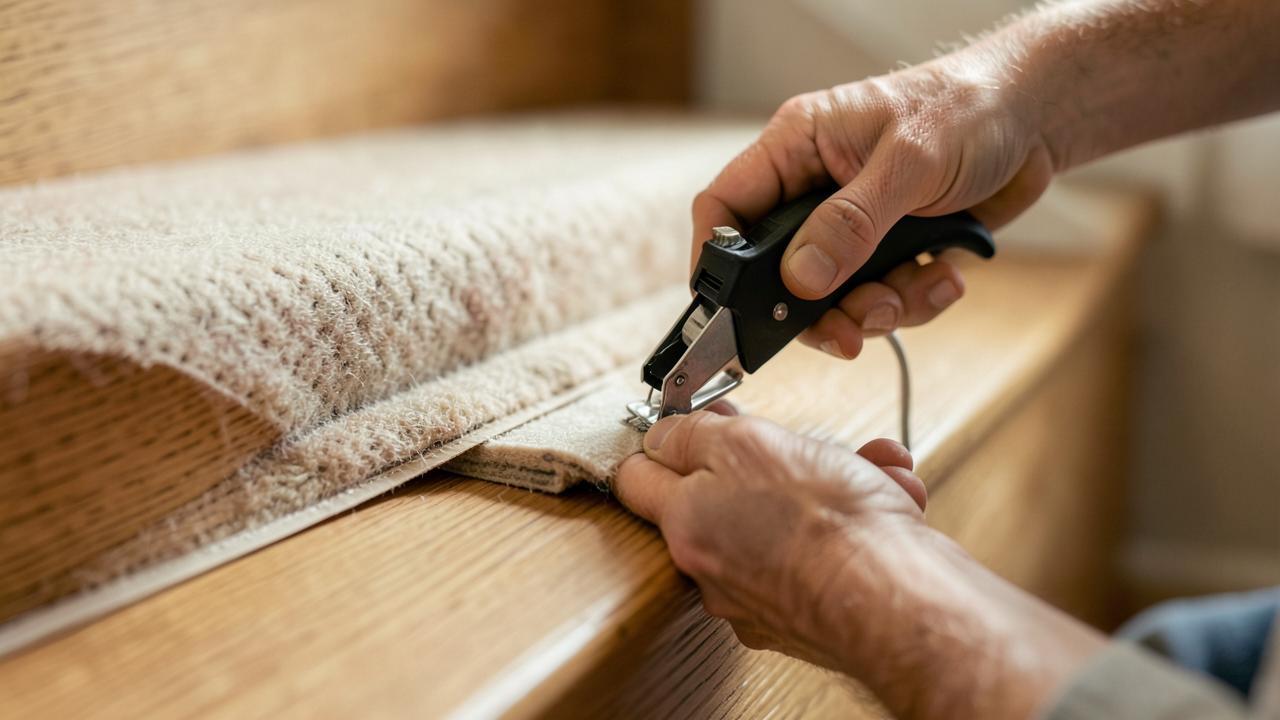 InstallationHow to Install a Stair RunnerWaterfall and Hollywood methods, staples versus rods, tools, sequence and quality checks.
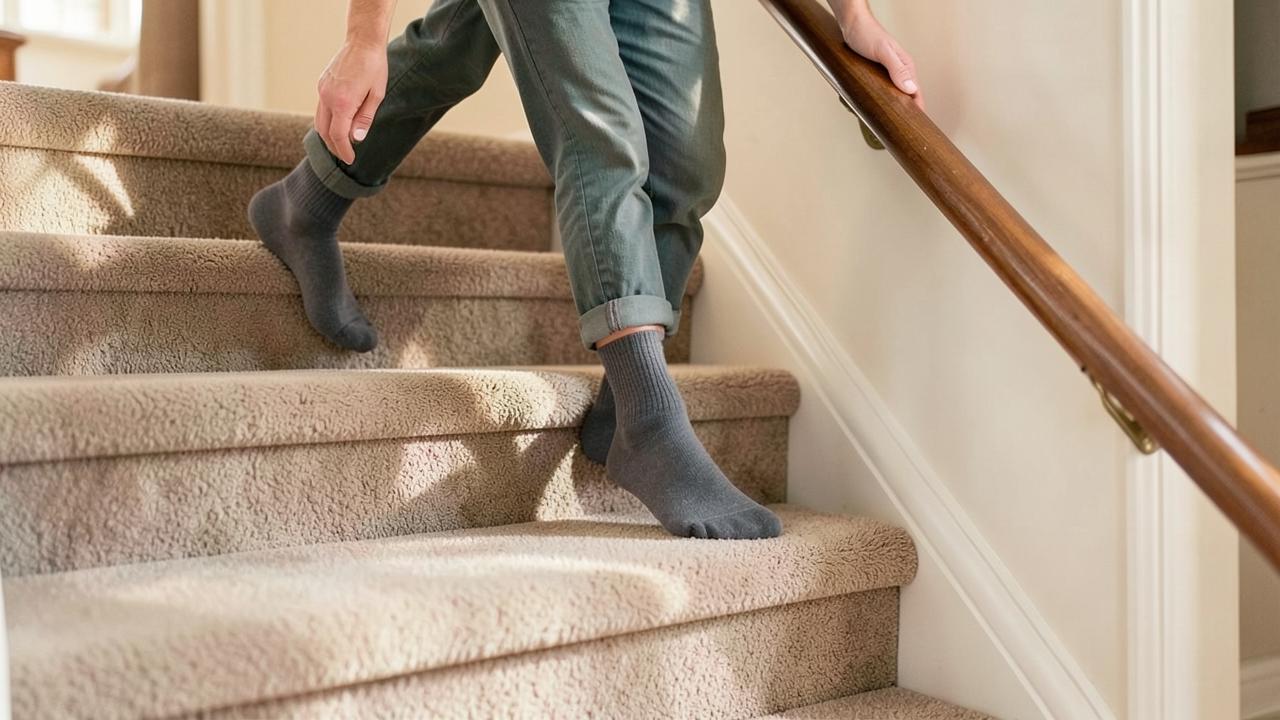 SafetyNon-Slip Stair Runners and Stair SafetyWhat actually makes a stair covering grippy: fitting tension, pile, pad and nosing coverage.
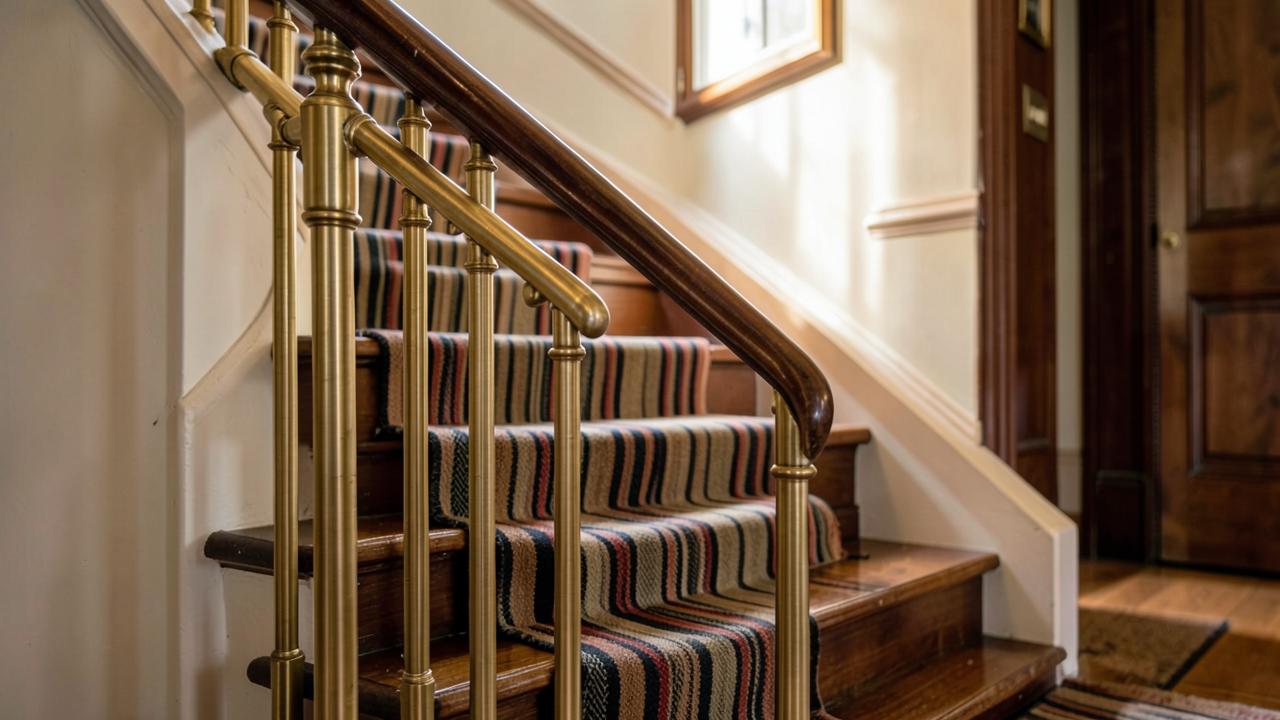 InstallationFitting a Runner Without NailsRods, tackless strip, adhesive systems and removable methods for staircases you cannot puncture.