Installation
Stair runner tack strips: selection and installation
The foundation of every secure stair runner. Understanding the nuances of tack strip quality and placement is the key to a professional, long-lasting finish.
Written by the StairRunner.co editorial team · Updated 4 September 2026
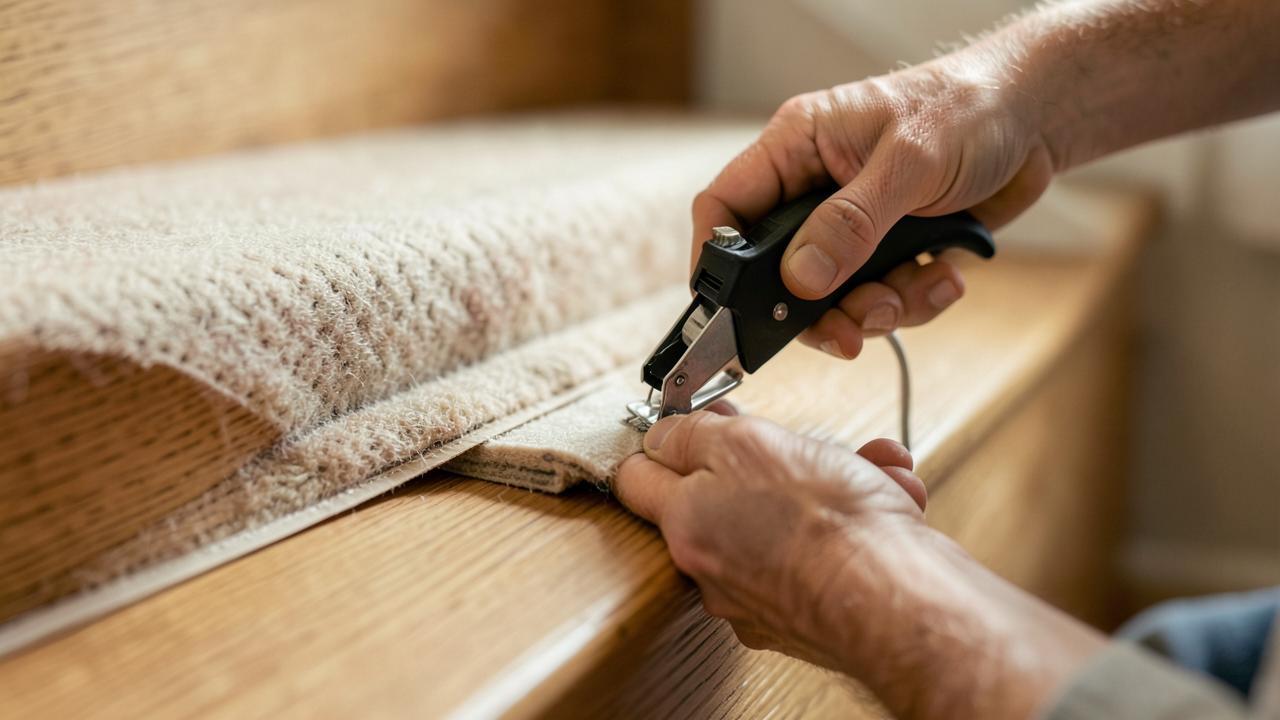
The anatomy of a high-quality tack strip
At first glance, a tack strip seems like a rudimentary tool: a thin piece of wood with some nails through it. However, the engineering behind a professional-grade tack strip is quite specific. The base is usually made from multi-ply birch or poplar, chosen for its resistance to splitting when nailed into a stair tread. The pins themselves are made from zinc-plated steel, ensuring they remain sharp and rust-free throughout the life of the installation.
The most critical feature of a tack strip is the pin angle. The pins are not vertical; they are set at a 60-degree angle. This orientation is designed so that when the carpet is pulled against the pins, they 'bite' deeper into the backing rather than allowing the carpet to slip off. On a staircase, where the forces applied to the carpet are both downward and forward, this mechanical lock is what prevents the runner from shifting underfoot.
Beyond the pins that hold the carpet, the tack strip also features 'drive nails'—the nails that secure the strip to the floor. For timber stairs, these are typically 19mm or 25mm long and feature a ring-shank design to prevent them from 'walking' out of the wood over time as the stairs naturally flex and move.
Choosing the right tack strip for your runner
| Carpet Type | Tack Strip Width | Pin Length | Recommendation |
|---|---|---|---|
| Sisal / Seagrass | 20mm | Short (4mm) | Prevents pin protrusion through thin weaves |
| Standard Wool Twist | 22mm | Medium (6mm) | Standard domestic trade-grade strip |
| Deep Pile Saxony | 25mm | Long (8mm) | Ensures bite through thick pile and heavy backing |
| Commercial Grade | 32mm | Reinforced | Dual-purpose for high-traffic environments |
Precision placement: The gully and the riser
The most important aspect of tack strip installation is the 'gully'. This is the gap left between the edge of the tack strip and the point where the tread meets the riser. A professional installer will typically leave a gap of 10mm to 15mm. This gully serves two purposes: it allows the carpet to be 'tucked' for a clean, professional finish, and it provides the space for the tensioning process to take place.
On a standard step, you will install two strips of tack strip. One goes on the tread, with the pins angled toward the riser. The second goes on the riser itself, about 10mm up from the tread, with the pins angled toward the tread. When the carpet is pushed into this gully using a bolster, it creates a 'U' shape that locks the carpet into the pins on both sides. This dual-point anchoring is what gives a stair runner its legendary stability.
Failure to maintain a consistent gully width will result in a runner that looks 'wavy' or uneven. If the gully is too narrow, the carpet will be difficult to tuck, often resulting in visible 'fat' edges. If the gully is too wide, the tension will be uneven, and you may see gaps where the carpet should be flush against the wood.
Fixing tack strips to different substrates
While most UK stairs are timber, you may encounter other materials that require a different approach to tack strip installation. Softwood stairs (pine) are the easiest to work with, as the drive nails penetrate easily and hold well. Hardwood stairs (oak, beech) are denser and may require you to pre-drill small pilot holes to prevent the wood from splitting or the nails from bending.
Concrete stairs require specialized 'masonry tack strips'. These are fitted with hardened steel nails that can be driven into the concrete using a heavier hammer. For very old or brittle concrete, some installers prefer to remove the pre-installed nails and use a combination of masonry screws and construction adhesive to ensure the strips remain secure.
Stone or marble stairs present a unique challenge, as you generally want to avoid drilling into the material. In these cases, high-strength epoxy resins can be used to bond the tack strips to the stone. This is a permanent solution and should only be undertaken if you are certain the runner will remain in place for many years.
The importance of pin density and arrangement
Not all tack strips are created equal when it comes to the number of pins. Standard strips usually have two rows of staggered pins. However, for high-tension applications like stairs, 'triple-row' or 'extra-density' strips are often used. These provide more points of contact with the carpet backing, distributing the tension more evenly and reducing the risk of the backing tearing under heavy load.
The arrangement of the pins is also crucial. A 'staggered' pattern ensures that the pins aren't all hitting the same thread in the carpet backing, which could weaken the material. By spreading the load across multiple threads, the tack strip maintains a stronger hold and increases the overall lifespan of the runner.
When installing, it is vital to ensure that the pins are clean and free from any manufacturing residue or oil. Any contamination on the pins can transfer to the carpet, potentially causing localized staining or affecting the 'bite' of the pin into the synthetic backings found on many modern runners.
Tooling for tack strip installation
To install tack strips correctly, you need the right tools. A standard claw hammer is sufficient for driving the nails, but a 'carpet hammer' with a smaller, more precise head is often preferred by professionals for working in tight corners. For cutting the strips, 'carpet shears' or a dedicated 'tack strip cutter' is essential. Using a saw will splinter the wood, while using standard wire cutters will likely ruin the tool.
A 'measuring block' is another useful tool. This is a small piece of wood cut to the exact width of your desired gully. By placing the block against the riser and then pushing the tack strip against the block, you ensure a perfectly consistent gap along the entire width of the flight. This level of precision is what separates a DIY look from a master craftsman's finish.
Safety equipment is also non-negotiable. Tack strip pins are incredibly sharp and are designed to draw blood. Wear heavy-duty gloves when handling the strips, and always be mindful of where you place your hands when hammering. Once the strips are down, they should be covered with the runner as soon as possible to prevent accidents.
Environmental considerations and sustainability
As the industry moves toward more sustainable practices, the environmental impact of tack strips is being scrutinized. Most professional-grade strips are made from FSC-certified birch plywood, ensuring that the wood is sourced from responsibly managed forests. The zinc plating on the pins is also subject to environmental regulations to minimize the use of harmful chemicals during the manufacturing process.
When removing old carpet, many people wonder if tack strips can be recycled. Because they are a composite of wood and metal (and often contaminated with adhesive or old carpet fibers), they are generally not accepted in standard domestic recycling bins. However, some specialist waste facilities can process them. The best way to reduce environmental impact is to invest in high-quality strips that can last through multiple carpet replacements, reducing the overall waste generated.
Common tack strip myths debunked
- "More pins are always better." Not necessarily. Too many pins can actually weaken the carpet backing by creating too many perforations. The goal is the *right* density for the specific carpet type.
- "You can use standard nails instead of tack strips." While 'tacking' a carpet down was common a century ago, it doesn't provide the uniform tension required for modern runners. Tack strips are vastly superior for safety and appearance.
- "Tack strips aren't necessary if you use glue." Glue provides a bond, but it doesn't provide tension. Without the mechanical pull of the tack strip, a glued runner will eventually stretch and ripple.
- "Old tack strips are always fine to reuse." Plywood dries out and becomes brittle over time. Rusted or bent pins won't hold tension. Always inspect thoroughly before deciding to reuse.
Troubleshooting tack strip issues
If you find that your runner is 'popping' off the tack strip, the first thing to check is the pin length. If the pins are too short, they simply aren't reaching the backing. If the pins are long enough but still not holding, it may be that the carpet is under *too much* tension, or that the tack strip itself is pulling away from the floor.
Squeaking is another common issue. This happens when the tack strip rubs against the stair tread. To fix this, you can add a small bead of wood glue under the strip before nailing it down, or use 'squeak-proof' screws in addition to the standard nails. Ensuring a solid, motionless bond between the strip and the stair is the key to a silent installation.
Finally, if you can feel the tack strip through the carpet when you walk on it, the strip has been placed too far forward on the tread, or the underlay is too thin. The tack strip should always be tucked away in the 'gully' where it is protected from direct foot traffic. If it's under the ball of your foot, it will eventually wear through the carpet and become a hazard.
Future-proofing your installation
When installing tack strips, think about the future. If you might want to restore the wooden stairs one day, consider using 'low-impact' fixings or even a specialized adhesive tape system for the edges, although this is generally less secure than traditional tack strips. If you are staying in the home for the long term, invest in the best quality strips you can find to ensure the runner stays safe and beautiful for decades.
A well-installed set of tack strips is the silent hero of a beautiful staircase. It's the part no one sees, but everyone relies on for safety and comfort. By taking the time to select the right materials and install them with precision, you are setting the stage for a successful stair runner project. For more details on the final steps of the process, see our guides on stair runner installation and underlay selection.
Frequently asked questions
- Are tack strips and carpet grippers the same thing?
- Yes, 'tack strip' is the common North American term, while 'carpet gripper' is more frequently used in the UK. Both refer to the plywood strips with angled pins used to anchor carpet.
- How many tack strips do I need per step?
- For a standard runner installation, you typically need two strips per step: one on the tread and one on the base of the riser, creating a tensioning gully in the corner.
- Can tack strips be used on concrete stairs?
- Yes, but you must use specific masonry tack strips that feature hardened steel nails designed to penetrate concrete without bending or shattering.
- What happens if a tack strip comes loose?
- If the strip detaches from the wood, the runner will lose tension and begin to slide. This is a significant trip hazard and must be repaired immediately by re-securing the strip.
- Should I remove old tack strips before installing a new runner?
- Generally, yes. New tack strips ensure the pins are sharp and the wood is sound, providing the best possible anchor for your new investment.
- Can I install tack strips myself?
- While possible, it requires precision. If the strips are misaligned or the gully is the wrong width, the finished runner will look uneven and may not stay secure.
- What is the best way to cut tack strips to size?
- Specialist carpet shears or 'gripper cutters' are the best tool, as they provide a clean snap without splintering the plywood backing of the strip.
Related guides
- InstallationHow to Install a Stair RunnerWaterfall and Hollywood methods, staples versus rods, tools, sequence and quality checks.
- InstallationDIY Stair Runner InstallationAn honest assessment of doing it yourself: skills, tools, time, safety and the jobs worth handing over.
- InstallationStair Runner Gripper and Fixings GuideEverything you need to know about stair runner grippers, from pin lengths and placement to professional tensioning techniques for a secure, safe installation.