Planning
Fitting a stair runner over fully carpeted stairs
Converting a wall-to-wall carpeted staircase into a runner scheme means more than buying a narrower carpet — it means fully exposing, repairing and finishing treads that may never have been designed to be seen.
Written by the StairRunner.co editorial team · Updated 4 September 2026
Why this is a different job to a standard installation
Most guidance on fitting a runner assumes bare, finished treads underneath — either a staircase built that way, or one already stripped back. Converting from a fully carpeted stair changes the starting point substantially. You are not simply adding a covering; you are first removing one, and doing so reveals surfaces, fixings and sometimes problems that have been hidden for years, occasionally decades. Getting this stage right is what determines whether the finished runner looks intentional or looks like a repair.
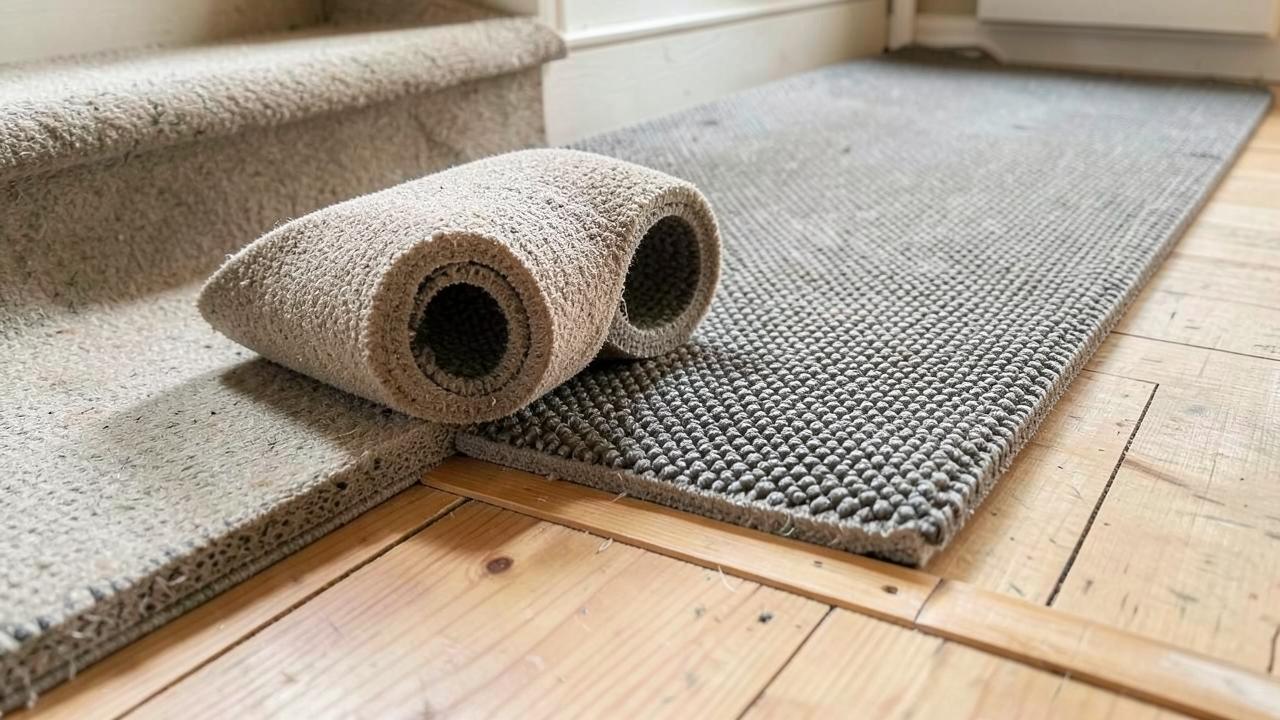
It is worth being clear from the outset that this is not the same question as fitting a runner directly on top of existing carpet, which we cover separately and advise against for safety reasons. This guide assumes the opposite and more sensible route: removing the old carpet fully, then fitting a runner onto the exposed timber beneath it.
Step one: full removal, not partial removal
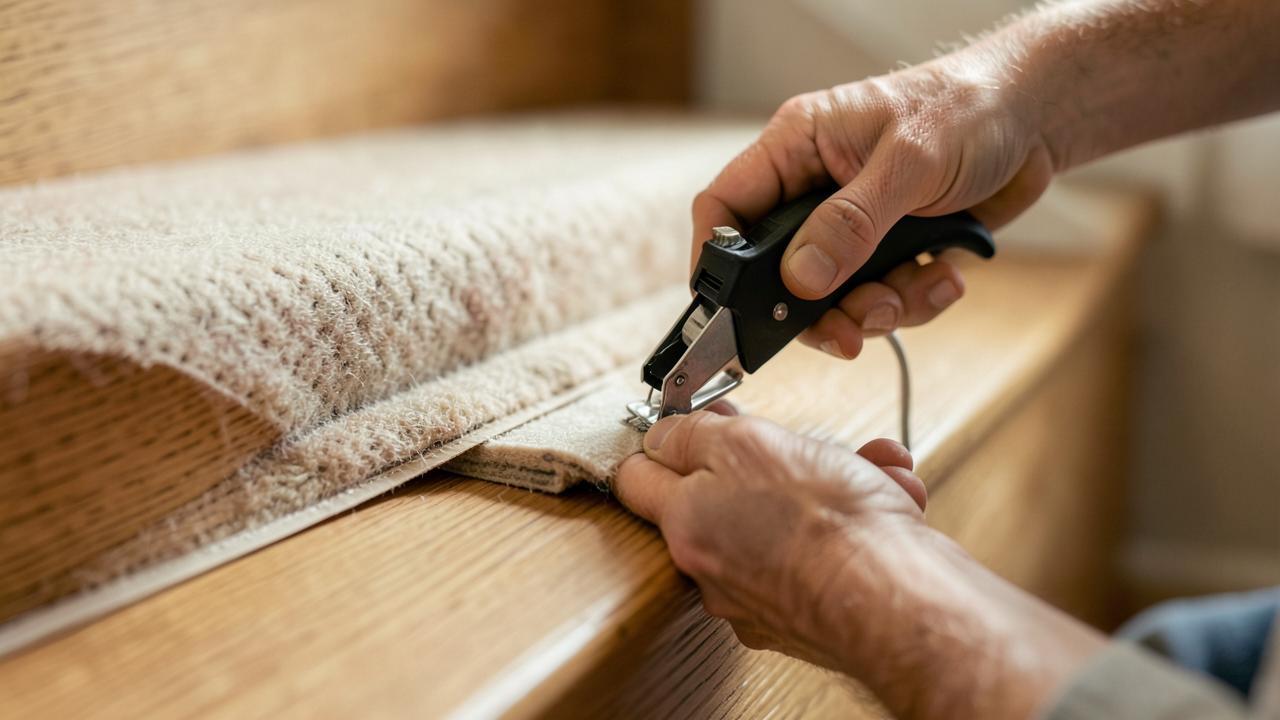
A common misunderstanding is that only the centre strip of old carpet, where the new runner will sit, needs to come up. In fact the entire width of every tread and riser has to be stripped, because the margins either side of a runner are left exposed and visible, not carpeted in a different way. Old carpet, its pad, and typically the tack strip beneath it all need removing across the full staircase width, even though only the centre portion will ultimately be recovered with a new runner.
- Pull the old carpet free, usually starting at the top or bottom nosing.
- Remove the pad beneath it, checking for staples left behind in the timber.
- Lever out the old tack strip carefully, working to avoid splitting the tread or riser timber around the nail holes.
- Search the exposed surface methodically for stray staples and tacks; a proud fixing left under a new runner will eventually work its way through the pile.
What you are likely to find underneath
| Condition found | Typical cause | What it usually needs |
|---|---|---|
| Sound but unfinished softwood | Treads built assuming permanent carpet coverage | Sanding, filling nail and staple holes, staining or painting |
| Old tack strip and staples | Previous carpet fitting | Careful removal, filling of holes, checking for splits |
| Squeaking or slightly loose treads | Age, movement, dried-out fixings | Re-securing with screws before any new covering goes down |
| Inconsistent colour or old adhesive residue | Different past floor coverings over time | Cleaning back and finishing evenly before staining |
| Genuinely good period timber | House built with a finished staircase later fully carpeted over | Light refinishing only, sometimes just a clean and reseal |
Deciding your margin and runner width
Once the treads are exposed and their condition assessed, the next decision is how much bare timber to leave showing either side of the new runner. This is where a converted staircase differs from a straightforward re-carpet: the margin is not just a style choice, it is also a decision about how much of the tread needs to look genuinely presentable. Our guide to stair runner width and margins covers the proportions that generally read best, but on a converted staircase it is worth erring toward a margin you know the timber can support visually, rather than a fashionably narrow one that puts poor-condition timber on full display.
Finishing the exposed timber
Margins that will be seen every day deserve proper preparation. Sand out old surface marks and staple scars, fill any deep holes left by removed tack strip, and choose a stain or paint finish that suits the rest of the staircase joinery, not just the treads in isolation — skirting, handrail and any painted stringers set the palette the margins need to sit within. Do this work before the new runner and pad go down; working around an already-fitted runner while sanding or staining risks damaging the new carpet with dust, spills or stray tool marks.
If the margins turn out to be in genuinely poor condition — split boards, old woodworm damage, or timber that was never intended to be seen and looks patchy however it is finished — it is worth reconsidering a narrower exposed margin, or in some cases reconsidering whether a runner is the right choice for that particular staircase at all, rather than forcing a finish the timber cannot support.
Underlay and fixing on newly exposed timber
Once treads are sound and finished, fitting proceeds as it would on any bare staircase: fresh pad cut to the runner width, then the runner itself tensioned and fixed using tack strip or a staple method. See our underlay guide for pad choice and our installation guide for the fixing sequence itself — both apply exactly as they would to a staircase that was never carpeted, since by this stage in the project the two situations converge.
Budgeting time realistically
The part of this project that catches people out is not the runner fitting itself but the preparation stage before it. Stripping old carpet, removing tack strip and staples, repairing treads and finishing exposed margins can easily take longer than the fitting of the new runner that follows it, particularly if the condition underneath turns out to be worse than expected. Treat the preparation and the fitting as two separate phases when planning time, rather than a single job, and be prepared for the first phase to reveal work that was not visible or predictable beforehand.
Doing it in stages: DIY preparation, professional fitting
Removing old carpet, pulling tack strip, filling holes and basic sanding are all tasks a reasonably confident homeowner can take on without specialist tools or experience, which is where a lot of the labour, rather than skill, in this project sits. Cutting, tensioning and fixing the new runner accurately is a different kind of task, and is where hiring an experienced fitter tends to pay off most clearly. This split is discussed further in DIY stair runner installation, and keeps the project honest about which stages genuinely need a professional and which do not.
When it makes more sense to stay fully carpeted
Not every staircase currently under full carpet is a good candidate for conversion. If the treads and risers underneath are in genuinely poor condition across their full width, or the staircase timber was never intended to be seen and would need extensive, expensive refinishing to look acceptable exposed, it may be more sensible to replace like-for-like with new full-width carpet rather than take on margin repair work purely to achieve a runner look. Weigh this honestly using our comparison of stair runner versus full carpet before committing to the larger project.
Working out whether removal is even reversible
Before starting, it is worth checking whether the staircase you are converting was ever intended to be seen at all. Some staircases were built with a plain, unfinished tread profile specifically because full carpet coverage was always planned, and the joinery beneath will show saw marks, staple scars from the original build, or a rougher grade of timber than the rest of the house. Others, particularly in older properties, have a finished staircase that was simply carpeted over at some point for warmth, sound deadening or changing fashion, and stripping it back reveals timber that only needs a light clean and reseal. Lifting a small, discreet corner of the existing carpet near the top or bottom of the flight before committing to the full project gives a useful early read on which situation you are dealing with.
Matching the new runner to the rest of the house
A converted staircase is often the most visible flooring change in a house, since stairs sit at the junction of multiple rooms and sightlines. Once the decision to expose timber margins has been made, it is worth thinking about how the newly visible wood reads against adjoining flooring — a hallway with dark stained boards will suit a different margin finish to one with pale engineered oak, for instance. Bringing a sample of your chosen runner and, where possible, a small offcut of the intended margin finish into the hallway in daylight is a simple way to catch a mismatch before the whole staircase is committed to it.
What to tell a fitter before they quote
Because this project involves an unknown condition underneath existing carpet, it is harder to price accurately from a simple measurement than a standard installation is. A fitter quoting for this work benefits from knowing upfront that the staircase is currently fully carpeted, roughly how old that carpet is, and whether you already suspect any creaking, movement or damage. Some fitters will want to lift a test section themselves before quoting firmly, rather than pricing blind; treat a willingness to do this as a positive sign rather than an inconvenience, since it usually means a more accurate and more honest final price.
A final check before ordering carpet
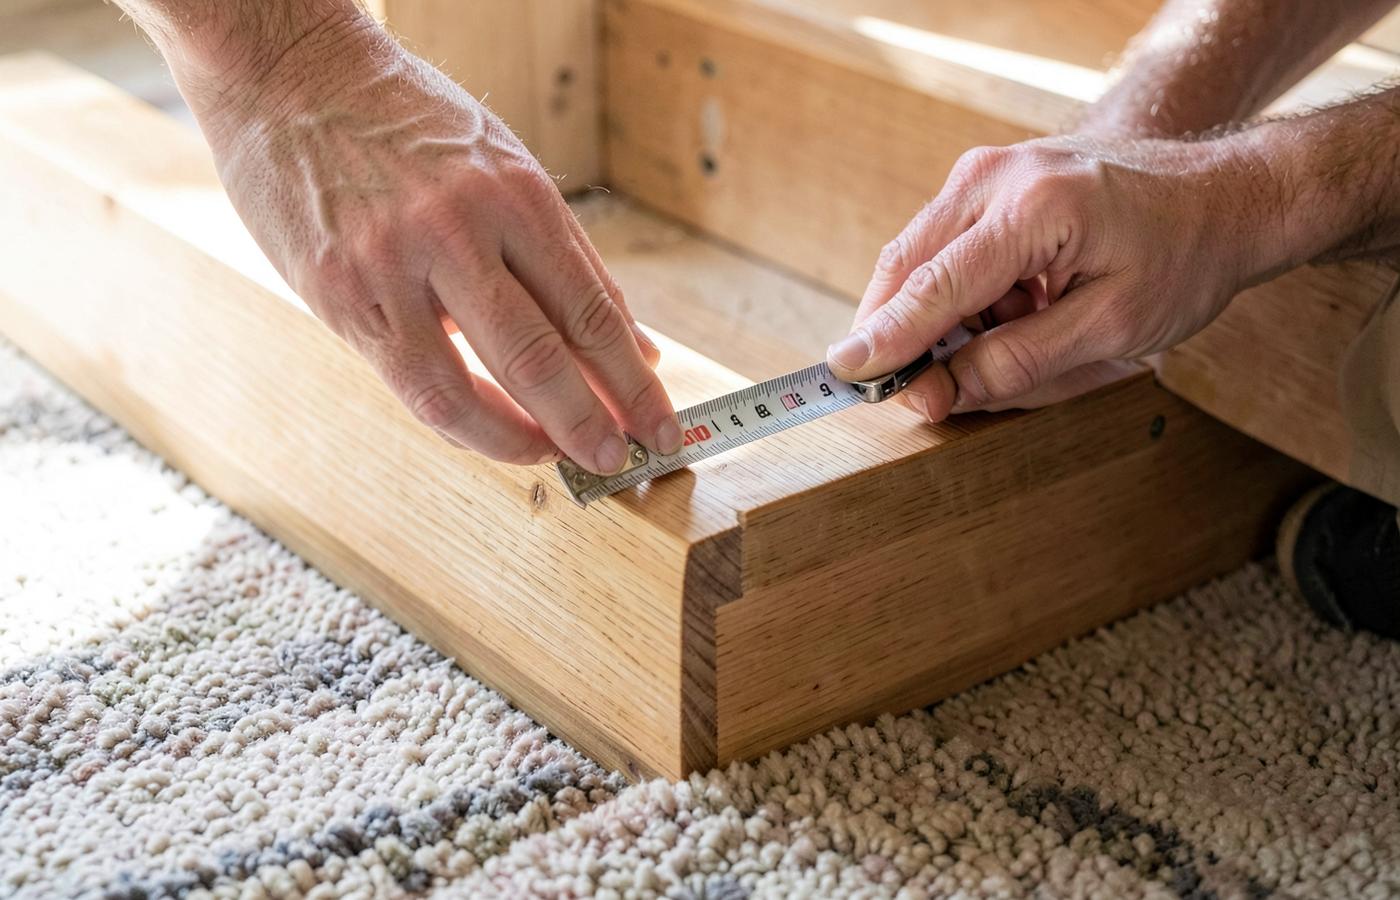
Once treads are stripped, repaired and finished, resist the temptation to order the new runner immediately from the same measurements you took while the old carpet was still down. Timber that has been sanded, filled or refinished can sit fractionally differently once complete, and margin decisions often shift slightly once you can actually see the exposed wood in daylight. Remeasure at this final stage before placing the runner order.
Frequently asked questions
- Do I have to remove all the existing carpet, or just the middle?
- You need to remove the carpet across the full width of every tread and riser. A runner only covers the centre, so the carpet currently under where the margins will be exposed has to come up along with the rest, even though it will not be replaced by the new runner.
- Can I keep the existing gripper or tack strip and reuse it?
- Sometimes, if it is in good condition and positioned correctly for the new, narrower runner width. In practice old tack strip is often damaged during removal or positioned for full-width carpet rather than a runner, so most fitters replace it rather than risk a poor grip on aged strip.
- What condition are treads usually in under old fitted stair carpet?
- It varies enormously by age and by what was originally intended. Some treads were finished timber that was later carpeted for fashion, and clean up well. Others are builder's-grade softwood that was always meant to stay covered, and need filling, sanding and finishing before they can be left exposed at the margins.
- Will removing fitted carpet reveal problems I don't know about?
- Often, yes. Squeaking treads, old staples, historic tack strip, uneven boards and, occasionally, damp or insect damage near an exterior wall are all commonly found once a stair is stripped back. This is a normal part of the process rather than a sign something has gone wrong, but it should be budgeted for in time and possibly cost.
- Should I paint or stain the exposed margins before or after fitting the runner?
- Before. It is far easier to sand, fill and finish bare treads and risers when you have full access to the whole surface, rather than working carefully around an already-fitted runner and risking spilling stain or paint onto the new carpet.
- How long does converting fully carpeted stairs to a runner usually take?
- It depends heavily on the condition of the treads once uncovered and how much finishing the margins need, which is highly variable from one staircase to the next. Removal and preparation is typically the longer part of the job; fitting the runner itself, once treads are ready, follows the same timeframe as any other installation.
Related guides
- InstallationHow to Install a Stair RunnerWaterfall and Hollywood methods, staples versus rods, tools, sequence and quality checks.
- InstallationDIY Stair Runner InstallationAn honest assessment of doing it yourself: skills, tools, time, safety and the jobs worth handing over.
 InstallationInstalling a Stair Runner Over CarpetWhether a runner can go over existing carpeted stairs, when it is a bad idea, and safer alternatives.
 MeasurementWhat Width Should a Stair Runner Be?How to set runner width and side margins from your stair width, stringers, balusters and pattern.