Installation
How long does it take to install a stair runner?
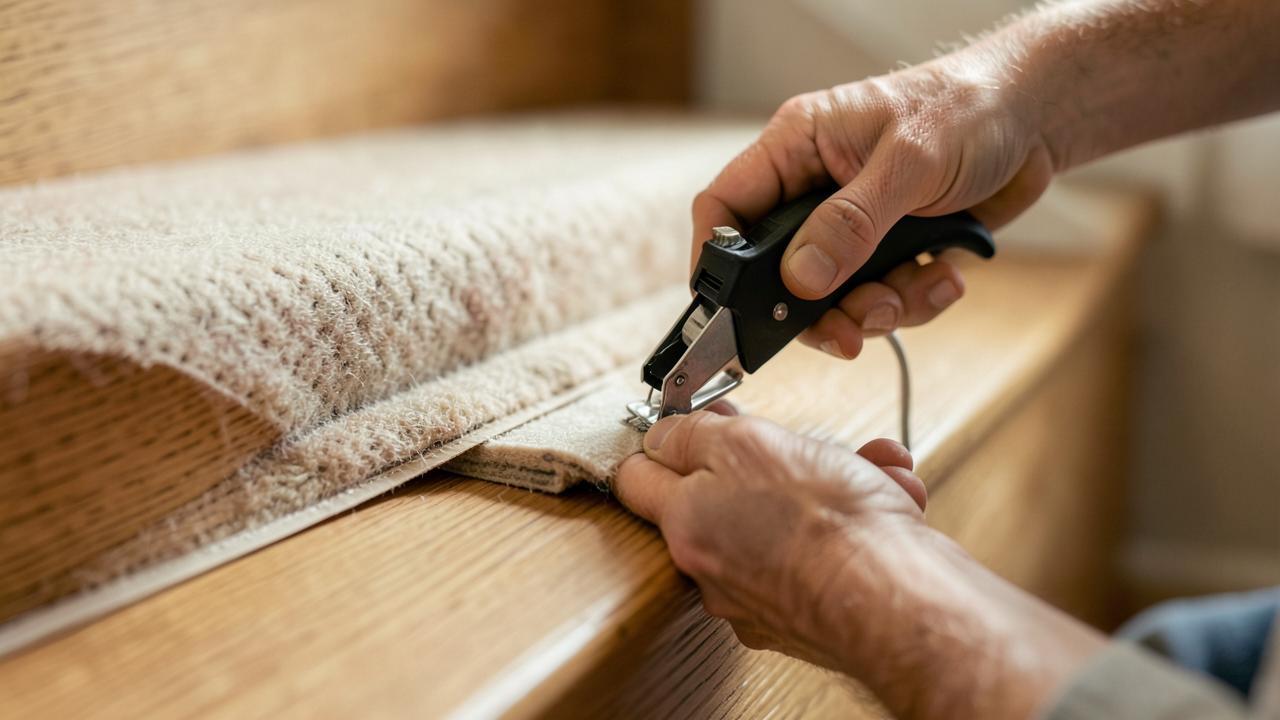
The fitting itself is the short part. Planning around a staircase that is out of use means understanding which stages actually consume the day.
Written by the StairRunner.co editorial team · Updated 4 September 2026
Why nobody can quote you a fixed time
Two staircases with the same number of steps can take very different amounts of time. One is bare, straight, sound and being covered in a plain runner. The other has an old carpet stapled down by someone in a hurry, three winders, a loose tread and a large pattern repeat that has to align. The second is several times the job.
Rather than an average, it is more useful to know which stages exist and what makes each one longer, so you can look at your own staircase and form a realistic expectation. Environmental factors also play a role; a well-lit, spacious hallway allows for faster movement than a cramped, dark one where every cut must be double-checked under a torch.
The complexity of the staircase geometry is the primary driver of duration. A straight flight is a repetitive task: measure, cut, tension, fix. A flight with winders or a landing turn breaks this rhythm. Each turning step is a unique geometric puzzle that requires individual templating and, often, a hand-sewn or heat-bonded seam to maintain the correct grain and pattern orientation.
The stages, and what each one costs in time
| Stage | What makes it longer |
|---|---|
| Removing an existing covering | Stapled installations, tackless strip, adhesive residue, and fixings that snap rather than pull. Frequently the longest stage of all — see removing a runner. |
| Repairs and preparation | Loose treads, squeaks, damaged nosings, filling and cleaning. Unpredictable until the staircase is bare. |
| Measuring and setting out | Non-uniform steps, winders, deciding the line through a turn, and marking the runner position consistently. |
| Laying underlay | Cutting per step and positioning it accurately back from the nosing. |
| Fitting the runner | Step count, and how much tension work each step needs. This stage is the most predictable. |
| Winders, curves and seams | Templating, shaping and joining each turning step. The single biggest variable in the whole job. |
| Pattern matching | Aligning a repeat across steps and seams, with more careful cutting throughout. |
| Finishing and checking | Top and bottom terminations, edge fixings, raking pile over fixings, final safety check. |
| Clearing up and disposal | Old carpet is bulky; taking it away is a real task and sometimes a separate charge. |
The Physical toll and its impact on pace
Fitting a stair runner is a physically demanding task. The fitter spends hours on their knees, often in awkward positions, applying significant force to tension the material. On a long or complex flight, fatigue can become a factor. A professional fitter knows how to pace themselves to maintain accuracy from the first step to the last.
This is why a job that looks like it "should" take four hours might be booked as a six-hour slot. The extra time allows for necessary breaks and the deliberate, slow-paced work required for the top and bottom terminations — the most visible parts of the job where any rushed mistake will be obvious for years.
If you are attempting this as a DIY project, do not underestimate the strain on your back and knees. What a professional does in four hours might take an amateur eight, not just because of skill, but because of the physical conditioning required to maintain tension continuously.
Edge cases: Open-sided staircases and spindles
The presence of spindles (balusters) that sit directly on the treads adds a significant layer of complexity. If the runner needs to be notched around each spindle, the fitting time can easily double. Each notch is a precise cut that must be finished to prevent fraying, often requiring hand-stitching or specialized adhesive.
Open-sided staircases, where the edge of the runner is visible from the side of the house, also require more care. The finish on the edge must be perfect, and the fixing method must be entirely concealed. While a closed-string staircase hides a multitude of sins at the edges, an open-sided one demands architectural precision.
Similarly, if your staircase has a bullnose (a rounded bottom step that curves around the newel post), this single step can take as long as three straight steps to fit correctly. Shaping the material around a three-dimensional curve while maintaining tension and hiding fixings is one of the highest expressions of the fitter's craft.
Terminology: Speaking the language of the fitter
Understanding the terms your fitter uses can help you communicate and understand the timeline they provide. A "riser" is the vertical part of the step; the "tread" is the horizontal part you walk on. The "nosing" is the front edge of the tread that overhangs the riser below.
"Waterfall" fitting describes a runner that flows from the nosing straight down to the tread below without being tucked into the crease. This is faster but less formal. "Cap-and-band" (or "tuck and roll") fitting involves pulling the runner tight under the nosing and then again into the crease between the riser and the next tread. This is the standard for high-quality work but takes more time per step.
A "winder" is a triangular step used to turn a corner. "Pie steps" are the specific set of winders that create a 90-degree turn. "Kicking in" is the process of using a knee-kicker to stretch the carpet onto the grippers. If a fitter says they need to "seam a winder," they are planning to cut and join the material to ensure the grain of the carpet follows the direction of travel, which is the mark of a superior installation.
What makes a job fast
- A bare, sound, clean staircase with no old fixings left in it.
- A straight flight with no winders and no curve.
- Uniform steps that measure the same all the way up.
- A plain or small-scale-texture runner with no repeat to match.
- Material delivered, checked and correct before the day.
- Clear access, good light, and the hallway emptied.
- The absence of spindles or complex architectural features on the treads.
- A waterfall fitting style, if appropriate for the material and home.
What makes a job slow
- Winders and pie steps, each of which is measured, templated, cut and often seamed individually — see turns and corners.
- A genuine curved staircase, where tension is managed continuously.
- An old stapled carpet, where fixing removal dominates the day.
- Discoveries: a loose tread, a split nosing, damp, or a step that measures differently.
- Large pattern repeats requiring alignment.
- Fitting over an existing carpet, which complicates every fixing.
- Narrow hallways, awkward access and nowhere to lay material out and cut it.
- Complex terminations like a bird's beak nosing or a wrap-around bullnose.
- Working with stiff, natural fibres like sisal or coir which resist shaping.
Planning the day
Treat the staircase as unavailable for the whole working day, not for a couple of hours. Practical arrangements worth making in advance:
- Move anything you will need upstairs before the fitter starts, including anything for children or pets.
- Keep pets and children away from the staircase entirely. A partly fixed runner looks finished and is not.
- Clear the hall and landing so material can be laid out and cut.
- Arrange parking and access; a fitter carrying a roll needs both.
- Agree in advance who disposes of the old covering, because it will not fit in a wheelie bin.
- Have the whole quantity of material on site and checked, so a shortage is discovered before rather than during.
- Provide a dedicated space for the fitter to set up their tools and cutting bench.
DIY timing
A first-time DIY fitter on a straight flight should plan a full day, and should be prepared for it to run into a second. The individual actions are simple; what takes time is achieving consistent tension, cutting accurately, and correcting the first two or three steps once you realise how tight the covering needs to be.
The realistic advice is to do the preparation on one day and the fitting on another, so you begin the fitting fresh and with a clean staircase. Do not begin at four in the afternoon on a staircase your household needs at bedtime. Our DIY guide sets out the sequence and where amateur installations most often lose time.
Amateur fitters often struggle with the "bolster" — the tool used to tuck the carpet into the crease. Getting this right without damaging the runner or the staircase takes practice. If you are working with a pattern, budget even more time; a pattern that goes "off-grain" on step four will look catastrophic by step fourteen.
When the runner is usable
A mechanically fixed runner — staples, tackless strip, rods — is ready for use as soon as it has been finished and checked. There is no curing period. Where adhesive has been used anywhere in the build-up, follow the product guidance before normal traffic; adhesives reach handling strength long before full strength.
Regardless of method, treat the first day gently and then do a proper check after a week. New installations settle, and a fixing that is going to work loose usually does so early. The check is described in securing a stair runner.
If you hear a new squeak or feel a slight movement underfoot in that first week, call the fitter back. Often a single staple or a small adjustment to a rod bracket is all that is required to prevent long-term wear issues. A runner that is allowed to move even a millimetre will act like sandpaper against the staircase finish.
Getting a realistic time estimate from a fitter
Ask for the estimate as part of the quote and give them what they need to answer honestly: step count, number of winders, whether there is a landing, what is currently on the stairs, the product and whether it has a repeat, and whether the staircase has any known problems. A fitter who is told all of that will give you a time you can plan around. One who is told "sixteen stairs" will give you a number that changes on the day.
Time and price move together, so the same information improves both. See how installation is priced.
Post-Installation Care and Longevity
Once the installation is complete, the clock starts on the life of the runner. The first few weeks are critical for "bedding in." During this time, the fibres will settle, and the tension across the nosings will stabilize. You might notice some "sprouting" — individual loops or fibres that pop up. Do not pull them; snip them level with the pile.
Vacuuming should begin immediately, but use the correct setting for your material. For example, a high-suction vacuum without a beater bar is often recommended for flat-weave runners to avoid fuzzing. Regular maintenance ensures that the time and effort spent on installation aren't wasted by premature wear.
Finally, consider the transition points. Where the runner meets the landing carpet or the hallway floor, the joint is subject to high traffic. Check these areas periodically to ensure the binding remains secure and the transition strip is tight. A well-installed runner should last a decade or more, but only if the installation quality is matched by diligent care.
Frequently asked questions
- How long does it take to install a stair runner?
- For a professional on a prepared straight flight, fitting is typically a matter of hours rather than days. The variables that extend it are removal of an old covering, repairs to the staircase, winders or curves, and pattern matching. A DIY installation on the same flight usually takes considerably longer, because tensioning and cutting are slower when unpractised.
- What takes the longest?
- Rarely the fitting itself. Stripping an old covering and removing every fixing is usually the longest single stage, followed by shaping and seaming any turning steps. Preparation done in advance shortens the fitter's day substantially.
- Can the stairs be used during installation?
- Not safely while work is in progress on them. Plan for the staircase to be out of normal use for the working day, and make sure anyone in the house — particularly children and pets — is kept away from a partly fixed runner.
- How long before you can walk on a new stair runner?
- A mechanically fixed runner is ready as soon as the fitter has finished and checked it. Where adhesive has been used, follow the product guidance before normal traffic, and treat the first day gently regardless.
- Does DIY take much longer?
- Usually yes, often by a factor of several. The individual actions are not difficult, but achieving consistent tension and accurate cuts is a practised skill. Budget a full day for a straight flight and plan turning steps separately.
- Does the time of year affect installation?
- Indirectly, yes. In winter, natural light fades earlier, which can slow down the final stages of a complex fit. High humidity can also affect how some natural fibres behave during tensioning, though this is rarely a major factor for internal installations.
- Is the cleanup included in the time estimate?
- Professional fitters usually include basic cleanup in their time estimate, but the disposal of old materials is often a separate discussion. If you are handling disposal yourself, budget an extra hour to bag and move the old carpet and underlay.
Related guides
- InstallationHow to Install a Stair RunnerWaterfall and Hollywood methods, staples versus rods, tools, sequence and quality checks.
- InstallationDIY Stair Runner InstallationAn honest assessment of doing it yourself: skills, tools, time, safety and the jobs worth handing over.
- CostStair Runner Installation CostHow fitters build a labour price, what raises it, and how to compare two quotes that look different.
 InstallationPreparing Stairs for a RunnerRepairs, old fixings, decorating and curing times before anything is fitted.