Installation
How to take a stair runner around a corner, turn or bend
Straight flights are arithmetic. Turns are geometry, and they are where most runner projects gain their cost, their seams and their compromises.
Written by the StairRunner.co editorial team · Updated 4 September 2026
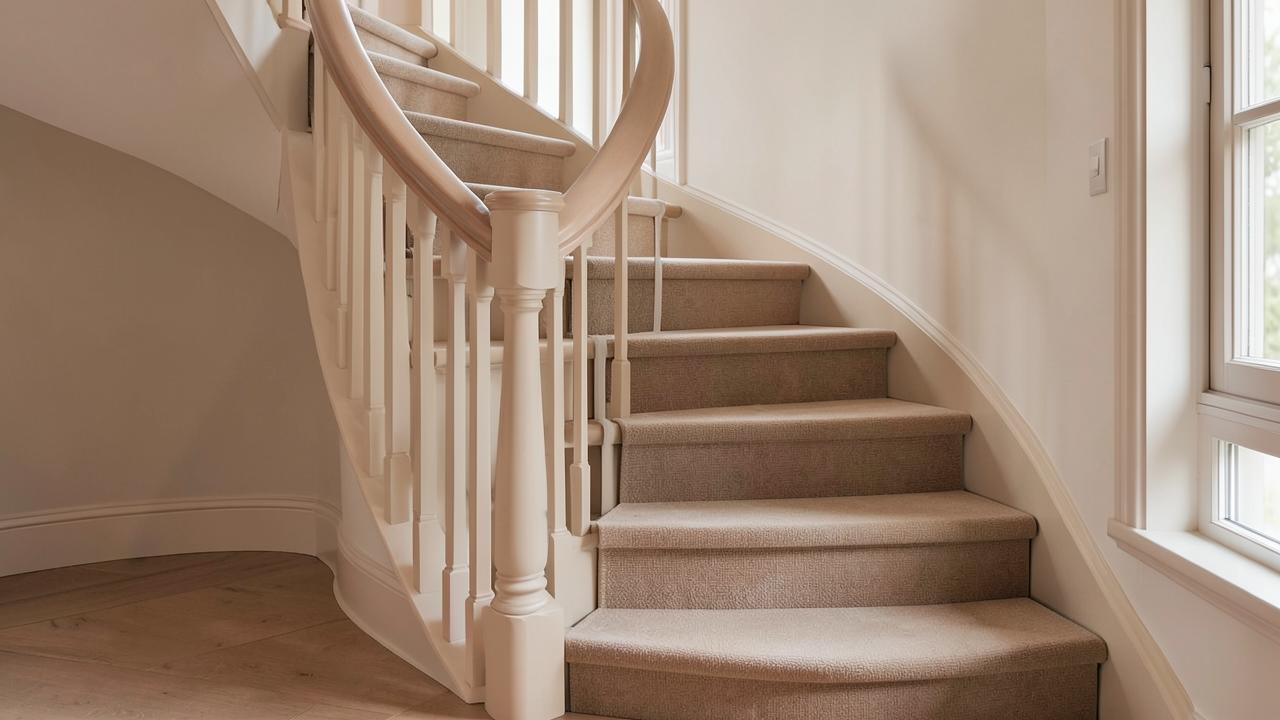
Three kinds of corner
People describe all of them as "a turn", but they behave completely differently under a runner.
A landing turn
The flight stops at a flat landing, turns, and continues. This is the easiest case, because the runner does not have to turn at all — it can finish at the landing and begin again on the next flight, or run across the landing as a separate, deliberate piece. Detail on those options is in our landings guide.
Winders or pie steps
The flight turns using wedge-shaped treads. Each pie step is wide at the outer end and narrow at the inner, so the runner's two edges are being asked to travel different distances across the same step. That difference is the whole problem, and it cannot be stretched away.
A continuous curve
A geometric staircase that sweeps rather than turning in discrete steps. The runner must follow a constantly changing radius. This is the most demanding case and the one most likely to need a professional and a material chosen specifically for flexibility.
Why the inner edge governs everything
On a winder, the outer edge of the runner travels a long arc and the inner edge travels a short one. A woven textile has very little give across its width and effectively none along its length. If you force a single continuous piece around the turn, the surplus material has to go somewhere: it gathers, ripples or lifts on the inside, which is exactly where people place their feet when they cut the corner.
Every technique for turning a runner is a way of removing that surplus. You either cut it out and seam the piece back together, break the runner and restart it, or choose a material flexible enough to absorb it. There is no fourth option, and any installation that appears to have found one usually has slack hidden on the inner edge.
Method one: seam at each winder
The conventional professional solution. The runner is cut to shape for each winder and joined so the covering appears continuous. Done properly the seams sit in the crease at the back of each tread, in shadow, under compression from the step above.
Two things determine whether this looks good. The first is seam placement — visible on a tread face, invisible in the crease. The second is the pattern. A plain or heavily textured runner hides a join easily; a strong geometric or striped pattern demands that the design lines up across the join, which consumes more material and more time. Our pattern guide explains which designs are forgiving on turns.
Method two: break and restart
Rather than pretending the turn is continuous, the runner stops before the winders and starts again after them, with the turning steps covered separately or left bare. This is honest, cheaper, and on some staircases it looks better than a strained continuous line.
It works best when the break coincides with a visual event — a landing, a change of direction, a newel post — so it reads as a design decision rather than a shortage of material. It works badly in the middle of an otherwise uninterrupted flight.
Method three: follow the curve
On a genuine sweep, the runner is eased around the radius as it is fitted, with tension managed continuously rather than step by step. Material choice matters more than technique here. Stiff, dense constructions and rigid natural fibres resist the curve and buckle on the inside; softer, more pliable constructions follow it. This is one of the few cases where the staircase should dictate the material rather than the other way round. See winder and curved staircases for the full treatment.
Comparing the approaches
| Method | Appearance | Effort and waste | Best for |
|---|---|---|---|
| Seam at each winder | Continuous line if seams are placed well | Highest — shaped cuts and joins on every turning step | Plain or textured runners, where the unbroken line matters |
| Break and restart | Deliberate interruption | Low — straight cuts, less waste | Turns at landings, or where budget is the constraint |
| Follow the curve | Smoothest where it works | High skill, moderate waste | Geometric staircases with a flexible covering |
| Leave the turn bare | Clear change of surface | Lowest | Where the turning steps are shallow and grip is not a concern |
Setting the line through the turn
On a straight flight, a runner is normally centred. Through winders, centring each step individually produces a line that wanders, because the centre of a wedge is not where the centre of a rectangle would be. The usual solution is to keep a constant margin against the outer stringer, letting the inner margin vary. The eye follows the outer edge, so the result reads as straight even though it is not.
Decide this before ordering, because it changes the width you need and sometimes the length. The width guide covers how margins are chosen and what happens when they are inconsistent.
Fixing and safety on turning steps
Winders are the steps most likely to see a foot placed carelessly, because people cut the corner and use the narrow inner portion. That makes restraint more important here than anywhere else on the flight, not less.
- Fix the inner edge thoroughly; it is where surplus material wants to lift.
- Keep the crease line of fixings continuous across the full width of every turning step.
- Check seams by hand after fitting and again after a few weeks of use — a seam that opens is a trip hazard, not just a blemish.
- Never leave a shaped piece held only by the pieces either side of it.
Our guide to securing a runner covers the fixing lines in general; on winders, apply them more densely.
Ordering material for a turning staircase
Turns consume more than their step count suggests. Shaped pieces generate offcuts that cannot be used elsewhere, pattern matching across seams adds further waste, and templates occasionally prove a step needs more material than the measurement implied.
Measure each winder at its widest point and treat it as a full step for length purposes, then add an allowance for shaping and matching on top. The length calculator shows how the figure is built up, and how much carpet you need covers waste allowances in more detail.
When to use a fitter
A straight flight is a realistic DIY project for a careful person. Winders and curves are where DIY installations most often go wrong, because the skill involved is cutting and seaming shaped pieces accurately rather than following a repeated sequence. If the staircase has three or more turning steps, or a genuine curve, get at least one quote before deciding — the difference between an amateur and a professional turn is visible from the hallway. Our DIY guide is honest about where the line sits.
Frequently asked questions
- How much extra length do I need for winders?
- As a rule of thumb, allow an extra 0.5 to 1 metre of material per winder set (usually 3 steps). This covers the fact that each winder must be measured at its widest point (the outer arc) and allows for the waste generated by seaming and pattern matching. It is always better to have an offcut than to be 10cm short on the final turn.
- Can I use a striped runner on a spiral or curved staircase?
- You can, but it is the most difficult installation. On a curve, stripes will 'fan out' at the outer edge and 'compress' at the inner edge. If the curve is tight, the stripes will appear to lean or distort. A plain or speckled runner is much more forgiving of the geometry of a curved flight.
- How do you install a stair runner around a corner?
- You decide first whether the turn is made with a landing, with winders, or with a curve, because each is handled differently. A landing lets you break the runner and restart it cleanly. Winders require the runner to be shaped or seamed at each step. A curve requires a covering that will follow the sweep without rippling on the inside edge.
- Can a stair runner turn a corner in one continuous piece?
- On a gentle curve, sometimes. On a right-angled turn made of winders, not without distortion — the inner edge would need to travel far less distance than the outer edge, and a woven covering cannot absorb that difference. Most turns are handled with a planned break or a seam at each winder.
- Where should the seam go on a turn?
- In the crease at the back of a tread, where it is in shadow, under compression and out of the main walking line. A seam on the open face of a tread or over a nosing is both visible and short-lived.
- What is a pie step?
- A wedge-shaped tread used to turn a staircase without a landing — wide at the outer edge, narrow or pointed at the inner. Three or more of them make a quarter or half turn. They are the main reason a turning staircase costs more to cover than a straight one.
- Does the runner have to be narrower around a turn?
- Usually the width stays constant so the runner reads as one line, but the position shifts. On winders the runner is normally set to keep a consistent margin against the outer stringer, which means the inner margin varies. Deciding this before ordering is essential.
The geometry of the winder: 3-step vs 4-step turns
Most residential staircases turn a 90-degree corner using either three or four wedge-shaped steps. A 'three-winder' turn creates wider wedges, which are generally easier to fit as the 'point' of the wedge is less acute. A 'four-winder' turn is much tighter; the steps are narrower at the inner stringer, often coming to a near-point.
For a runner, a four-winder turn is the 'stress test'. Because the travel distance on the inner edge is so short, the amount of surplus material you have to manage is much higher. If you are choosing a runner for a four-winder turn, look for a material with a high wool content and a flexible 'action back' rather than a stiff, resin-heavy backing.
The steeper the winder, the more the runner is 'climbing' as it turns. This changes where your foot lands. On a straight step, you step on the middle of the tread. On a winder, you naturally gravitate towards the wider part of the wedge. Ensure your runner width leaves enough of a 'walking path' on the winders so you aren't constantly stepping on the bare timber margin, which can be slippery.
Mapping the turn: The paper template method
Professionals rarely cut directly into the runner when handling a complex turn. Instead, they use lining paper or cheap card to create a 1:1 map of each turning step.
To do this, lay the paper over the tread, push it into the crease, and rub the edge of the nosing with a pencil to mark the outline. Transfer this to the runner, remembering to add the 'wrap' allowance (the amount needed to go over the nosing and down the riser).
This method is especially important if you are planning to seam the pieces. It allows you to 'dry-fit' the paper templates together to see how the pattern will align before you make a single cut in the expensive carpet. If the pattern doesn't line up, you can adjust the template positions. Our measuring guide goes into more detail on recording these dimensions.
Managing patterns and stripes on corners
Stripes are the most popular choice for stair runners, but they are the hardest to take around a corner. In a continuous winder installation, a vertical stripe will appear to 'bend' as it goes around the turn.
If you seam at each step, you have two choices for the stripes. You can 'mitre' them so they meet at an angle (like a picture frame), which looks very high-end but is incredibly difficult to execute. Or you can let the stripes from one step 'crash' into the next, which is the standard approach.
To make a 'crash' join look good, try to ensure that at least one main stripe line is continuous through the flight. If the stripes are wildly offset, the turn will look chaotic and can even make the staircase feel disorienting to walk on. For more on this, see our patterns and motifs guide.
The 'Inner Point' problem: Security on tight turns
On very tight winder stairs, the inner part of the tread can be less than 50mm wide. Fitting a runner here means you are trying to secure a width of carpet into a tiny space.
Standard tackless strips (gripper) are often too wide for this area. Fitters will often use 'blue tacks' or specialized small staples in this corner. The risk is that the tension from the rest of the runner pulls the carpet out of this narrow point.
If you are DIY fitting, don't be afraid to use a little extra mechanical fixing here. A small, well-placed screw with a decorative washer can sometimes be used in the extreme inner corner, hidden by the pile, to provide the anchor that staples can't manage in such a small area of timber.
Continuous curves vs segmented turns
While most turns are made of discrete steps, some grander staircases have a continuous, sweeping curve. Here, the runner isn't turning at a seam; it is being 'eased' around the radius.
This requires a technique called 'bolstering', where the fitter uses a tool to force the carpet into the crease while simultaneously stretching the outer edge and compressing the inner edge. Not all materials can handle this. A stiff sisal runner, for example, will simply refuse to curve and will instead 'kink'.
If you have a curved staircase, we strongly recommend a high-quality wool Axminster or Wilton construction. These have the 'give' required to follow a curve smoothly. Consult our winder and curved guide for more on material suitability for sweeps.
Cost implications of complex turns
It is a common surprise that a staircase with a turn can cost 50% more to cover than a straight flight of the same length. This isn't just 'fitter's margin'; it's a reflection of the time and waste involved.
A straight flight can be fitted in a few hours. A flight with a complex winder turn can take a whole day. Each seam needs to be carefully cut, sealed (to prevent fraying), and secured. The amount of 'offcut' waste from shaping wedges is also significant. When budgeting, always check how your supplier and fitter handle turns. Our installation cost walkthrough breaks these charges down.
Related guides
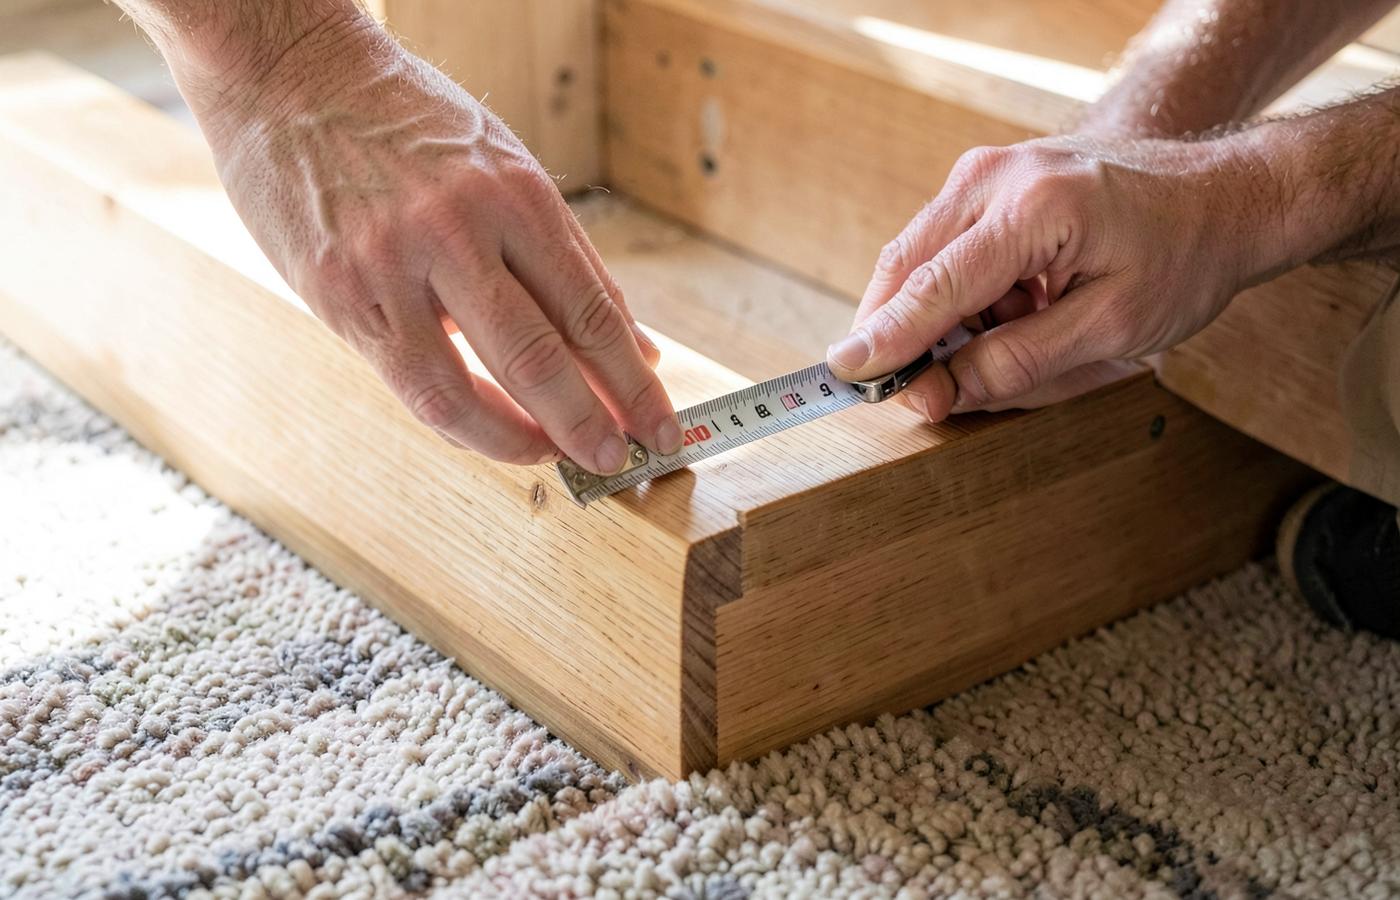 MeasurementHow to Measure for a Stair RunnerThe tread-plus-riser formula, waste allowance, winders and landings, plus a calculator that shows its working.
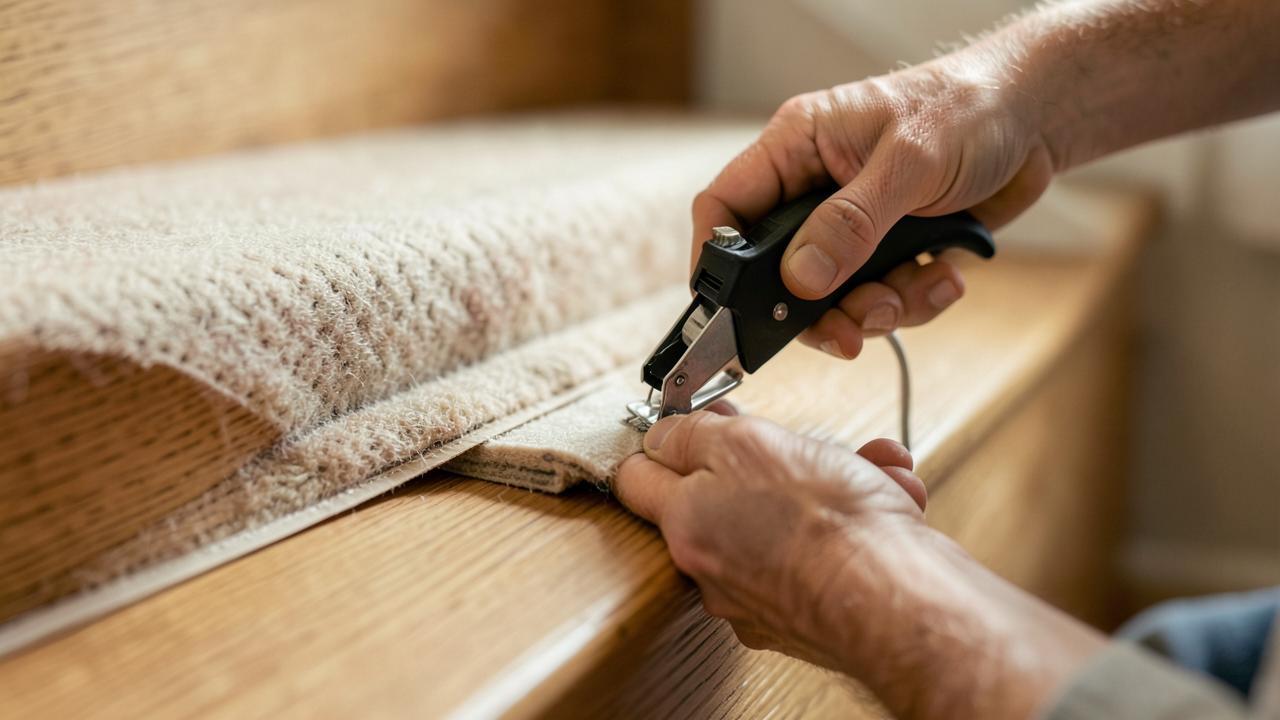 InstallationHow to Install a Stair RunnerWaterfall and Hollywood methods, staples versus rods, tools, sequence and quality checks.
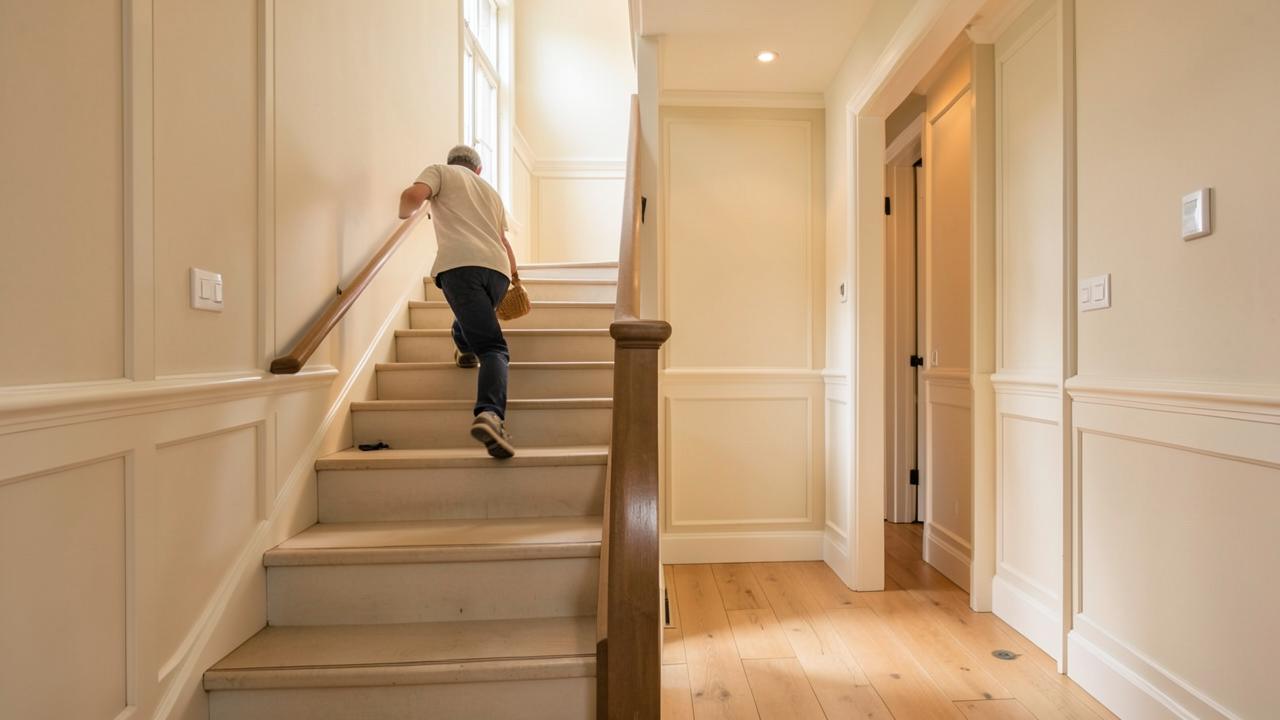 InstallationStair Runners on Landings and TurnsCarrying a runner across a landing, around a turn and into a hallway without breaking the line.
- MeasurementRunners on Winder, Curved and Open StairsMeasuring and fitting where treads are not rectangles: winders, pie steps, curves and open-sided flights.