Safety
How to secure a stair runner so it stays where you put it
A runner that creeps, lifts or ripples is not a cosmetic problem. Here is what actually holds a runner, why installations fail, and how to fix a loose one without starting again.
Written by the StairRunner.co editorial team · Updated 4 September 2026
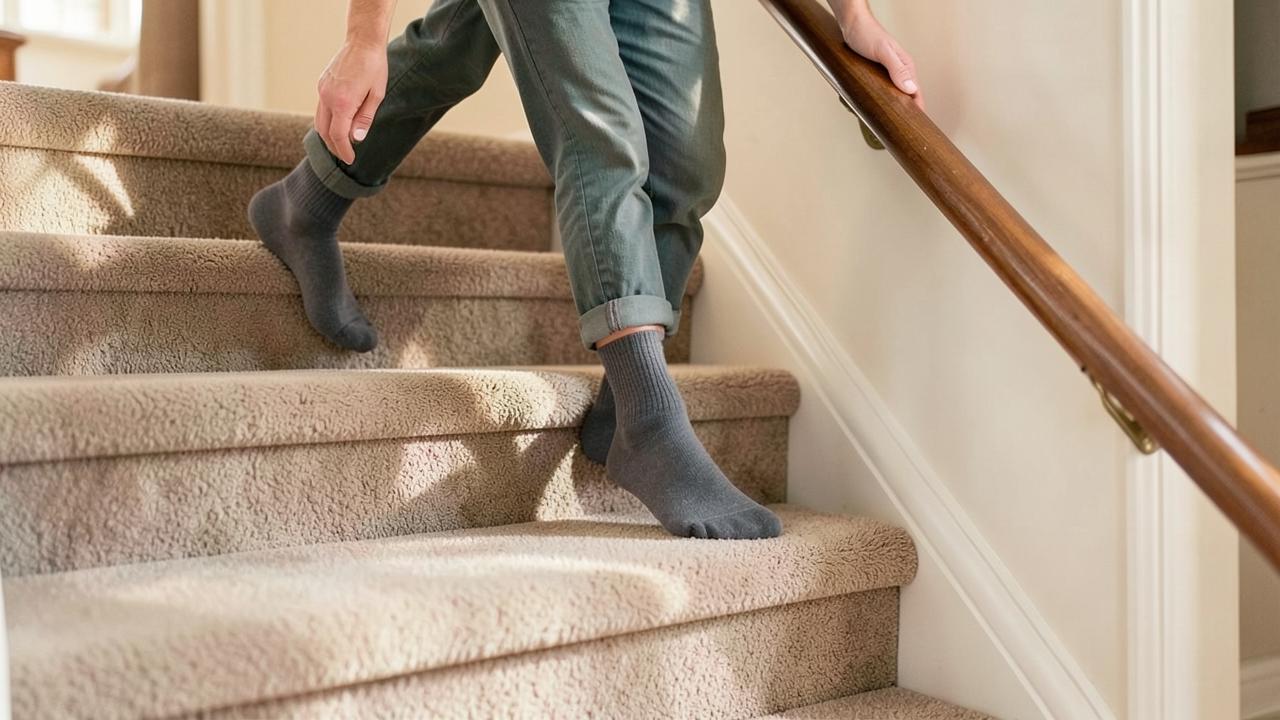
What "secure" means on a staircase
On a flat floor, a rug is secure if it does not slide. On a staircase there are three separate movements to prevent, and stopping one does not stop the others.
- Lifting at the crease. The runner pulls away from the internal angle where tread meets riser, forming a gap you can get a foot under. This is the movement that causes falls.
- Creeping forward. Each footfall pushes the covering slightly towards the nosing. Over months the whole runner migrates down the flight and the top step shows bare timber.
- Curling at the edges. The long sides lift and roll, catching toes and wearing the binding.
Weight, friction and grippy backings help only with sliding, and sliding is the least dangerous of the three. That is why "a heavy runner will stay put" is bad advice on stairs.
The four things that hold a runner properly
Tension
Tension is the fixing that comes before the fixings. The runner has to be pulled hard into each angle before anything is fired, stuck or clamped, because no fastener removes slack that is already there. Most amateur installations are under-tensioned; the covering looks fine on the day and develops ripples within a season. The installation guide sets out where the tension points are and in what order to work.
Fixings in the crease
The primary line of restraint runs along the internal angle of every single step. Closely spaced fixings here stop lifting and creeping at the same time, and they are in shadow so they do not show. Skipping steps here is a false economy.
Fixings at the edges
The two long edges need their own fixings, right at the very margin of the runner or just inside the binding. This is the line people leave out because it is more visible, and it is the reason edges curl. Our staples guide covers how to place these so they disappear.
A pad that does not move
The underlay is part of the fixing system, not a separate comfort item. A soft pad that slides takes the runner with it, and a pad cut wider than the runner creates a visible ridge that also lifts the edges. Pad choice and how it is cut are covered in the underlay guide.
Securing a runner on bare timber
Bare wood is the easiest case, because you have a solid substrate and full choice of method. Options are stapling into the crease and edges, tackless strip set into each angle with the runner stretched over it, or a clamping rod system. All three work; they differ in reversibility and in whether the visible faces of the treads are punctured.
The one preparation step that matters most is making sure nothing is loose. A tread that moves under load will work fixings free no matter how well they were placed. Squeaks and flex are far easier to deal with while the staircase is bare — see preparing stairs for a runner.
Securing a runner over existing carpet
This is the hardest case and the one people most often get wrong. A carpet under a runner is a thick, permanently compressible layer. Fixings that only reach into the carpet hold nothing; fixings long enough to reach the structure below still allow the runner to rock on the soft layer between.
Where the carpet can be lifted, lift it. Where it genuinely cannot — a rental, or a fitted carpet you are not allowed to touch — accept the limitations honestly: the installation will need more frequent checking, and the runner will never feel as tight as one on timber. Full detail is in fitting a runner over carpet.
Fixing a runner that has already gone loose
A loose runner does not always need replacing. Work through this order.
| Symptom | Likely cause | What to do |
|---|---|---|
| Gap at the crease on several steps | Under-tensioned at fitting, or fixings pulled out | Re-tension from the top down and re-fix the crease line on every affected step. |
| Runner has migrated down the flight | Top anchor failed | Release, pull back to position, re-anchor the top before touching anything lower. |
| Edges curling | No edge fixings | Add a fixing line along both margins, working the pile back over each one. |
| Whole assembly rocks | Pad sliding or over-soft | Lift and re-fix the pad, or replace it with a denser one. |
| Ripples that return after re-fixing | Backing broken down or runner stretched | The covering is at the end of its life; re-fixing will only buy months. |
| Squeak or flex under a step | Loose tread | Address the staircase itself; a covering cannot restrain a moving tread. |
Always work from the top of the flight downwards when re-tensioning. Starting at the bottom drives slack upwards where you cannot remove it.
Rods, clips and mechanical holders
Where a runner needs to stay removable, hardware does the restraining. The distinction that matters is between rods that clamp the covering into the angle and rods that are purely decorative. Both are common, both are sold under the same name, and only one holds a runner. Check the manufacturer's own claim rather than the photograph. Our hardware guide explains the systems and where the brackets should sit.
Hardware also introduces a maintenance task. Brackets loosen with vibration, and a rod that has worked loose gives the runner exactly the freedom you fitted the rod to remove. Add it to the seasonal check.
Corners, landings and winders
Movement concentrates where geometry changes. On a winder the runner is being asked to turn as well as descend, and the inner edge carries almost all the tension. On a landing the runner changes from vertical to horizontal loading and often meets another covering. Both need extra fixings, not fewer. See winder and curved staircases and runners on a landing for how to handle those transitions.
What not to do
- Adding more staples to a runner that is moving because the pad is sliding. You are fixing the wrong layer.
- Using household double-sided tape as a repair. It fails suddenly, and on stairs sudden failure is the dangerous kind.
- Hammering proud fixings flat. It crushes the pile permanently and does not improve grip.
- Trimming a rippled runner shorter to take up slack. Length is not the problem; tension and fixing are.
- Ignoring a squeaking tread because the runner covers it. The noise is telling you the substrate moves.
When to replace rather than re-secure
Re-securing is worthwhile while the runner itself is sound. Once the backing is brittle, the binding has failed along an edge, or the pile has worn through at the nosings, the covering has reached the end of its service life and no amount of re-fixing restores it. Our guides on removing an old runner and what a new one costs cover what comes next.
Frequently asked questions
- Does a runner need to be glued as well as stapled?
- Generally, no. A properly tensioned and stapled runner does not need glue, and using adhesive makes future removal or repairs significantly harder and more damaging to the timber. The only exception is on certain concrete stairs or when using specific types of non-slip pads that require a 'tackifier' to stay in place.
- Why does my runner rattle when I walk on it?
- If you have stair rods, the rattle is usually a loose bracket or a rod that isn't sitting tight against the carpet. If you don't have rods, a 'rattle' or 'click' usually indicates that the timber tread underneath is moving and hitting the riser or stringer. The runner isn't loose, but the staircase itself is.
- How do you keep a stair runner in place?
- By restraining it mechanically at every step, not by making it heavier or grippier. The runner is pulled tight into the internal angle of each step and held there — with staples, tackless strip, a clamping rod system or a bonded pad. Anything that leaves the covering free to lift at the crease will eventually creep.
- Why does my stair runner keep moving?
- Almost always one of four things: it was fitted slack, the fixings are too far apart or missing at the edges, the pad beneath it is sliding, or a tread underneath has worked loose. Diagnose which before adding more fixings, because more staples into a moving substrate solves nothing.
- How do you secure a stair runner to carpeted stairs?
- You fix through the carpet into the structure beneath, which means longer fixings and accepting that the carpet underneath is being punctured. The bigger risk is the soft layer: a thick carpet under a runner behaves like a permanently compressible pad and lets the runner move. Where possible, lift the carpet first.
- Can you re-secure a loose runner without taking it up?
- Often yes. If the covering is sound and only the fixings have failed, the runner can be re-tensioned step by step and re-fixed from the top down. If the runner itself has stretched or the backing has broken down, re-fixing only hides the problem for a few months.
- How often should fixings be checked?
- Twice a year is sensible on a busy staircase, and after any deep clean that wets the runner. Grip the covering at the front of a few treads and pull upwards; anything that lifts away from the crease needs attention.
The physics of footfall: why fixings fail
To understand how to secure a runner, you have to understand the forces acting on it. When you walk down the stairs, your foot doesn't just push down; it pushes *forward*. This creates a 'shear' force that tries to drag the runner off the nosing and down the flight.
Over thousands of steps, this force acts like a slow-motion hammer, pulling at the staples in the crease. If the runner was fitted slack, this force is concentrated on just a few fixings, which eventually 'tire' and pull out. A properly secured runner distributes this load across every fixing on every step, which is why tension is the foundation of security.
Vibration also plays a role. Each step sends a shockwave through the timber. In older houses, this vibration can slowly 'walk' staples out of the wood. Using divergent-point staples—which splay outward when fired—can provide significantly better grip in soft timbers like pine than standard straight staples.
Fixing to open-tread (floating) staircases
Open-tread staircases present a unique security challenge because there is no riser to fix into at the back of the tread. In this case, the runner must be 'wrapped' around each individual tread.
Security here relies on a 'continuous loop' of tension. The runner is stapled to the underside of the tread, pulled over the nosing, across the top, and then stapled again to the underside at the back. If this isn't tight, the runner will 'spin' or slide around the tread like a loose sleeve.
For these installations, we often recommend a high-friction underlay pad that covers both the top and the nosing, providing extra grip to prevent the 'spinning' effect. See our underlay guide for specific product recommendations for open stairs.
The role of stringers and margins
We often focus on the treads and risers, but the sides of the staircase (the stringers) are vital for edge security. If your runner is fitted tight against a stringer on one or both sides, the stringer acts as a physical limit that prevents the runner from shifting sideways.
However, most runners have a bare margin on both sides. In this case, the edge fixings are the only thing preventing sideways creep. If you notice your runner is slightly 'crooked' after a few months, it's usually because the edge fixings were skipped or were placed too far from the margin. We recommend a fixing every 50mm along the edges, hidden in the pile, to maintain a straight line.
Maintenance of rods and decorative hardware
If you are using stair rods, security is both mechanical and aesthetic. A loose rod isn't just a trip hazard; it allows the runner to flex more, which increases wear on the fibres.
Check your brackets every six months. The screws are small and can work loose under the constant vibration of footfall. A quick turn with a screwdriver is usually all that's needed. If a screw hole has 'stripped' (the screw just spins), remove the bracket, plug the hole with a matchstick and a drop of wood glue, and re-insert the screw once dry.
Also, be aware that some 'decorative' rods are hollow and can bend if stepped on directly. Ensure your brackets are positioned so the rod is held firmly against the crease of the stair, reducing the chance of someone catching their heel on it.
Securing the landing transition
The most vulnerable point for movement is where the runner meets the landing carpet or floor. This is where people turn, pivot, and exert the most lateral force.
We recommend 'double-fixing' this junction. Use a combination of tackless strip (gripper) and a dense line of staples. If you are joining to another carpet, a 'heat-seam' or a proper hand-stitched join provides far more security than simply butting the two together.
If the runner terminates at a hard floor (like tile or wood), a specialized threshold bar is often the most secure option. It provides a solid mechanical edge that the runner cannot pull away from. Our guide to landing transitions covers these options in detail.
When security becomes a structural issue
If you find yourself constantly re-fixing a runner, the problem likely isn't the fixings—it's the substrate. If the timber of the treads is soft, rotting, or has been 'peppered' with too many old fixing holes, it no longer has the 'bite' to hold a staple.
In these cases, you may need to move the fixing line slightly, or in extreme cases, consolidate the timber with a wood hardener. If a tread is flexing more than a few millimetres under weight, it will eventually break any fixing you put into it. Address the structure first, then the covering. Read our guide on preparing stairs for how to spot these issues early.
Related guides
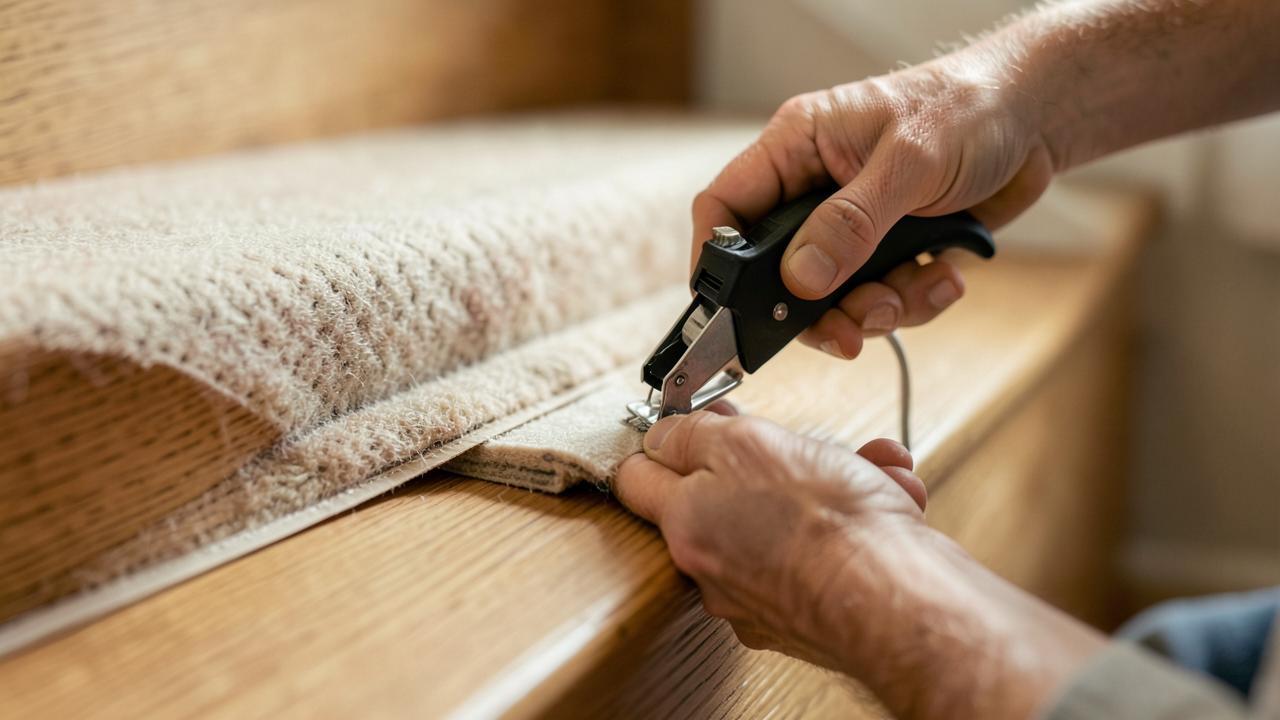 InstallationHow to Install a Stair RunnerWaterfall and Hollywood methods, staples versus rods, tools, sequence and quality checks.
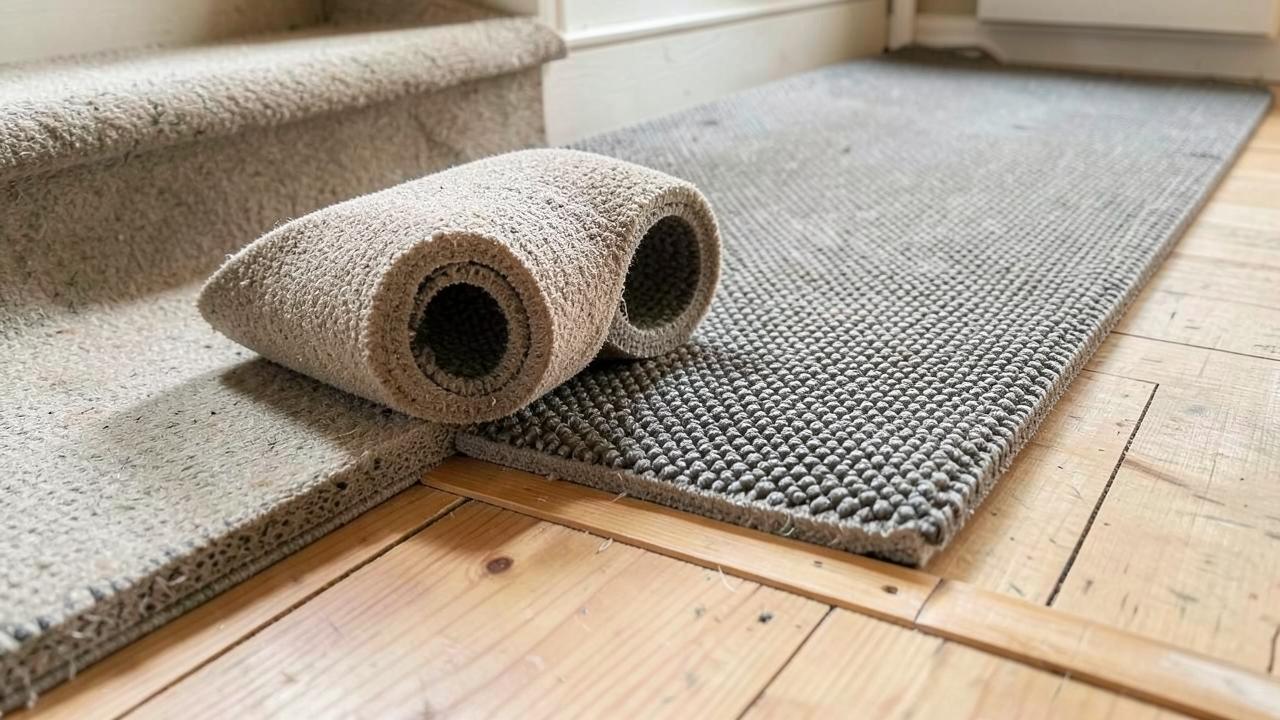 InstallationInstalling a Stair Runner Over CarpetWhether a runner can go over existing carpeted stairs, when it is a bad idea, and safer alternatives.
- SafetyNon-Slip Stair Runners and Stair SafetyWhat actually makes a stair covering grippy: fitting tension, pile, pad and nosing coverage.
- InstallationStaples for a Stair RunnerStaple size, crown width, placement and how to make the fixings disappear into the pile.