Installation
Stair runners for wooden stairs: The guide to protection, aesthetics, and grip
Wooden stairs are a beautiful architectural feature, but they can be noisy, slippery, and prone to wear. A runner offers the perfect compromise—preserving the beauty of the timber while adding safety and comfort. But fitting carpet to wood requires a specific approach to protect your investment.
Written by the StairRunner.co editorial team · Updated 4 September 2026
The Dilemma: To Cover or Not to Cover?
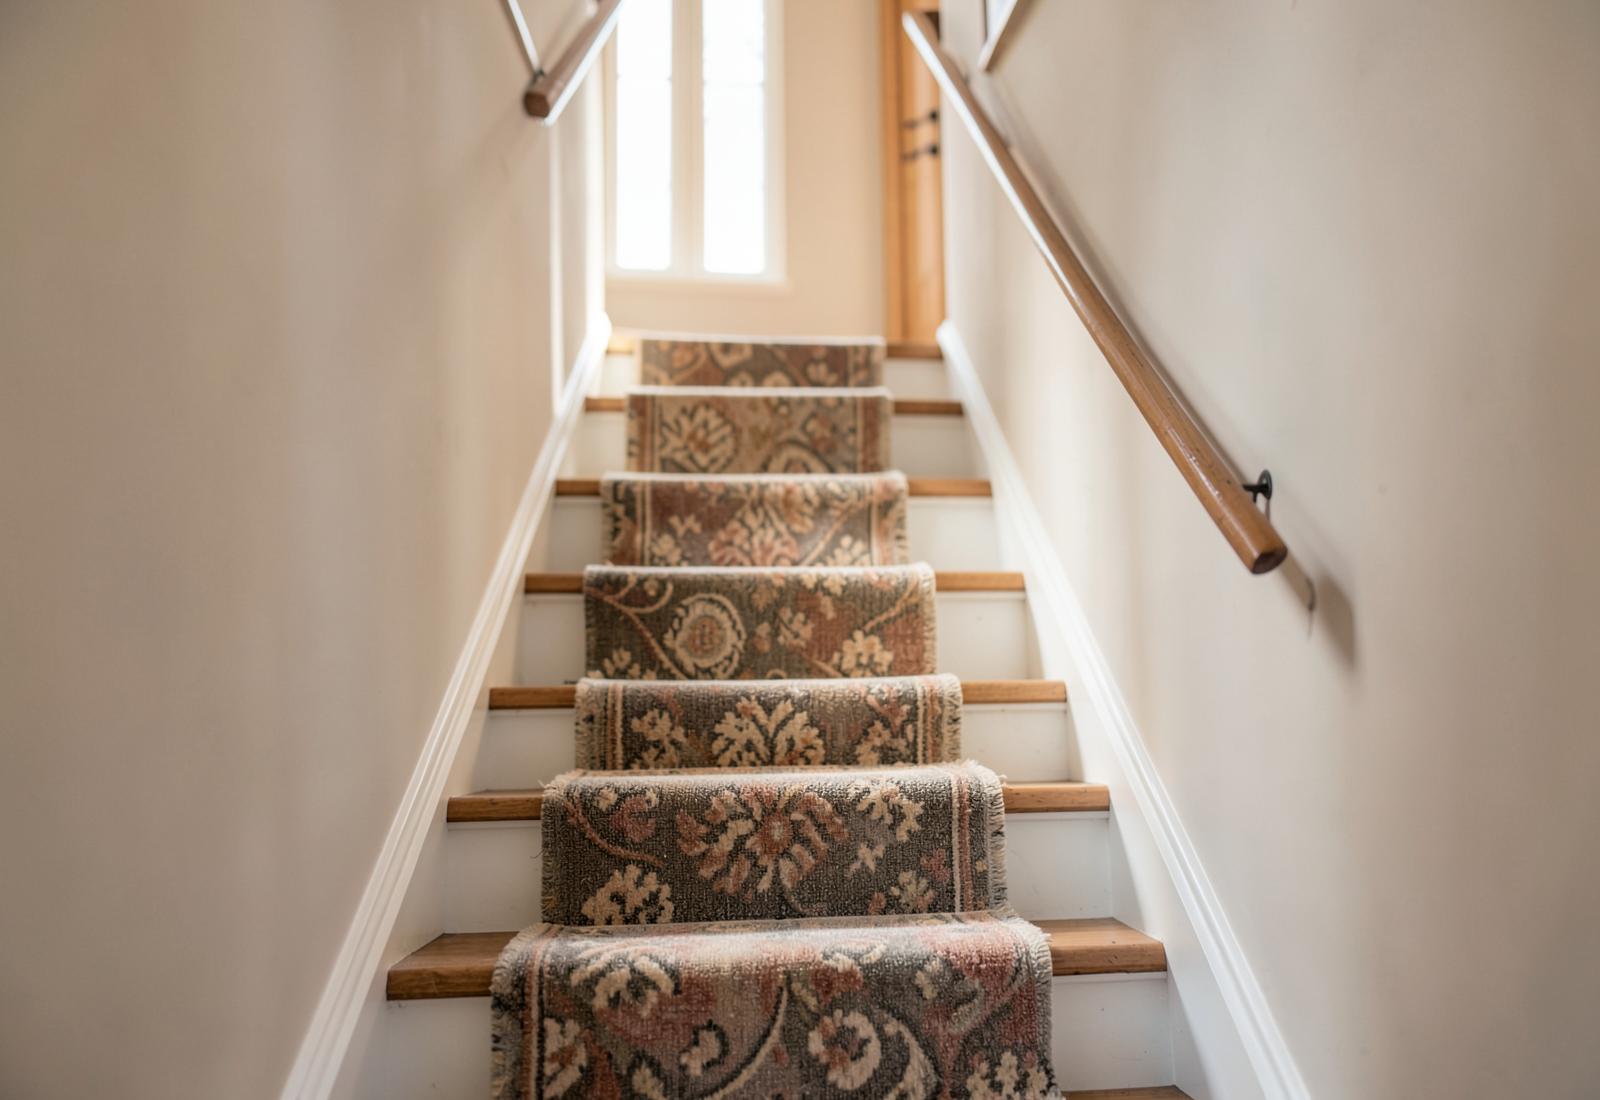
Homeowners with original oak, pine, or modern engineered timber stairs often hesitate to install a runner. The wood itself is a premium material, and covering it can feel like a loss. However, bare wooden stairs have three major drawbacks: they are loud (the 'drum' effect of footsteps), they are slippery (especially in socks), and they wear down over time. A runner is the 'best of both worlds' solution, providing a central path of comfort while leaving the beautiful grain of the wood visible at the edges.
Protecting the Wood: The Role of Underlay
One of the biggest misconceptions is that the carpet itself damages the wood. In reality, it is usually the 'grit' that gets trapped between a loose carpet and the wood that acts like sandpaper, ruining the finish.
To prevent this, you must use a high-quality, dense underlay. The underlay serves two purposes:
- Cushioning: It absorbs the impact of footsteps, reducing the pressure on the wood fibres.
- Stabilization: It stops the runner from micro-shifting. If the runner doesn't move, it doesn't rub against the wood.
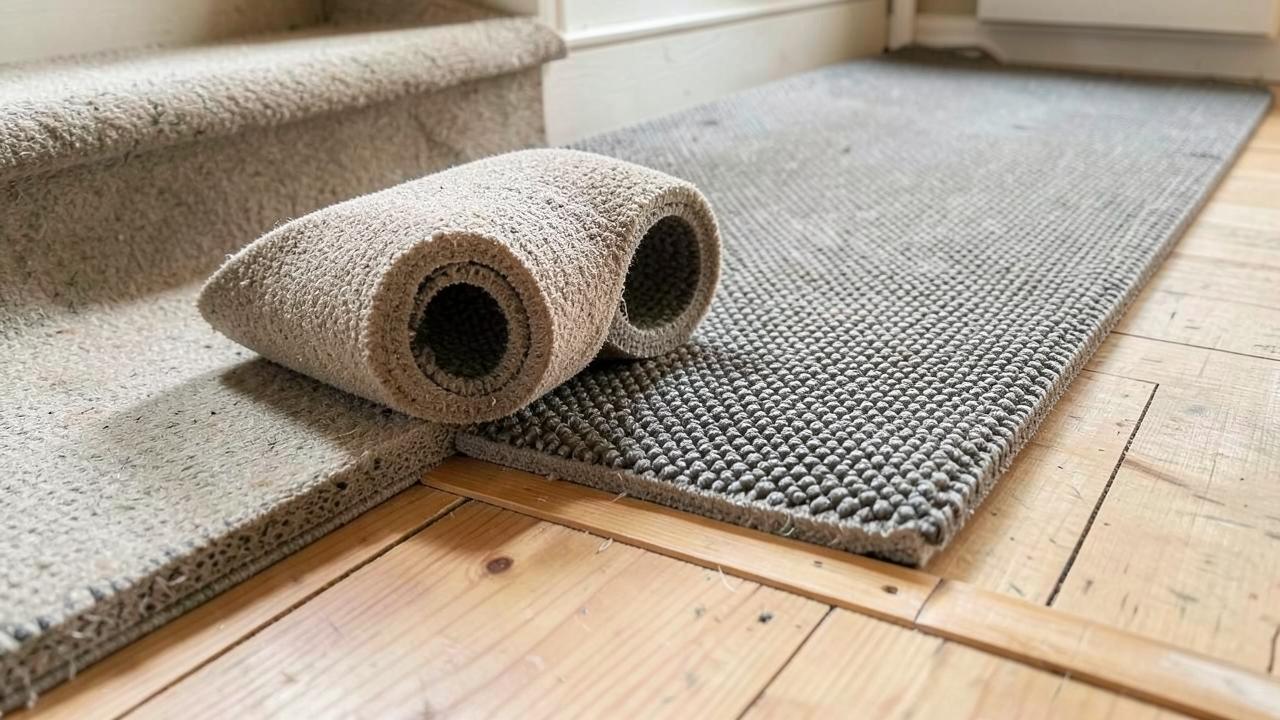
For wooden stairs, we recommend a firm rubber crumb or a high-density felt underlay rather than a soft, 'bouncy' foam. See our underlay guide for more.
Fixing Methods: Security vs. Reversibility
How you attach the runner to the wood is the most contentious part of the process.
1. Traditional Gripper and Staples
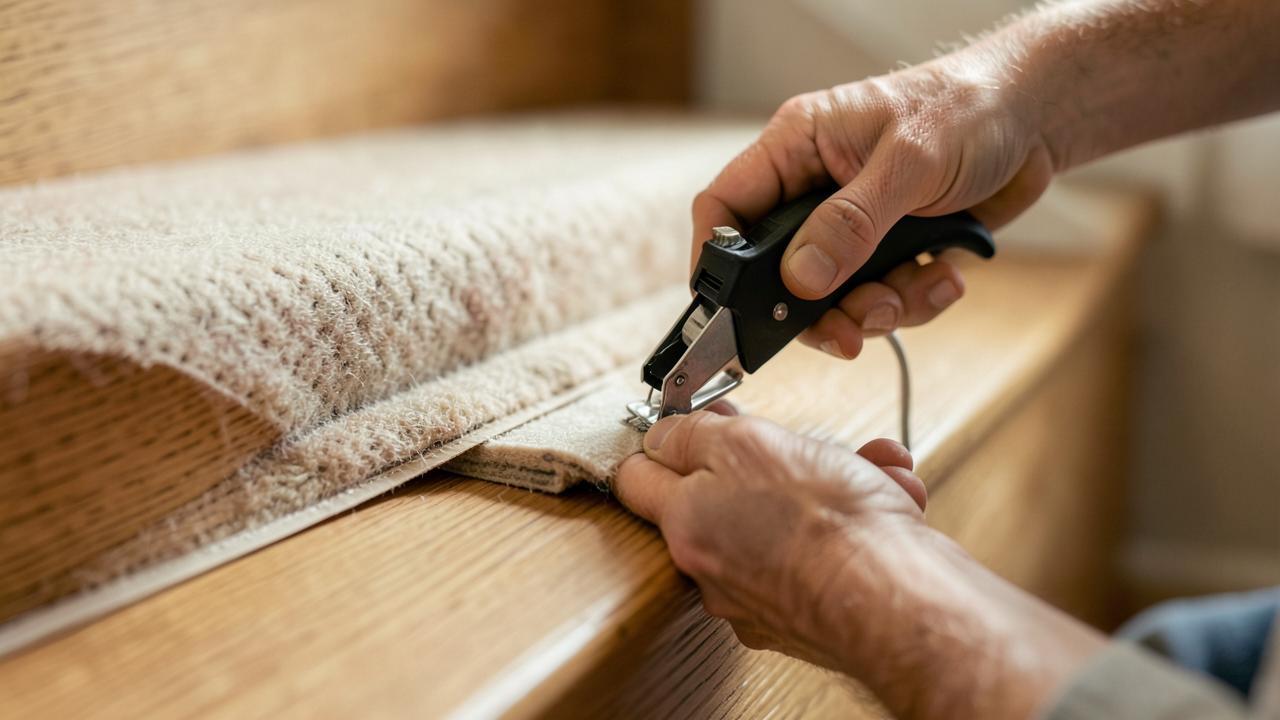
This is the most secure method. Small wooden 'grippers' are nailed to the treads and risers, and the carpet is stretched over them. The downside is that this leaves small holes in the wood. While these can be filled with wood putty later, they will always be there. In the UK, this is the standard professional method.
2. Adhesive Tapes
There are specialized 'anti-slip' tapes and double-sided adhesives designed for carpets. These avoid holes, but they have their own risks. The adhesive can react with the wood finish (oil or lacquer) and leave a residue that is very difficult to remove, or even strip the finish entirely. See installing without nails for a deep dive into these options.
3. Stair Rods (Decorative)
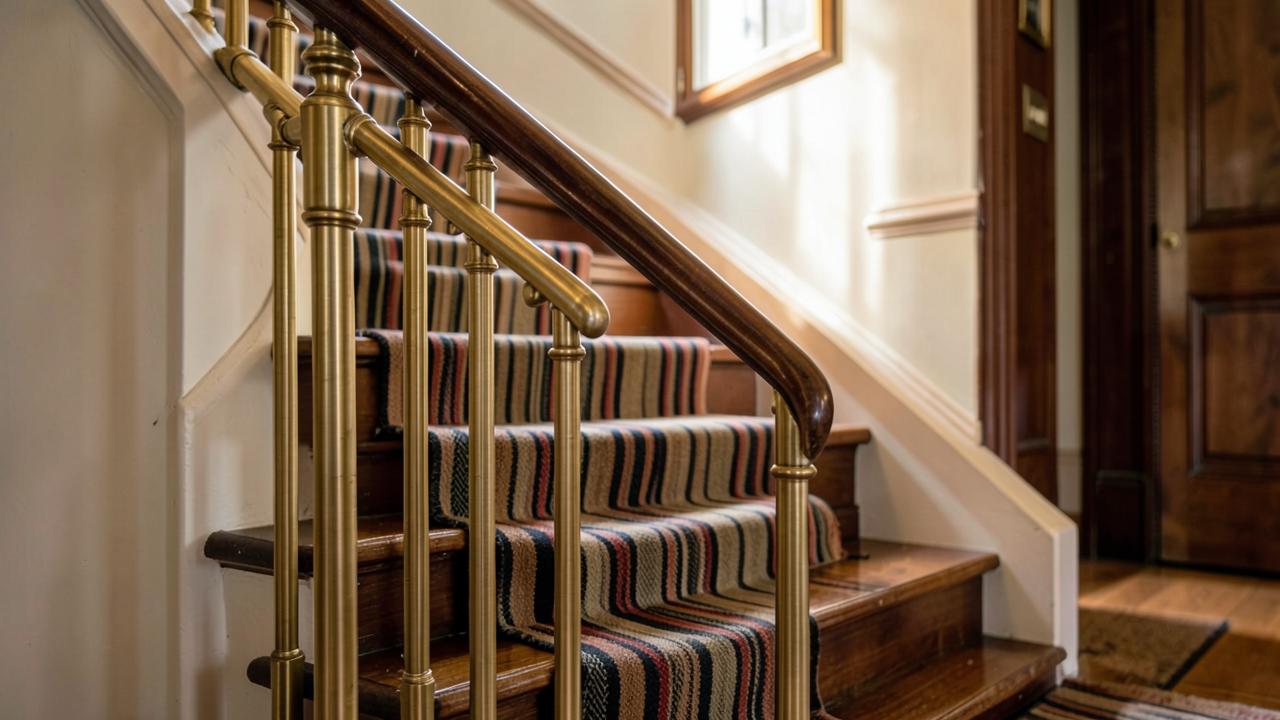
It is important to note that in modern fitting, stair rods are almost always decorative. They do not hold the carpet in place on their own; the carpet is still stapled or gripped underneath. However, they can help hide the 'tack' points and add a layer of traditional luxury. See stair rods guide.
Visual Margins: The 10cm Rule
The 'margin' is the distance between the edge of the runner and the 'stringer' (the side of the staircase). If the runner is too wide, you lose the effect of the wooden stairs. If it is too narrow, it looks like a piece of ribbon and can feel unstable to walk on.
| Total Stair Width | Recommended Runner Width | Resulting Margin (Per Side) |
|---|---|---|
| 80cm (Narrow) | 60cm - 65cm | 7.5cm - 10cm |
| 90cm (Standard) | 70cm | 10cm |
| 100cm+ (Grand) | 80cm | 10cm - 15cm |
Consistency is key. A margin that varies by even 5mm from step to step will look 'messy' because the straight line of the runner is contrasted against the straight line of the wood. See width guide for more measurement tips.
Choosing the Right Carpet for Wood
The 'look' of the carpet should complement the grain and colour of the wood.
- Oak Stairs: A classic material that works well with almost everything. Herringbone wool in grey or beige is a 'perfect' match for the traditional grain of oak.
- Pine Stairs: Pine often has a more orange or yellow hue. Cool greys can clash; instead, look for warm neutrals or even navy blues to provide a strong contrast.
- Dark Stained Wood: Very light, creamy runners look incredibly luxurious against dark wood, but are high-maintenance. A mid-toned 'earthy' green or terracotta can also look stunning.
Protecting Different Finishes: Oil, Lacquer, and Paint
Not all wooden stairs are finished the same way, and the type of finish you have determines how you should prepare for a runner.
Lacquered or Varnished Stairs: These have a hard, plastic-like coating. They are the most durable but also the most slippery. A runner is essential here for safety. When installing, ensure the lacquer is fully cured (usually 14 days). The main risk is "bonding," where the underlay sticks to the lacquer over years. Using a high-quality, breathable felt underlay can mitigate this.
Oiled Stairs (e.g., Wax-oils): Oiled wood is "breathable" and has a more natural feel. However, oil can be transferred to the carpet backing if it isn't fully dry. Furthermore, because oil doesn't provide a "seal" like lacquer, the wood is more susceptible to moisture. If you spill something on the runner, it could seep through and stain the oiled wood underneath more easily than it would a lacquered surface.
Painted Stairs: If you have painted your stairs, the risk is "chipping" during installation. A professional fitter will be extra careful with their "kicker" tool to avoid striking the painted margins. We always recommend keeping a small pot of matching paint handy for minor touch-ups after the carpet is installed.
Heritage and Period Staircases: The Sympathetic Approach
If you are lucky enough to live in a period property with original Georgian, Victorian, or Edwardian stairs, your approach to a runner should be one of "preservation first".
In many heritage homes, the stairs are made of "slow-growth" pine or oak that is far superior in quality to modern timber. To respect this, consider using traditional stair rods. While they are decorative today, they hark back to a time when runners were shifted every few months to distribute wear.
For very narrow heritage stairs, avoid wide borders or heavy patterns that can "swallow" the space. Instead, a slim, plain wool runner with a neat whipped edge allows the craftsmanship of the original spindles and newel posts to remain the stars of the show. If you are worried about the historical integrity, remember that a runner is a reversible addition—far better than sanding down the original treads every few years because they've become worn and splintered.
The Pre-Installation Checklist: Fixing Squeaks and Creaks
There is nothing more frustrating than installing a beautiful, expensive new runner only to find that the stairs still squeak every time you step on them. Once the carpet is down, fixing these structural noises becomes much harder.
Before the fitter arrives:
- Identify the Squeak: Walk slowly up and down the stairs and mark each squeaky spot with a piece of painter's tape.
- The Screw Method: Most squeaks are caused by the tread rubbing against the riser or the stringer. You can often fix this by driving a long, thin wood screw through the tread into the riser. Ensure you countersink the head so it doesn't create a lump under the carpet.
- Lubrication: If you can't access the underside of the stairs, puffing a little graphite powder or talcum powder into the joints can sometimes silence a minor rub.
- Check the Glue Blocks: If you have access to the "soffit" (the underside), check that the small triangular glue blocks are still tight. If they've come loose, re-gluing and screwing them is the best permanent fix.
Choosing How Much Wood to Show
While the "10cm rule" is a great starting point, the "reveal" should also be dictated by the architecture of your stairs.
If your staircase has beautiful scrolled brackets on the side, you want to leave enough space to ensure the runner doesn't crowd them. Conversely, if your stairs are quite plain or have seen better days, a wider runner that covers more of the tread can help mask imperfections while still giving that "runner look".
We also recommend considering the nosing overhang. If your treads have a deep, rounded nosing, the runner will "wrap" around it. The more wood you show at the sides, the more the curve of that nosing is highlighted. This adds a wonderful three-dimensional quality to the staircase that a full-width carpet simply cannot match.
Safety First: Preventing Slips
Wooden stairs are notoriously slippery, especially the 'nosing' where the foot makes first contact. A runner solves this, but only if it is fitted 'drum tight'. If there is any 'slack' in the carpet, it can slide across the wood surface, creating a dangerous situation.
For maximum safety, ensure your fitter uses the 'Hollywood' or 'Waterfall' method correctly to lock the carpet around each nosing. You can read about the difference in waterfall vs hollywood fitting.
Maintenance of a Runner on Wood
When you have a runner, you have two different surfaces to clean: the carpet and the exposed wood margins.
- Dusting the Margins: Dust will accumulate at the junction where the carpet meets the wood. Use a soft microfibre cloth or a dedicated vacuum attachment to prevent this from building up.
- Avoiding Moisture: When cleaning the wooden parts of your stairs, be very careful not to get wood cleaner or water on the edge of the carpet, which can cause staining or shrinkage.
- Grit Management: The number one enemy of wooden stairs is grit. Vacuum the runner regularly to prevent grit from working its way through the backing and scratching the wood underneath. See cleaning guide.
Is it Worth it for Heritage Stairs?
For those in listed buildings or with high-value historic staircases, the decision is harder. In these cases, we often recommend a 'loose' runner held by high-friction pads and decorative rods, or accepting that the preservation of the wood from wear and tear is worth the small price of a few staple holes that can be professionally restored later. The damage from ten years of 'barefoot and boot' traffic on heritage pine is often far harder to repair than the holes from a carpet installation.
Summary: Pros and Cons
| Pros | Cons |
|---|---|
| Significant noise reduction (dampens the 'clatter'). | Installation usually leaves small holes in the timber. |
| Protects expensive wood from scratches and grit wear. | Requires cleaning two different surfaces (wood and wool). |
| Greatly increases safety and grip. | Fresh wood finishes need weeks to cure before fitting. |
| Adds a layer of insulation and warmth. | Poorly fitted runners can still shift on polished wood. |
Final Thoughts
A stair runner is the ultimate accessory for wooden stairs. It doesn't hide the beauty of the timber; it frames it. By choosing the right width, a compatible fixing method, and a high-quality underlay, you can protect your stairs for decades while making them a safer, quieter, and more beautiful part of your home. Whether you are working with brand new oak or centuries-old pine, a runner is an investment in both style and preservation.
Frequently asked questions
- Will a stair runner damage my wooden stairs?
- If installed correctly, no. However, traditional fitting uses staples and grippers that leave small holes. For high-value hardwood, you might consider 'damage-free' methods or accept that the holes are easily filled if the runner is removed. The runner actually protects the wood from the mechanical wear of foot traffic and grit.
- How much wood should show on the sides of a runner?
- The standard 'margin' is between 5cm and 10cm on each side. A 10cm margin is common for standard UK stairs, as it provides a balanced look that shows off the wood grain without making the carpet feel too narrow for safe footing.
- Can you install a runner on slippery polished wood?
- Yes, and it is actually one of the best ways to make polished stairs safer. However, you must use a high-quality, non-slip underlay to ensure the carpet doesn't shift, which could cause the wood to be scratched or the user to slip.
- Do I need to sand the stairs before installing a runner?
- Only the parts that will be visible. There is no need to sand and finish the centre of the treads where the runner will sit, as long as the surface is flat and clean. However, ensuring the visible 'margins' are well-finished is crucial for the final look.
- What is the best way to fix a runner to oak stairs?
- For oak, which is a very hard wood, standard staples can sometimes bend. A professional fitter will use heavy-duty equipment. If you want to avoid holes, specialized adhesive tapes exist, but they are generally less secure than mechanical fixings for long-term use.
- Should I paint the stairs before or after fitting the runner?
- Always before. The paint needs at least a week to fully cure (harden) before you apply grippers and carpet. If you fit over fresh paint, the carpet backing may stick to the paint, ruining both when you try to remove it.
- Can I install a runner on stairs that have been recently waxed?
- We recommend against it. Wax is a 'non-stick' surface, meaning adhesives won't hold, and even mechanical grippers can struggle to stay stable. It's best to strip the wax from the area where the runner will sit or wait at least a month for the wax to harden and lose its slickness.
- Do I need a special tool to fit a runner to wooden stairs?
- Yes, a 'knee kicker' is essential for stretching the carpet to ensure a tight, safe fit. For wooden stairs, you also need a high-quality staple gun that can penetrate hard timbers like oak without splitting the wood or bending the staples.
Related guides
 InstallationHow to Install a Stair RunnerWaterfall and Hollywood methods, staples versus rods, tools, sequence and quality checks.
- ComparisonsWaterfall vs Hollywood InstallationThe two ways a runner meets the tread nosing, and what each means for looks, wear and material use.
 MaterialsStair Runner Underlay and PaddingWhy pad choice matters more on stairs than anywhere else, and how to specify density, thickness and cut.
 InstallationFitting a Runner Without NailsRods, tackless strip, adhesive systems and removable methods for staircases you cannot puncture.